Create an Employee Agent
Now it’s time to create an agent and see how agents look and function in the application. When setting up agents in your environment, you can start with just one agent or create as many agents as you need.
Create a General Agent
The first agent your company asks you to create is an agent that engages and interacts with your employees in response to CRM data-related requests. This includes querying a record, drafting an email, summarizing records, updating records, and more. To solve this, you decide to build an agent called General Agent.
After researching the available subagents and their associated actions, you land on the following subagent.
- General CRM; note that you have to customize it to add and remove an action.
Initial Agent Setup
- Click
 to open App Launcher, then search for and select Agentforce Studio.
- From the Build menu, click Agents.
- Click New Agent.
- From the Or, start with a template section, find Agentforce Employee Agent and click Details. This shows you what comes with the template, including description, the Subagents, and Variables. This provides a good starting point.
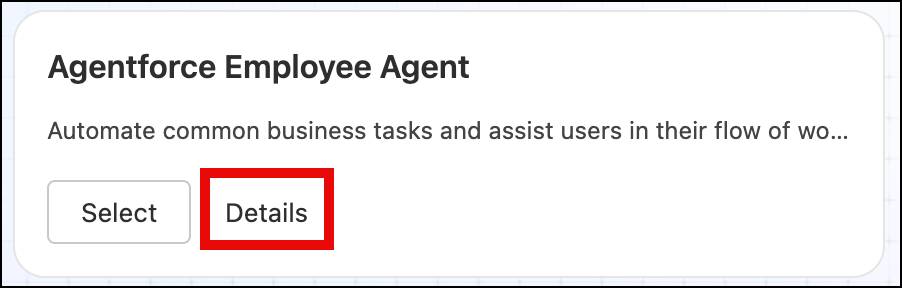
- Click Select Template.
- For the Agent Name, add
General Agent.
- For Developer Name,
General_Agentautopopulates.
- Click Let’s Go.
Add Subagent to the Agent
For this Agent, you’re adding one additional Subagent from the asset library.
- To the right of the Search box at the top, click the + icon, and select Add from Asset Library.

- Find General CRM, click Select, and click Add to Agent. You now see General CRM in the Subagents list.
- Click the right-facing arrow to the left of the General CRM subagent. This expands to show the actions associated with the subagent.
- Hover over General CRM, click the + symbol, and select Add from Asset Library.
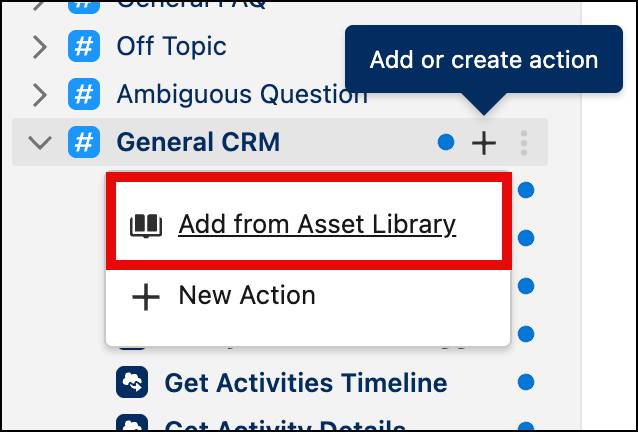
- Find Summarize Record and click Select.
- Click Add to Agent. You now see Summarize Record added to the list of actions under General CRM.
Remove a Subagent
Before you can test your agent, you need to remove the General FAQ subagent. This is because it uses Data 360, which in this environment is not enabled.
- Hover over the General FAQ subagent, click the three dots, and select Delete.
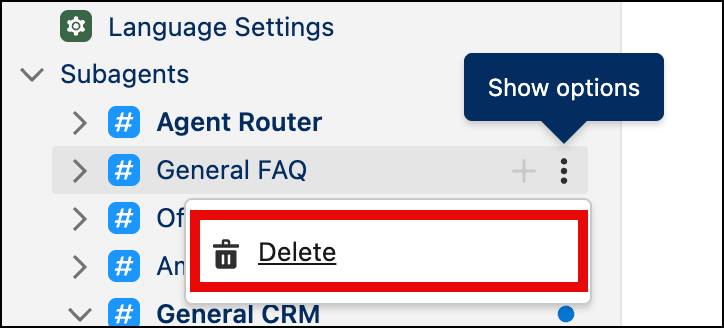
- In the popup window, click Yes, Delete. When you do this, the General FAQ subagent is now crossed out and red, providing you the ability to undo the deletion if needed. Leave this alone for now—when you save later on, this is removed.
- Click Save.
Preview and Activate
Before activating the agent, it’s important to try it out and ensure it is working as intended.
- From the middle section of the builder, click Preview.
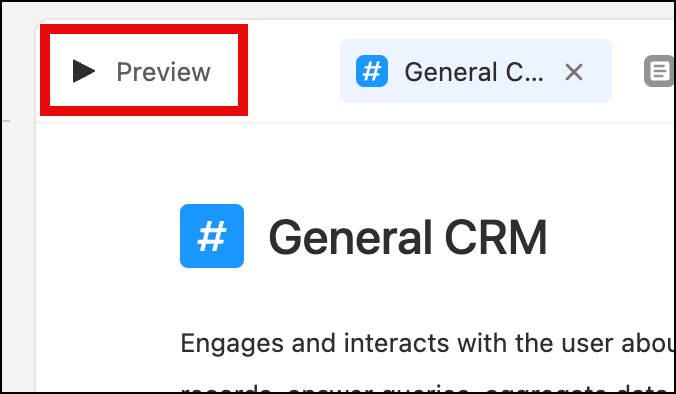
- Click the down arrow next to Live Test Mode. Just note that you have two options for testing your agent where you can either Simulate using mock data or run a Live Test using your live data. In this case click Live Test.
- In the Let’s chat! box, enter
Provide me an overview of Edge Communications.
- Read the information provided about Edge Communications. It might ask if you would like additional insights and you can continue answering or asking it questions if you’d like, but for this example you are not required to.
- Click Save.
- Click Commit Version and in the popup box click Commit Version.
- Click Activate and in the popup box click Activate.
Congratulations! You created a functional employee agent. Next, you create a permission set and try using your new agent.