Explore Amazon SageMaker AI Features and Development Environments
Learning objectives
After completing this unit, you’ll be able to:
- Describe SageMaker Studio and identify its key components for ML development.
- Choose the appropriate model-building approach based on your skills and requirements.
- Explain when to use production ML tools.
- Make informed decisions about which SageMaker capabilities to use for different Salesforce integration scenarios.
SageMaker Studio: Your ML Development Environment
SageMaker Studio is your central hub for all machine learning development. It’s a unified workspace where you can access all SageMaker capabilities through different tools and collaborate with your team members.

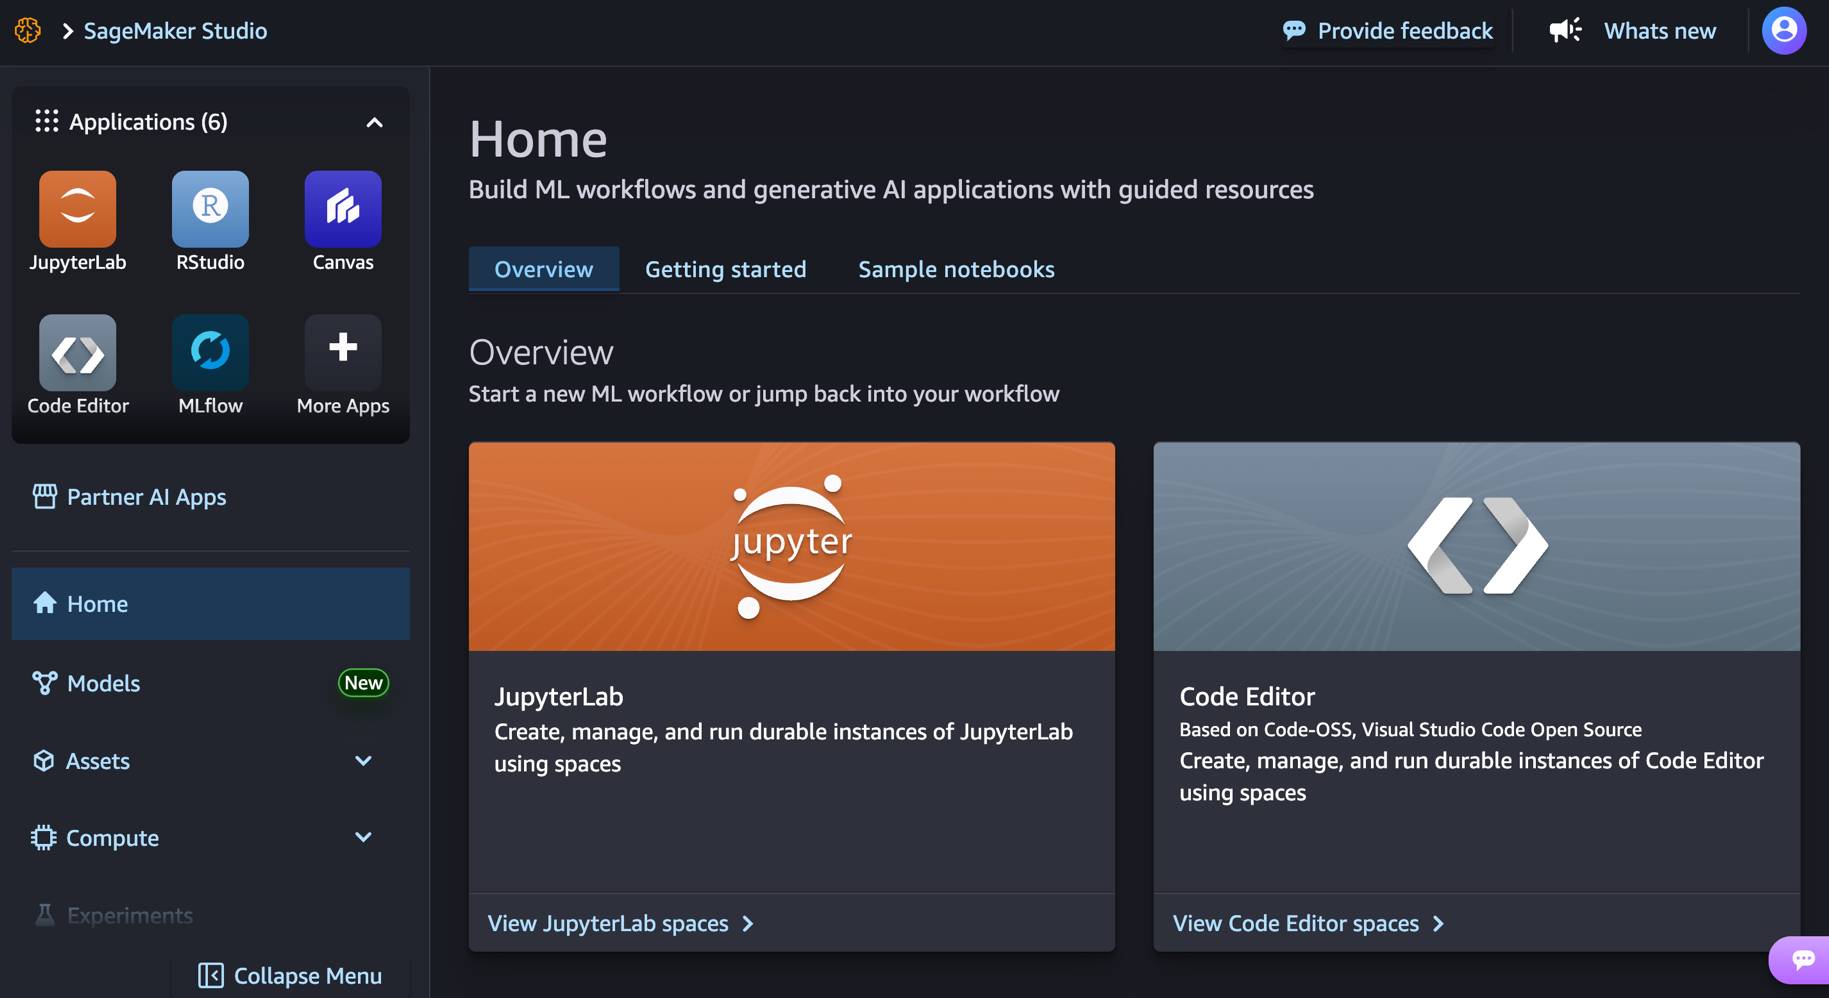
When you launch Studio, you find two main areas.
-
Applications to access different development environments:
- JupyterLab for notebooks and data exploration
- Code Editor for a VS Code-like experience
- RStudio for R users
- Canvas for no-code ML
- MLflow for experiment tracking and model management
- Partner AI Apps for third-party applications
- JupyterLab for notebooks and data exploration
-
Navigation menu to create and access ML artifacts such as models, assets, compute, experiments, jobs, pipelines, deployments, and more.
Working in Studio: A Practical Scenario
Let’s walk through a sample scenario of how a data scientist, Arnav, might use SageMaker Studio to build a lead scoring model.
Step 1. Prepare data: Arnav opens JupyterLab in Studio and uses the SQL extension to query lead data from S3 through Amazon Athena. Arnav writes SQL queries to handle missing values, encode categorical variables, and create new features.
Step 2. Build the model: Next, Arnav uses SageMaker’s built-in XGBoost algorithm in his notebook. Arnav writes Python code to set up the training job, specifying where the data is in S3 and what instance type to use.
Step 3. Train and tune: Once everything is configured, Arnav launches the training job. SageMaker sets up a compute cluster, trains the model, and stores results in S3. Arnav uses MLflow to track this run alongside previous attempts, then he uses automatic model tuning to find the best hyperparameters.
Step 4: Deploy and manage: With a balanced accuracy of 76%, Arnav's ready to deploy. He deploys the model to a real-time endpoint with data capture turned on, so the endpoint writes its requests to Amazon S3, then schedules a drift check that compares that captured data against his training baseline. He also creates CloudWatch alerts so the team gets notified of any issues. Now the endpoint is ready to score leads.
New leads from Salesforce can be sent to the endpoint through API calls, or a scheduled process can extract leads to S3 for batch scoring.
Arnav did all this without leaving Studio. His colleague, a business analyst, can now view the deployed model and see how it’s performing.
SageMaker Canvas: No-Code Machine Learning
Next, let’s explore SageMaker Canvas. This is another visual interface within SageMaker AI that’s designed to let you build ML models without code. Canvas is best suited for business analysts, admins, or anyone who understands the business problem but might not have programming skills.
You can access Canvas on the main navigation pane in SageMaker AI or within the Studio environment.
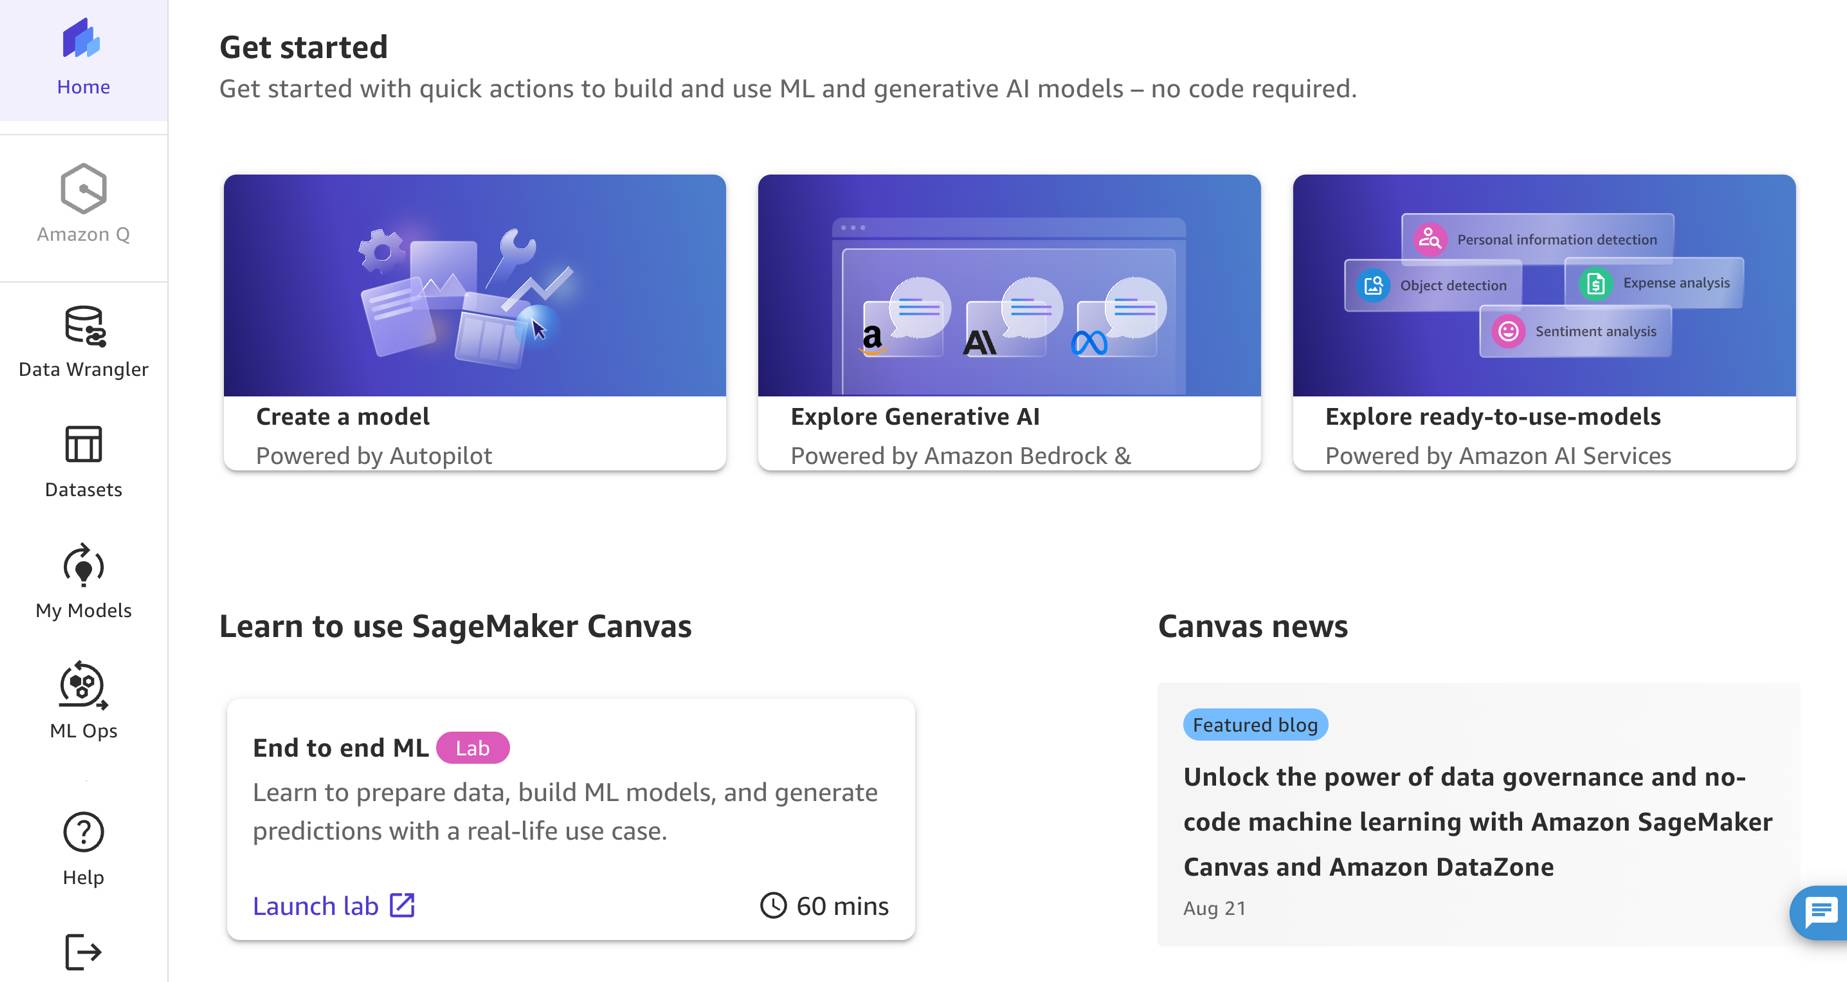
Its main capabilities include:
-
Amazon Q support: Let the Amazon Q assistant guide you through building a solution.
-
Built-in Data Wrangler: Build with 300+ transformations and data quality reports.
-
Direct data connections: Connect to Salesforce Data 360 and 40+ other sources.
-
Multiple model types: Use Predictive Analysis, Text Analysis, Image Analysis, Time Series Forecasting, and more.
-
Automatic feature engineering: Move faster as Canvas creates relevant features automatically.
-
MLOps capabilities: Export to Pipelines and schedule data processing.
Working in Canvas: A Practical Scenario
Let’s see how a Salesforce administrator, Maria, uses Canvas to build a churn prediction model.
Step 1. Connect and import data: Maria opens Canvas and goes to Data Wrangler to import tabular data. She selects Salesforce Data 360 as the data source and follows the prompts to set up a connector.
Step 2. Prepare data visually: Now that her data is connected, Maria uses the chat option to query and transform the dataset with natural language. She asks questions like, “Show me the distribution of customer tenure” and “Create a feature for days since last purchase.” Once she’s happy with the transformations, she generates a data quality report to confirm everything is ready.
Step 3. Build the model: Maria selects Predictive Analysis and chooses Churned as the target column. Canvas does the heavy lifting automatically. It figures out that this is a classification problem, creates additional features, and tests hundreds of model configurations. Then it picks the best one. Before building, Canvas checks the dataset for any issues, then splits the data into training and validation sets.
Step 4. Evaluate the model: Canvas reports 80% accuracy. That sounds reasonable, but only 20% of customers churn, so a model that said "won't churn" every single time would also score 80%. Maria checks balanced accuracy instead, which scores the model on churners and non-churners equally. A model that just guesses lands at 50%; hers comes in at 72%. She also reviews which features matter most and looks at precision, recall, and the confusion matrix.
Step 5. Deploy and integrate: Time to put the model to work. Canvas deploys it to a SageMaker real-time endpoint, including all the data preparation transformations. The result is an HTTPS endpoint that developers can query with just a few lines of code.
Step 6. Share with data scientists: Finally, Maria shares her Canvas model with the data science team. They can open it in Studio and see an automatically generated notebook that shows exactly what Canvas did. If they want, the team can then add custom code or extra features to refine it further.
Additional SageMaker AI Tools and Capabilities
Beyond Studio and Canvas, SageMaker AI offers specialized tools and features for different phases of the ML lifecycle. Let’s look at some of these tools through the lenses of model building, managing features at scale, automating workflows, and maintaining production quality.
Model Building: Choose Your Approach
One of your first decisions is how to build your model. SageMaker provides options from prebuilt solutions to fully custom implementations.
Model Building Approach |
For… |
Use it when you… |
|---|---|---|
JumpStart |
Ease of prebuilt solutions (fastest approach) |
|
Built-in algorithms |
Optimized implementations (balanced approach)
|
|
Serverless model customization |
Fine-tuning foundation models without infrastructure (streamlined approach) |
|
|
Custom algorithms
|
Complete flexibility (most complex approach) |
|
HyperPod |
Large-scale training infrastructure (specialized approach) |
|
For most Salesforce integration scenarios, using existing foundation models through SageMaker JumpStart or Amazon Bedrock is more practical.
Feature Management: Reuse ML Features at Scale
As you build multiple models, notice that many share common features.
-
Feature Store provides centralized management for these reusable features to ensure consistency and reduce duplicate work. Instead of extracting and transforming data separately for each model, you can create features once and store them in Feature Store for reuse across multiple models. Feature Store supports the Apache Iceberg table format, streaming ingestion for real-time feature updates, and fine-grained access control through AWS Lake Formation.
Experiment Tracking: Log and Compare Training Runs
-
MLflow provides experiment tracking directly within SageMaker Studio. You can log parameters, metrics, and artifacts for each training run, compare results across iterations, and manage model versions—all from a single interface.
MLOps: Automate Your ML Workflows
Moving from experimentation to production requires automation and governance.
-
SageMaker Pipelines provides a CI/CD service for machine learning, letting you automate the steps from data preparation through model deployment. Instead of manually running each step, the pipeline runs the same steps in the same order every time (which reduces errors and ensures consistency).
For Salesforce integration, a typical pipeline might work like this: First, extract data from Salesforce. Then prepare it using Data Wrangler transformations. Next, train a model and evaluate its performance. Finally, deploy it to an endpoint if it meets your quality thresholds. Once you define this pipeline, it can run automatically on a schedule or be triggered when new data becomes available.
Use SageMaker Pipelines when you’re retraining models regularly, you need reproducibility across training runs, multiple team members work on the same project, you want to automate the path from data to deployment, or governance requires auditable ML workflows.
-
Model Registry organizes models into model groups. Each group contains multiple versions of the same model. Use Model Registry when you’re training multiple model versions, governance requires approval workflows, you need traceability for compliance, you want to track which model version is deployed where, or you’re automating model deployment through Pipelines.
Production Quality: Monitoring and Governance
Once your models are deployed, you need to keep them running well. That means three things: watching for drift, explaining predictions, and bringing a person in on the decisions that warrant it.
-
Drift detection is how you know when your model needs retraining. Machine learning models can become less accurate over time as data patterns shift. This is called model drift. For Salesforce integrations, drift might happen when customer behavior changes, market conditions shift, or business processes evolve. You catch it by comparing live prediction inputs against a baseline taken from your training data. AWS publishes open-source monitoring solutions that run inside your own account and score drift on a schedule. They log the results to the managed MLflow capability in SageMaker AI, so drift scores sit next to the training metrics for the same model and you can see the trend over time. For a lighter setup, publish your own metrics to CloudWatch and let anomaly detection alarms tell you when something moves.
-
Explainability tells you why your model made a specific prediction. SHAP feature attribution shows which features had the most influence on each prediction, making your ML systems more transparent and trustworthy. You run it in a processing step and log the attributions to MLflow alongside the model that produced them. The same step is where you check for bias. The standard bias metrics are published formulas you compute from label counts and confusion matrix values. For example, maybe your lead scoring model consistently scores leads from certain industries or regions lower without any business justification. These checks surface so you can address it before it impacts decisions.
-
Human review handles the predictions you don't want to act on automatically. You decide the condition (a low confidence score, or any prediction above a certain dollar amount) and those records go to a person instead of straight through. For example, send lead scores to human review when confidence falls below 80%, or route every large deal to a manager. A Step Functions workflow or a Salesforce approval process does the routing, and nothing updates in Salesforce until the reviewer signs off.
For more information, see Amazon SageMaker Model Monitor availability change and Clarify availability change.
Wrap Up
In this unit, you explored SageMaker’s development environments, model-building options, and core production capabilities. In the next unit, explore these tools in action through real-world Salesforce use cases and best practices.