Enhance Agentforce to Act on Data with Conversational Language

Give the Warmest of Welcomes
Every day at Coral Cloud Resorts, guests arrive having traveled from around the globe, and they’re usually ready to start relaxing. But before they can, they have to check in with the front desk. So Becca is going to make that last little hurdle as effortless as possible for her staff so that guests can begin vacationing ASAP.
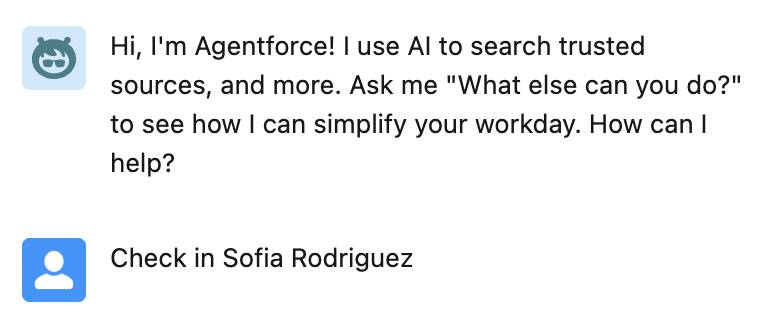
Whenever someone checks in, Coral Cloud staff logs the event by creating a record on a custom object named Guest Event. They use it to track a lot of things, like when guests request housekeeping or when guests attend a social activity. Right now staff must manually create the check-in record, but Becca sees two ways to level up the process. First, she uses a flow to create a Guest Event record based on the latest reservation data in Data 360. Second, she teaches Agentforce how to launch the flow through conversational language. So when Sofia Rodriguez arrives to begin her stay, whoever is at the front desk can simply ask Agentforce to “check in Sofia Rodriguez” and Agentforce does the rest!
Finish a Flow to Log Guest Events
Thanks to Data 360, Becca has all the information required to make a flow that starts with a contact, like Sofia Rodriguez, and creates a record based on reservation data. However, the path between the two is a little twisty. As you learned in the previous unit, identity resolution automatically creates bridging objects that connect related data model objects. In order to make the check-in flow, Becca has to cross one of those bridges, twice.
The bridge in question is named Unified Link Individual ccid, which connects the Sofia in Salesforce to the Sofia in Reserv-o-matic. Here’s a simplified version of the data in that bridge.
Full Name |
Data Source |
Source ID |
Unified ID |
|---|---|---|---|
Sofia Rodriguez |
Salesforce |
003bn000002FILwAAO [1] |
ca6369777b7dbca79215f46016e74dd6 |
Sofi Rodriguez |
Reserv-o-matic |
10008155 [2] |
ca6369777b7dbca79215f46016e74dd6 |
Notice that the Unified ID is the same for both Sofias. So if you know Sofia’s Salesforce ID [1], you can find her Reserv-o-matic ID [2] by way of the Unified ID. That’s important because reservations are only tied to guests by the Reserv-o-matic ID. Here’s a simplified version of that.
Contact ID |
Check-in Date |
Check-out Date |
Room Type |
Reservation Status |
|---|---|---|---|---|
10008155 [2] |
5/31/2021 |
6/1/2021 |
Suite |
Completed |
10008155 [2] |
10/19/2023 |
10/21/2023 |
Suite |
Completed |
10008155 [2] |
4/27/2024 |
5/7/2024 |
Suite |
Completed |
With all of that in mind, let’s break down what the flow does.
- Knowing the Source ID from Salesforce [1], query the bridge to find the Unified ID.
- Knowing the Unified ID, query the bridge again to find the Reserv-o-matic ID [2].
- Knowing the Reserv-o-matic ID [2], query the reservation data to find the latest reservation details.
- Knowing the latest reservation details, update a flow variable with the details.
- Create a Guest Event record for check-in using the variable.
It sounds like a lot, but here’s some good news for you: Team Trailhead has already created most of the flow. The remaining parts involve objects that only exist now that you created data streams and set up identity resolution. So finish that flow!
- Click
 to open the App Launcher, search for and select Flows.
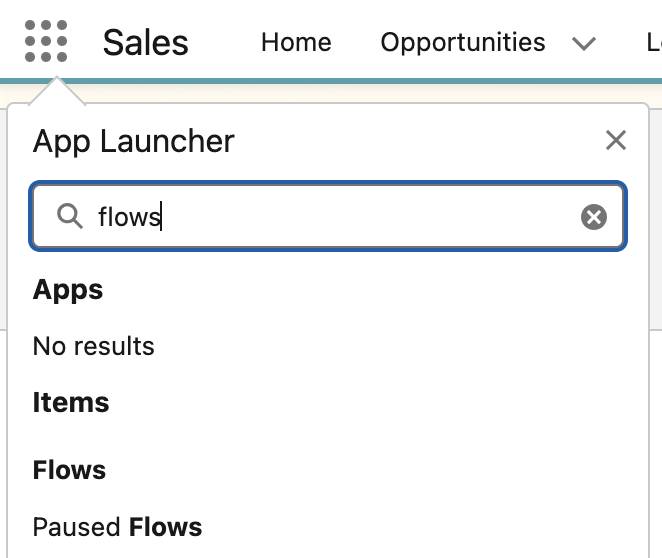
- Select the All Flows list view.
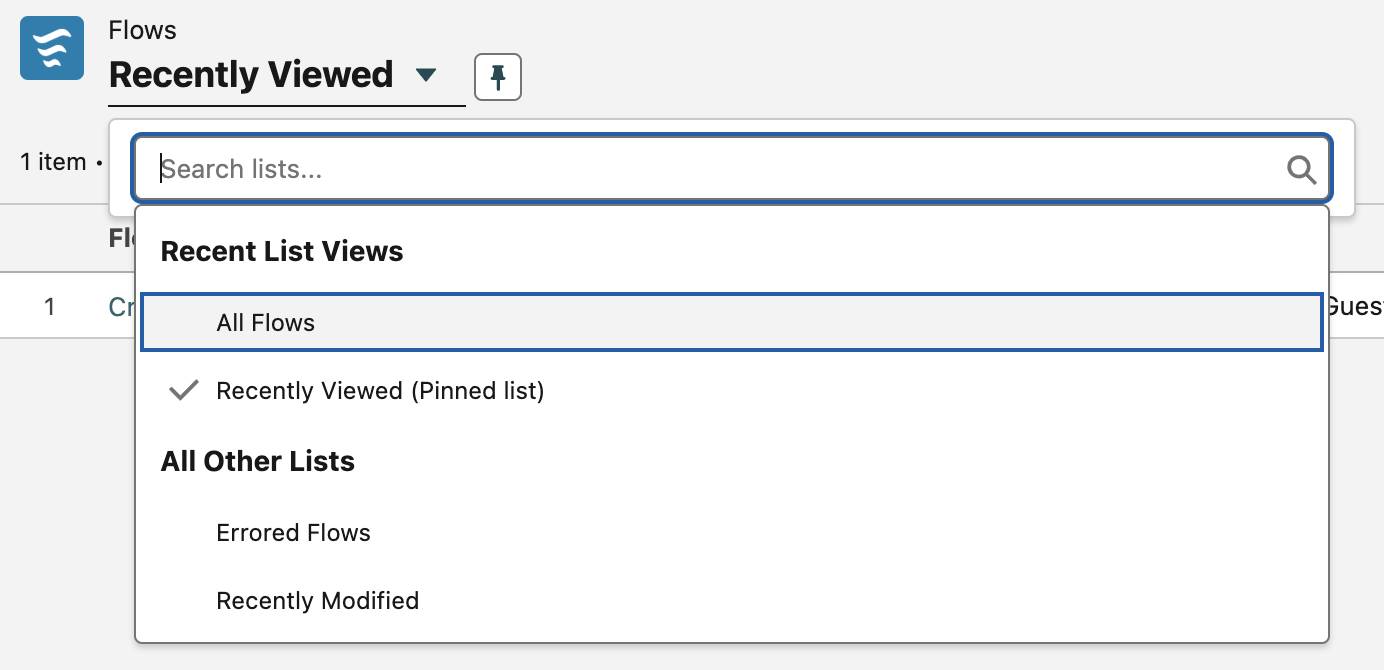
- Click Create Check-in Guest Event.
- Click Open Flow.
- Click the Unified Link 1 element.
- For Data Source, select Data Cloud Object.
- For Data Space, select default.
- For Object, select Unified Link Individual ccid. Be sure to choose the right object—there are a few that have similar names.
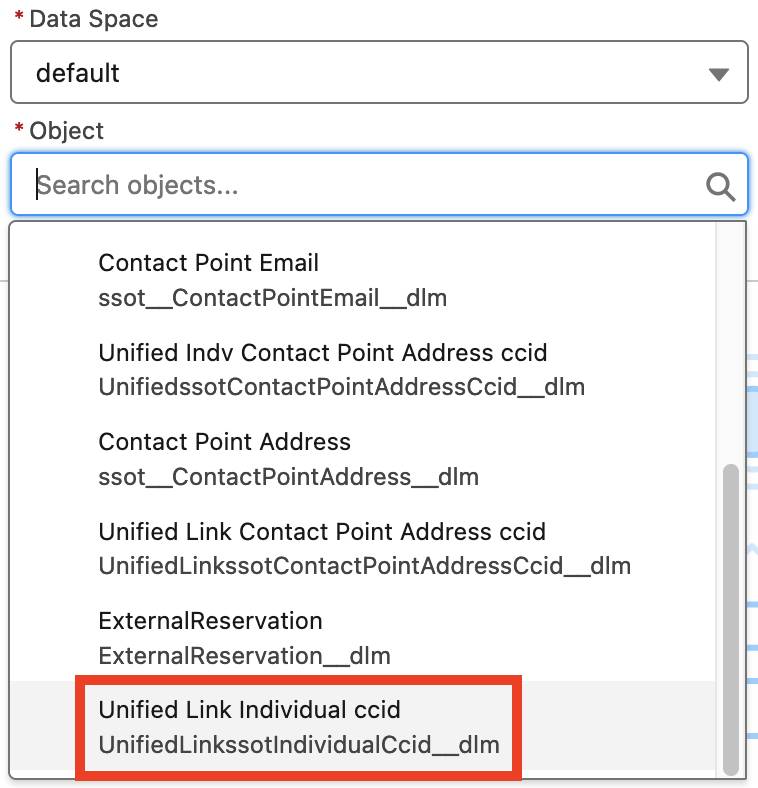
- In the Filter Records section, for Field, choose Individual Id. This is the actual name of the Source ID column in the first table.
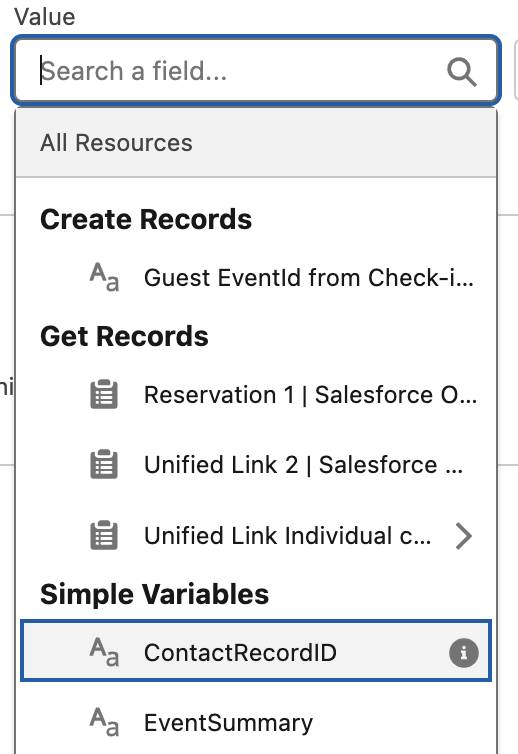
- For Value, choose the variable ContactRecordId. ContactRecordId is a variable Team Trailhead created in advance. It just represents the Salesforce ID of the contact record.
- Click Save.
OK, the flow has pinpointed the first record in the Unified Link table. Time to use the Unified ID from that record to find the Reserv-o-matic ID.
- Click the Unified Link 2 element.
- For Data Source, choose Data Cloud Object.
- For Data Space, choose default.
- For Object, choose Unified Link Individual ccid. This is in fact the same object from the first element.
- In the Filter Records section, for Field, choose Unified Individual Id. This is the actual name of the Unified ID column from the first table.
- For Value, copy and paste
{!Unified_Link_1.UnifiedRecordId__c}. This is a pointer to the Unified ID from the first query. When you click away from the Value, the text is replaced with a placeholder.

- Click Add Condition.
- For Field, choose Data Source Object.
- For Operator, choose Starts With.
- For Value, type
External.

The data model object (DMO) is really called ExternalReservation, not Reserv-o-matic like in the simplified table. By adding this extra condition the flow ignores Sofia’s Salesforce ID and finds 10008155 from the first table.
- Click Save.
Now that you know Sofia’s Reserv-o-matic ID, you can find her most recent reservation.
- Click the Reservation 1 element.
- For Data Source, choose Data Cloud Object.
- For Data Space, choose default.
- For Object, choose ExternalReservation.
- In the Filter Records section, for Field choose Contact ID.
- For Value, copy and paste
{!Unified_Link_2.SourceRecordId__c}. This is a pointer to the previous query.
- For Sort Order, choose Descending.
- For Sort By, choose Check_in_Date_c__c.
- Click Save.
Sorting in this way puts the most recent reservation at the top of the results, so it’s used for the rest of the flow. The final piece of the puzzle is to use the reservation details to set the value of a variable (EventSummary), which is ultimately placed into a new Guest Event record.
- Click the Event Summary element.
- For Value, copy and paste this:
Check-in date of {!Reservation_1.Check_in_Date_c__c}, check-out date of {!Reservation_1.Check_out_Date_c__c}, for room type {!Reservation_1.Room_type_c__c}.
- Click outside the Value box so the Save button becomes available, then click Save.
- Click Activate.
- Close the Flow tab.
Great job shaping up the flow. It was a bit of work, but it pays off almost immediately once Agentforce knows how to use it.
Create a Check-in Agentforce Action
There’s more good news for you: Setting up Agentforce to use a flow is super easy.
- Click the Setup icon
 [Alt text: Setup icon] then select Setup.
- In the Setup Quick Find, search for and select Salesforce Go.
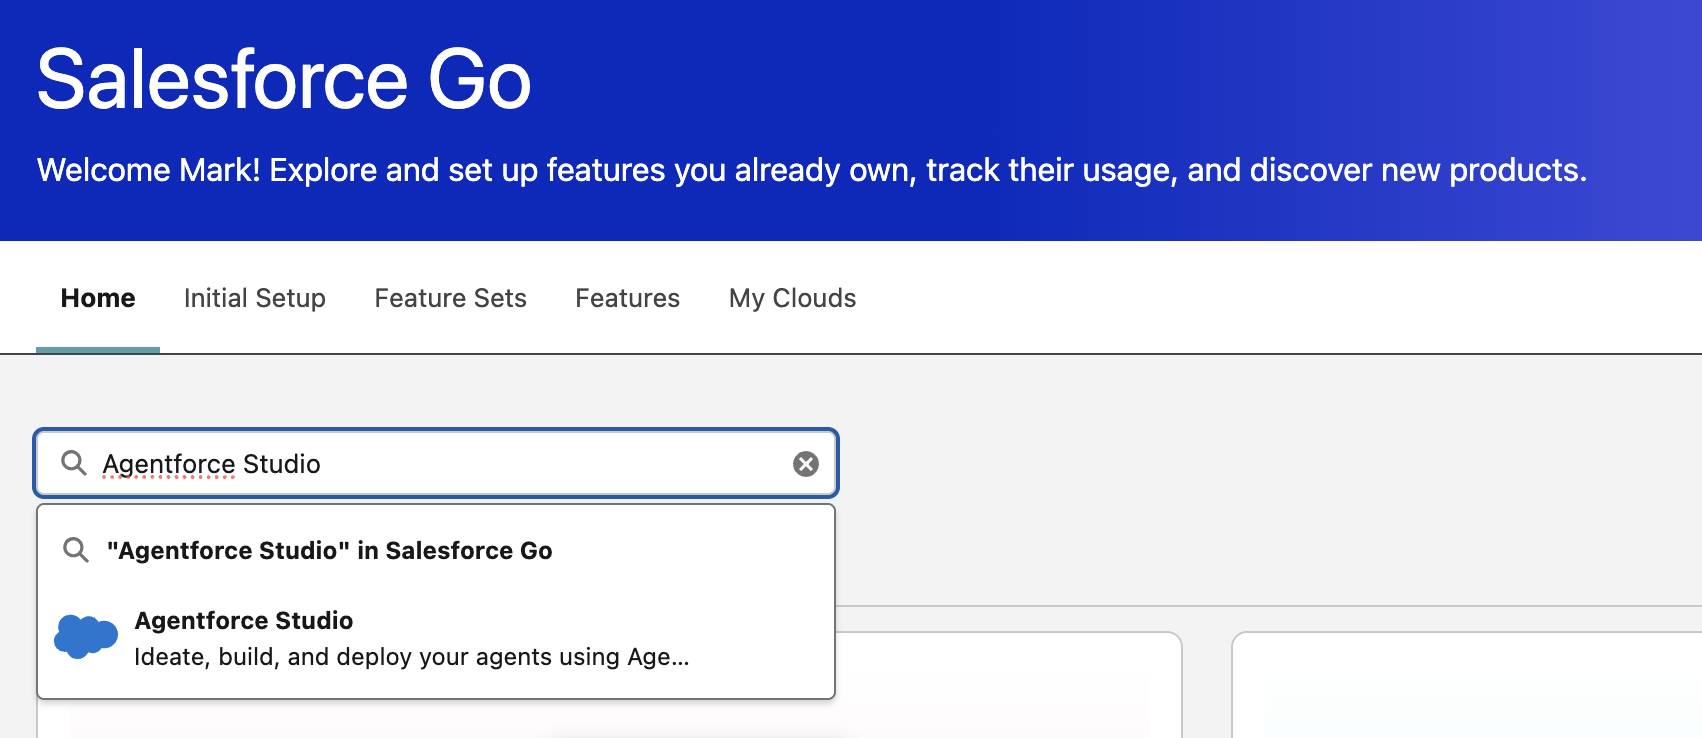
- In the Search features... textbox, enter and select Agentforce Studio.
- Click Get Started.
- Click Turn On.
- Click Turn On.
Now for the Agent Action
- Click
 to open the App Launcher, and search for and select Agentforce Studio.
- Click Connect Data 360.
- Click New Version.
- Under Subagents, mouse over General CRM and click +.
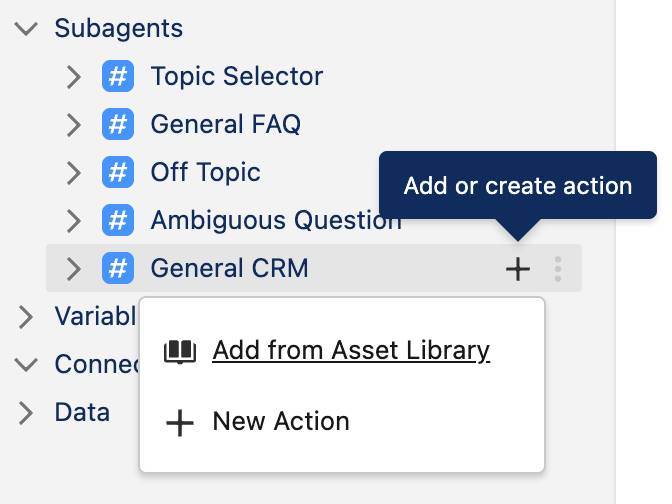
- Select New Action.
- For Action Name, enter
Create Check-in Guest Event.
- For Description, enter
This action creates a Guest Event record to capture when a contact completes check-in for a reservation. - For Reference Action Type, select Flow.
- For Reference Action, select Create Check-in Guest Event.
- Click Create and Open.
- For Inputs, ContactRecordId, check Require Input to execute action.
- For Outputs, EventSummary, check Show in conversation.
- Click Save.
- Click Commit Version.
- Click Commit.
- Click Activate.
- Click Activate again.
That’s it—Agentforce is ready to help check in guests. The only thing left is to try it out.
- In the Sales app, click the Contacts tab.
- Navigate to contact Sofia Rodriguez.
- Refresh the browser window.
- Click the Agentforce icon to open the Agentforce panel.

- In the Agentforce panel, type
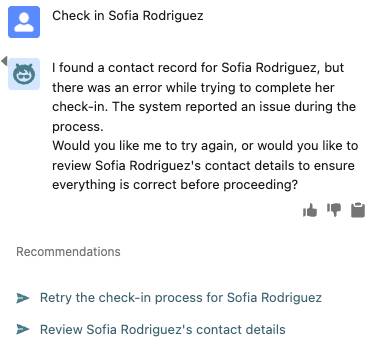
Check in Sofia Rodriguez, then press Enter/Return. After a few moments, the Agentforce agent should respond that check-in is complete, along with some details of the check-in. The Guest Event record was created too.
- Scroll down to find the Guest Events related list, then click the newly created GE record.
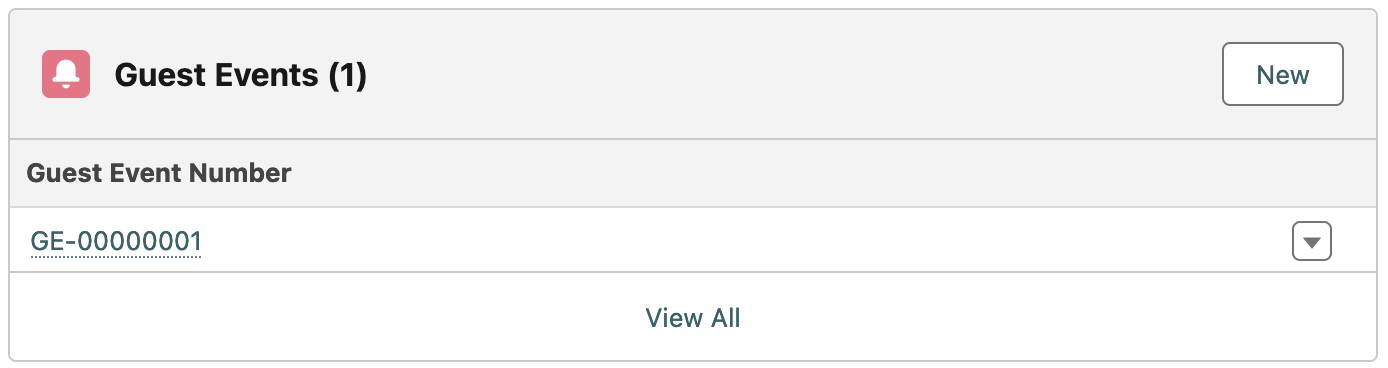
Great, the check-in event is captured just as expected.
- Close the Agentforce panel.
Phase 2 of Becca’s plan is a success. The resort staff loves how easy it is to check-in guests, and the social coordinator is already asking Becca to teach Agentforce how to create Guest Events for his activities.
And there you have it. Becca is quite satisfied with the way her project combined Data 360 and Agentforce to improve the experience of guests and staff alike. And after a short moment of reflecting on the success of the project, Becca sets out to find the social coordinator to begin their next AI + Data adventure.