Learn About Agentforce Builder
Learning Objectives
In this badge, you’ll:
- Use Agentforce Builder to create a service agent.
- Create a custom subagent for the service agent.
- Build custom actions with flows.
- Update an existing deployment flow.
- Add a service agent to an Experience Cloud site.
Coral Cloud Resorts + Agentforce Builder
Coral Cloud Resorts is known for two things: amazing destination activities and top-notch customer service. Business is booming. Coral Cloud’s customer service agents are busy providing activity recommendations and booking activities for clients. With the busy season upcoming, Coral Cloud Resorts needs to scale its service assistance quickly. If only there was a tool to help. Agentforce Builder to the rescue!
Meet Agentforce Builder
Agentforce Builder highlights natural language, portability, flexibility, and real-time visibility.
-
Natural language: Build with plain language. In Agentforce Builder, you can describe what you want an agent to do and AI helps generate subagents, instructions, and actions. It can also help you add guardrails and logic when you need more control, so agents stay flexible and predictable.
-
Portability: Build text-first, without buried settings or scattered text boxes. Write agents in clear, natural language right in the Canvas view, making them easy to copy, paste, and reuse. This portability means you can quickly share agents across teams or environments and build on proven patterns without starting from scratch.
-
Flexibility: Create and edit agents in different ways. Chat with the integrated assistant, build in natural language on the Canvas view with expandable blocks, or toggle to view the scripting language with syntax highlighting and real-time validation. The scripting language, Agent Script, is the new language for building and powering agents in Agentforce Builder. Script combines the flexibility of natural language with the reliability of programmatic expressions.
-
Real-time visibility: Preview agent behavior before going live. Send a message in the Preview panel and instantly see how your agent responds, with a detailed interaction summary, AI-generated overview, and clear visibility into key events. Hover over any step to reveal metadata and drill down into the exact moment things went right (or wrong).
All of these features can help Coral Cloud Resorts create a service agent and ensure its new agent can accurately and securely assist Coral Cloud Resort clients with on-site activity questions, availability, bookings, and more.
Sign Up for a Developer Edition Org with Agentforce Studio
To complete this project, you need a custom playground that contains Agentforce Studio and our sample data.
- Click Create Playground, and then click Yes, Create Playground.
- Your new org is automatically attached to your Trailhead account.
- Make note of your org's expiration date and complete this badge before then.
- Click Launch to open the playground.
Enable Agentforce and Publish the Experience Cloud Site
Step one of building an agent is enabling the required org feature.
- Click
 and click Setup. The Setup page opens in a new tab.
- In the Setup Quick Find, search for and select Salesforce Go.
- In the Search features... textbox, enter and select Agentforce Studio.

- Click Get Started.
- Click Turn On.
- Click Turn On in the confirmation window.
Publish the Experience Cloud Site
The agent is deployed via Coral Cloud’s Experience Cloud site. To prepare for deployment, get the Experience Cloud site ready for the new agent.
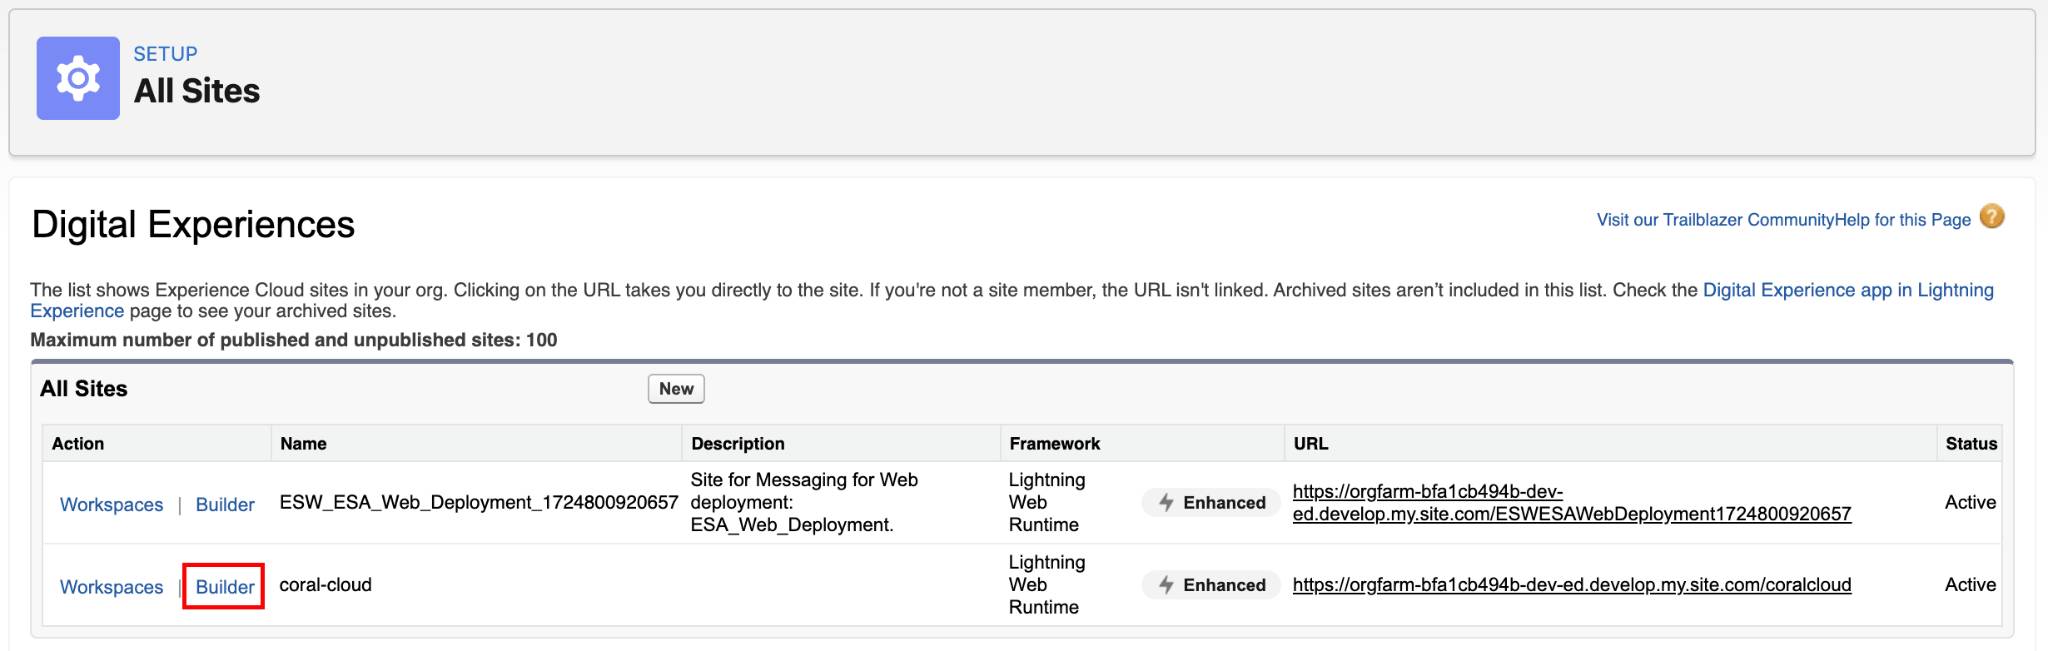
- In the Setup Quick Find, search and select All Sites.
- Click Builder next to the coral-cloud site.
- If a popup appears, click OK.
- Click Publish in the upper right corner.
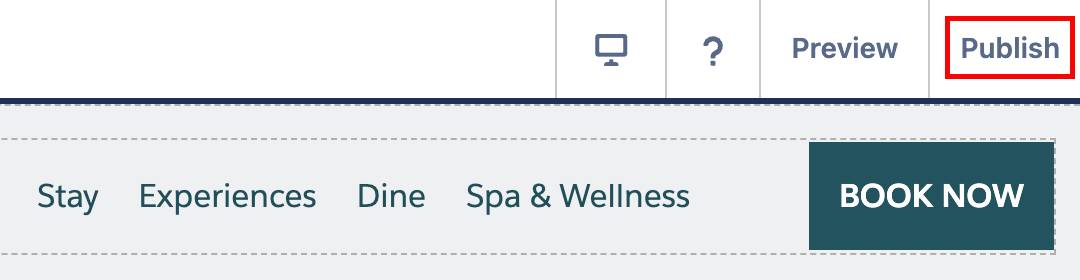
- Click Publish in the confirmation window.
- Click Got It.
- Feel free to close the Experience Site browser tab.
Now that you created the specialty org, connected it to Trailhead, and turned on Agentforce settings, it’s time to create and customize the service agent.