Create an Apex Agent Action
Learning Objectives
After completing this unit, you’ll be able to:
- Create an Apex Agent Action.
- Add an Agent Action to a subagent.
- Test the Agent Action.
Build an Apex Agent Action
Now that the Apex is ready, let’s add it to an action. You’ll see where the parameters in the Apex automatically get ported to the action.
- From the App Launcher
 , search for and select Agentforce Studio.
- Click Agent Customization.
- Click New Version.
- Under Subagents, select Answer Weather Questions.
- Under Actions Available For Reasoning, click Select action and select Create a custom action.
- For Action Name enter
Check Weather.
- For Description enter
This action will return the local weather information. - For Reference Action Type, select Apex.
- For Reference Action Category, select Invocable Method.
- For Reference Action, select Check Weather.
- Click Create and Open.
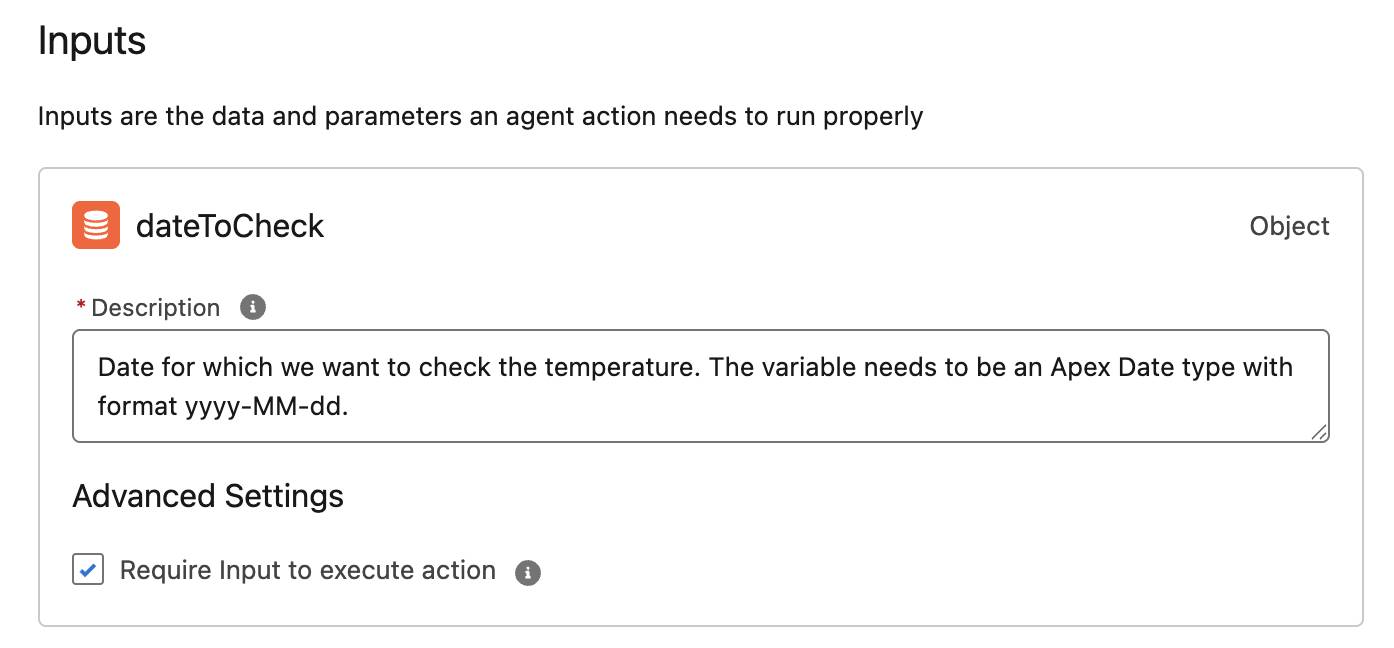
You’ll notice that in the for Inputs section, the dateToCheck is prefilled with a description from the Apex invocable variable description parameter. You can update or add to the instructions as necessary.
- Ensure that the Require input to execute action is defaulted to checked. This is done from the code where the required parameter is set to true.
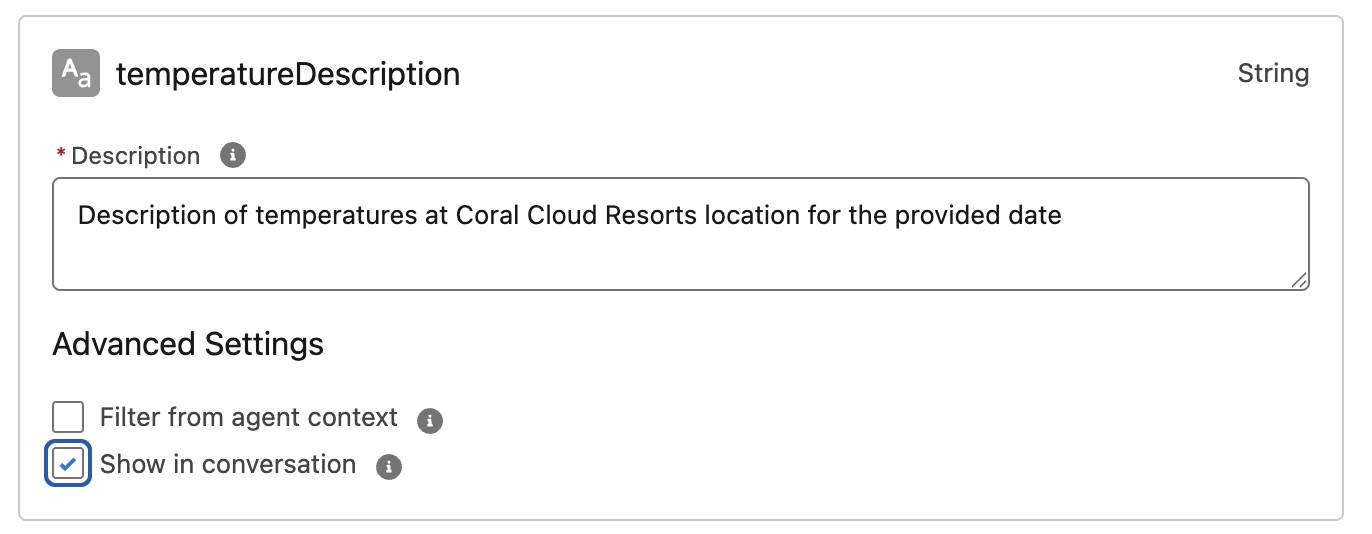
For Outputs, there are three that got pulled from the Apex invocable variables, maxTemperature, minTemperature, and temperatureDescription. The Instructions for each are prefilled from the corresponding description parameters and Data Type.
- For the third output, temperatureDescription, check Show in conversation.
- Click Save.
- Click Commit Version.
- Click Commit Version again.
- Click Activate.
- Click Activate again.
Excellent! The action is complete. You now know what it takes to add your Apex to actions. And you have a better understanding of how the Apex parameters work to help build out the action. Now you can test it.
Let’s Check the Weather
Agentforce Builder allows you to work with and preview the agent right in the tool.
- In Agentforce Builder, click Preview.
- You should be in Live Test Mode.
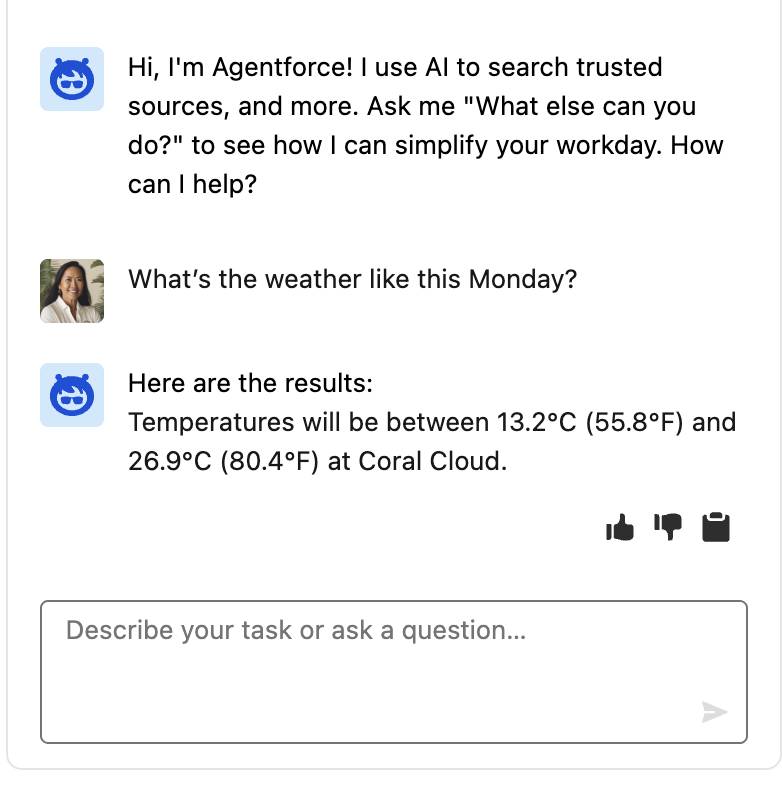
- In the Describe your task or ask a question box, enter
What’s the weather like this Monday?and press enter. The agent might ask for an exact date and give you the option to select one. Select the date for next Monday and submit.
-
Take a look at the steps the agent took and notice it selected the Check Weather action to fulfill the request. 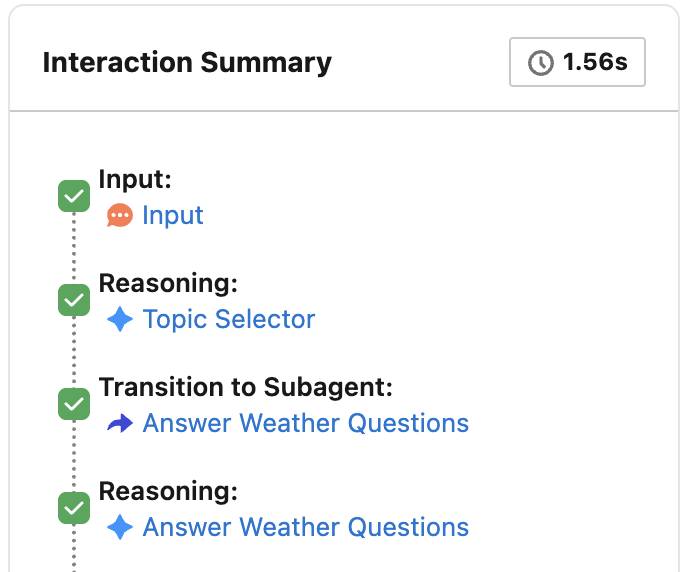
Well done! You’ve taken a large step toward using all of the Apex functionality your org already has and delivering it up for AI agents to use. You’ve learned some best practices and how to set parameters to get the most out of your agents.