Enable the Prospecting Agent
Learning Objectives
After completing this unit, you’ll be able to:
- Prepare your Salesforce org for Agentforce Prospecting configuration.
- Enable Agentforce Prospecting in Salesforce Go.
- Assign the required user permissions for Agentforce Prospecting.
Get Agentforce Prospecting Up and Running at Ursa Major Solar
As the admin responsible for the Ursa Major Solar sales org, you've watched your top sales reps spend more time toggling between tabs than talking to prospects. It's time to put AI to work on the repeatable steps so your reps can focus on building relationships and other strategic work. Agentforce Prospecting looks promising, and it’s available in Salesforce Go, which means you can enable the required features, manage user access, and connect data sources all in a step-by-step process from a centralized space.
Let’s start.
Sign Up for a Custom Playground with Account Management Agent
To complete this badge, you need a special limited-time custom playground that contains account management agent capabilities and our sample data.
- Select the I can receive a password email option (checkbox) at the beginning of this unit.
- Click Create Playground.
- Follow the prompts to create and connect the org to Trailhead.
- Make a note of your org's expiration data and complete this badge before then.
Enable Prospecting Agent
First make sure that the org has Agentforce capabilities and is set up to build and configure the agent. Follow the steps to prepare the org.
- Click
 and select Salesforce Go.
- Close any open pop-up windows and refresh the page to ensure all cards load completely.
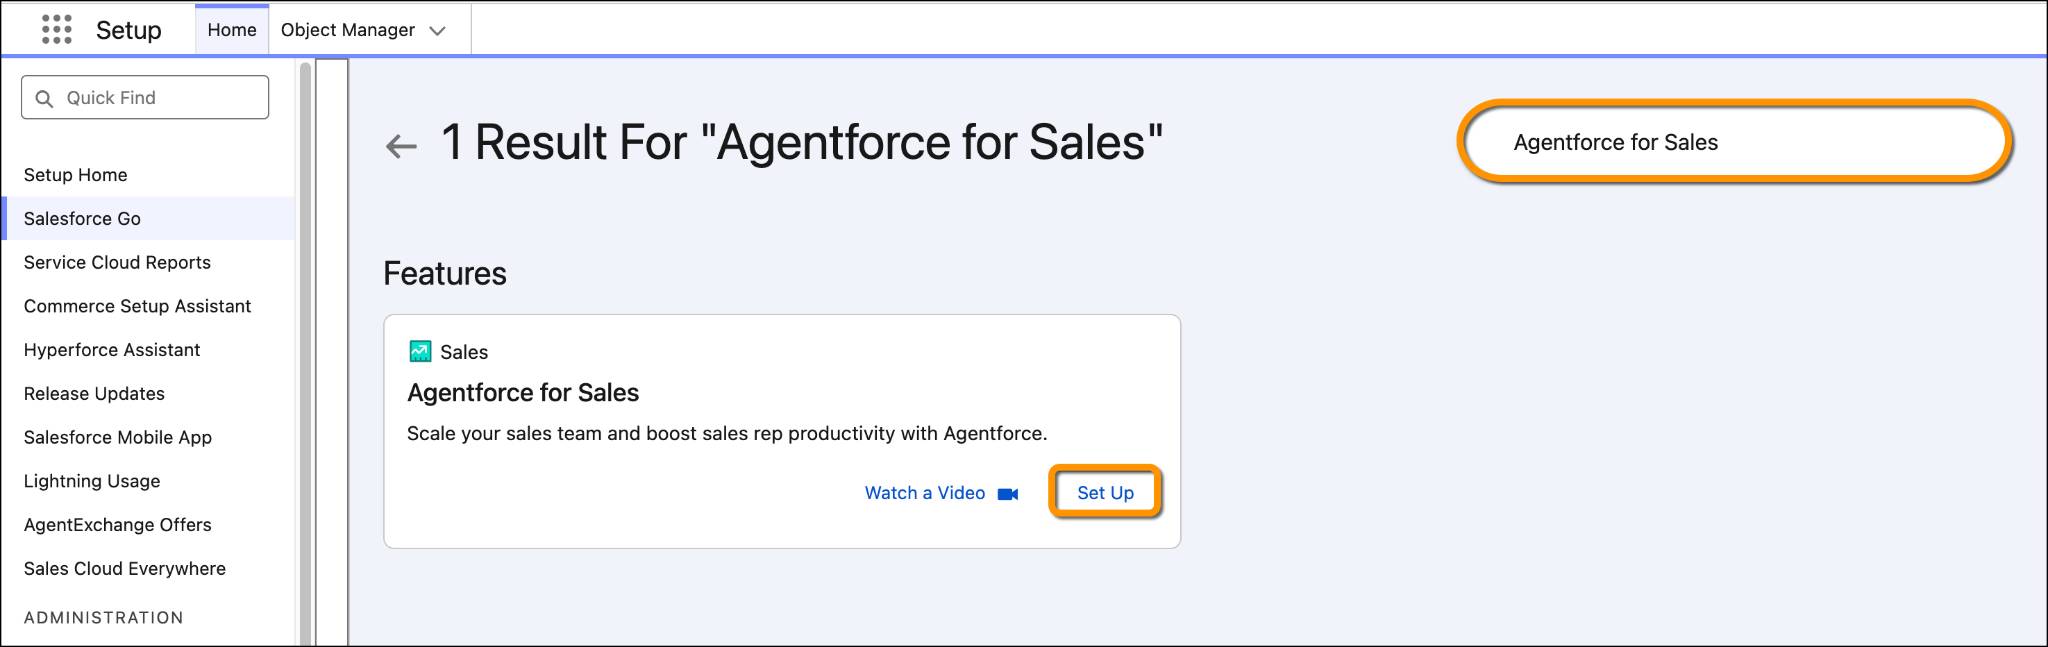
- In the Search features in your org field in the top-right corner, enter
Agentforce for Salesand press Enter.
- On the Agentforce for Sales card, click Set Up.
- Click the Turn On button to turn the Agentforce capabilities on.
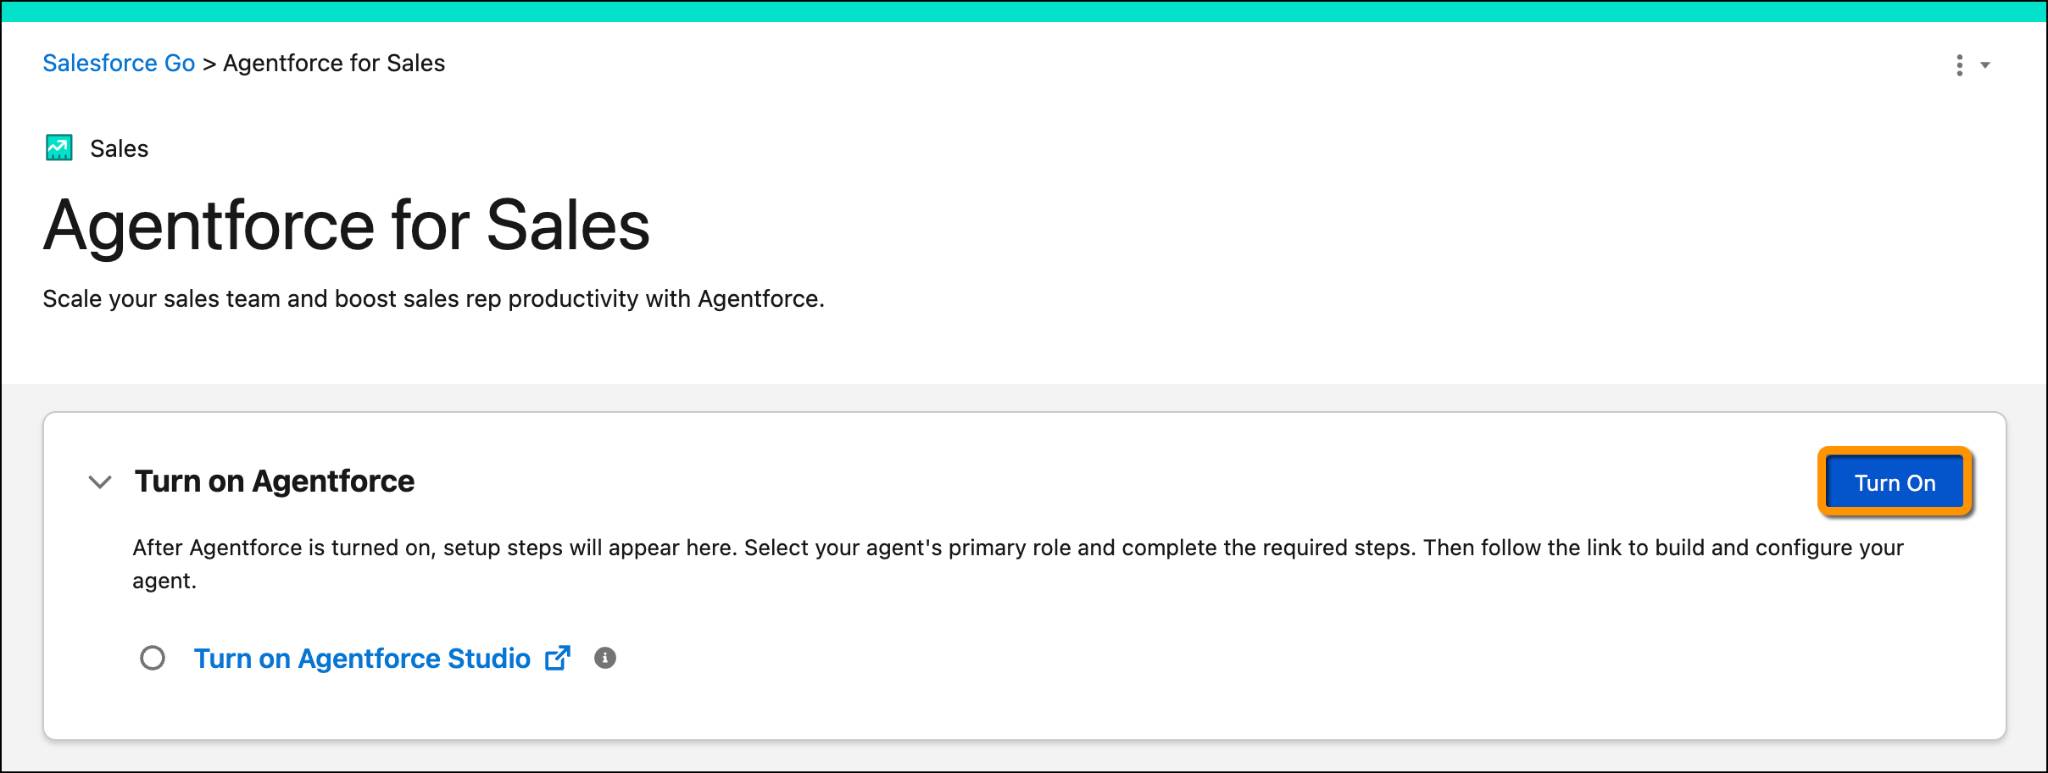
- Click Turn On again in the disclaimer popup box. This can take a minute or two. Once it’s complete, you see a success banner that Agentforce for Sales is ready to configure.
- Scroll all the way down to Prospecting and toggle it on.
- Click Turn On in the popup window. Again, wait for a few minutes until the agent gets turned on and you see the success banner: Prospecting was turned on and is ready to configure.
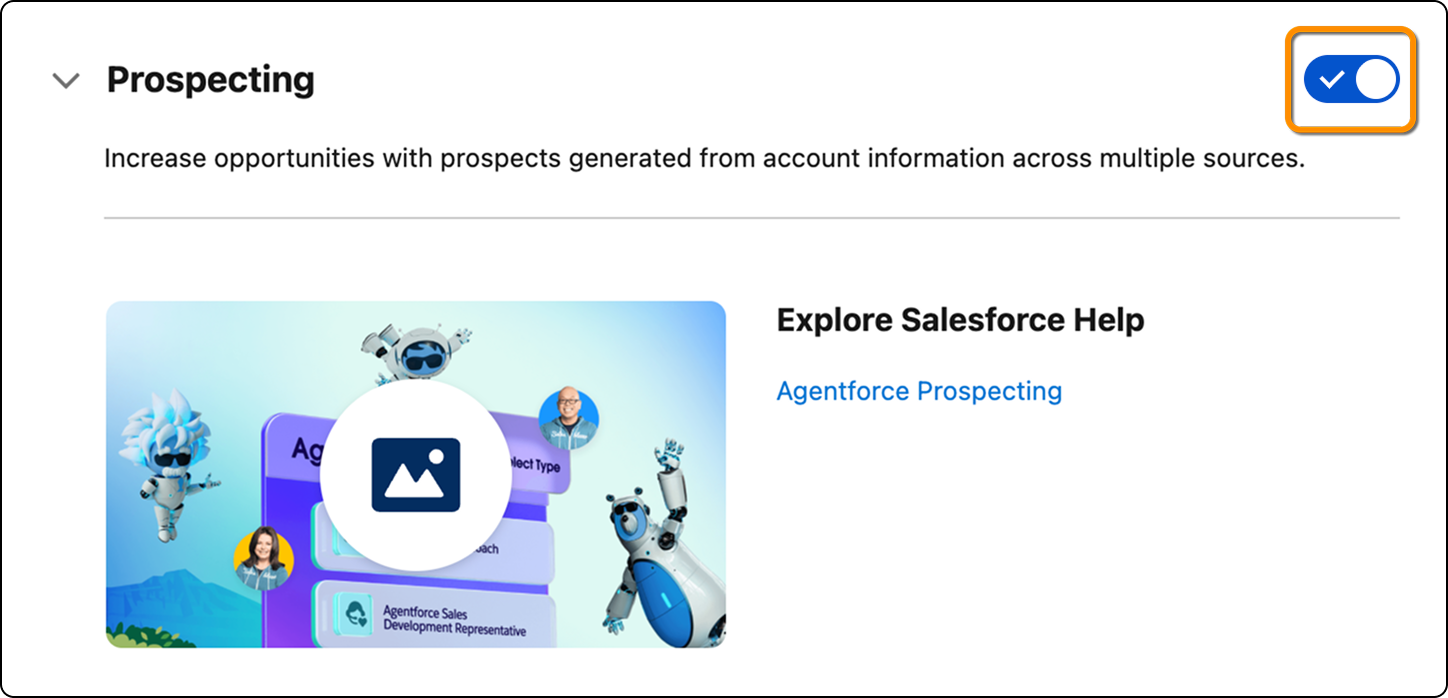
The prospecting agent is now enabled, revealing the setup steps needed to configure and build the agent.
Manage User Access
The next step is to assign user permissions so that admins can configure the agent and sales reps can use it to generate prospects. Follow the steps to assign user accesses.
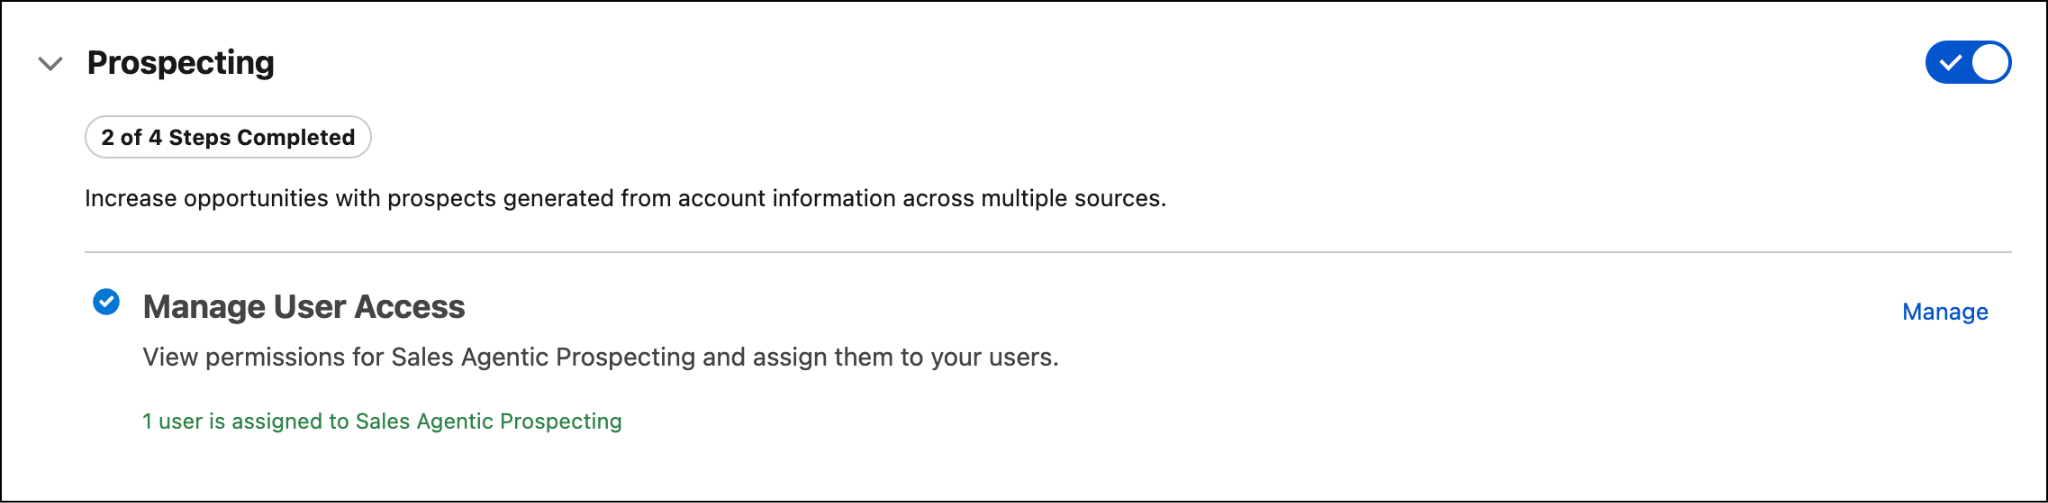
- Click Manage next to Manage User Access in the Prospecting card. This opens the Manage Prospecting User Access modal.
- Under the Prospecting Agents Manager tab, select the checkbox next to your own email address and click Assign.
- Click the Sales Agentic Prospecting tab, select the checkbox next to your email address again and click Assign. For this example, you’ve assigned yourself as both the admin to set up and configure the agent, and the sales rep to use the agent.
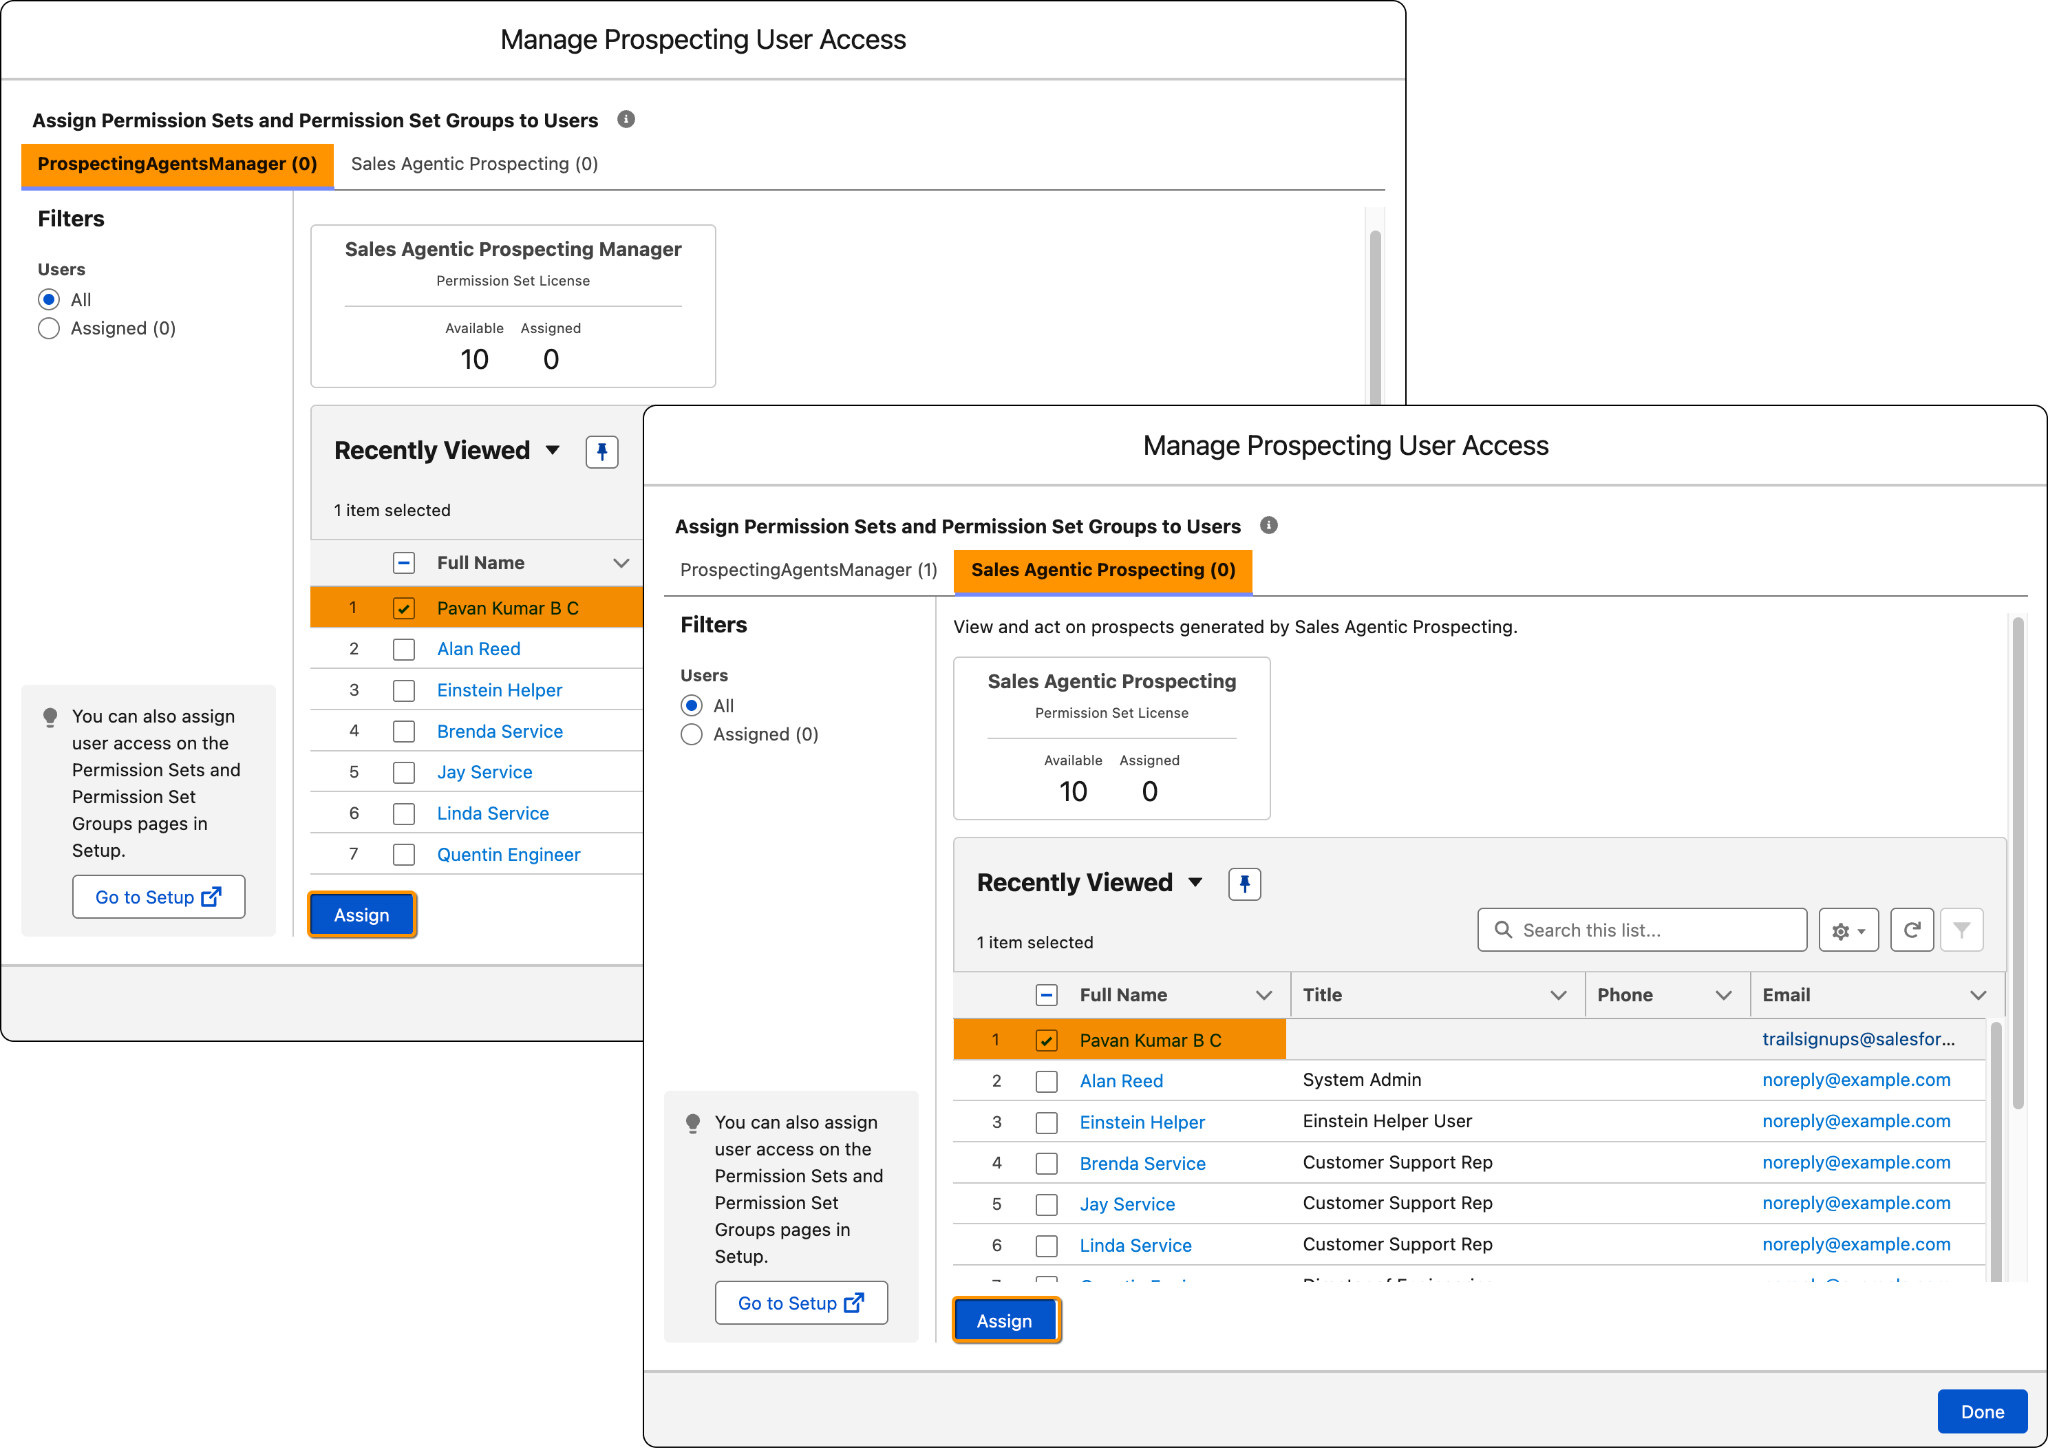
- Click Done and wait until you see a checkmark in the Manage User Access section.
Wrap Up!
You’ve successfully enabled the prospecting agent and assigned the required user permission. In the next unit, you configure this agent to understand your business and your ideal customers and start prospecting autonomously for your sales reps.