Publish and Test Your Landing Page
Learning Objectives
After completing this unit, you’ll be able to:
- Customize a landing page in the page editor.
- Publish a landing page.
- Test the form by submitting a test entry and verifying the Lead record in Salesforce.
- Describe the end-to-end data path from form submission to Salesforce CRM and Data 360.
Take It Live
Great news! When you activated the flow, it automatically published Ursa Major Solar’s landing page. Now, before you share the URL with the marketing team, you need to preview the page, apply a few visual tweaks, and submit a test entry to verify the full end-to-end pipeline. In this unit, follow Maria through these final steps.
Preview the Landing Page
Maria previews the landing page to review exactly what visitors will experience when they click through from the social media posts.
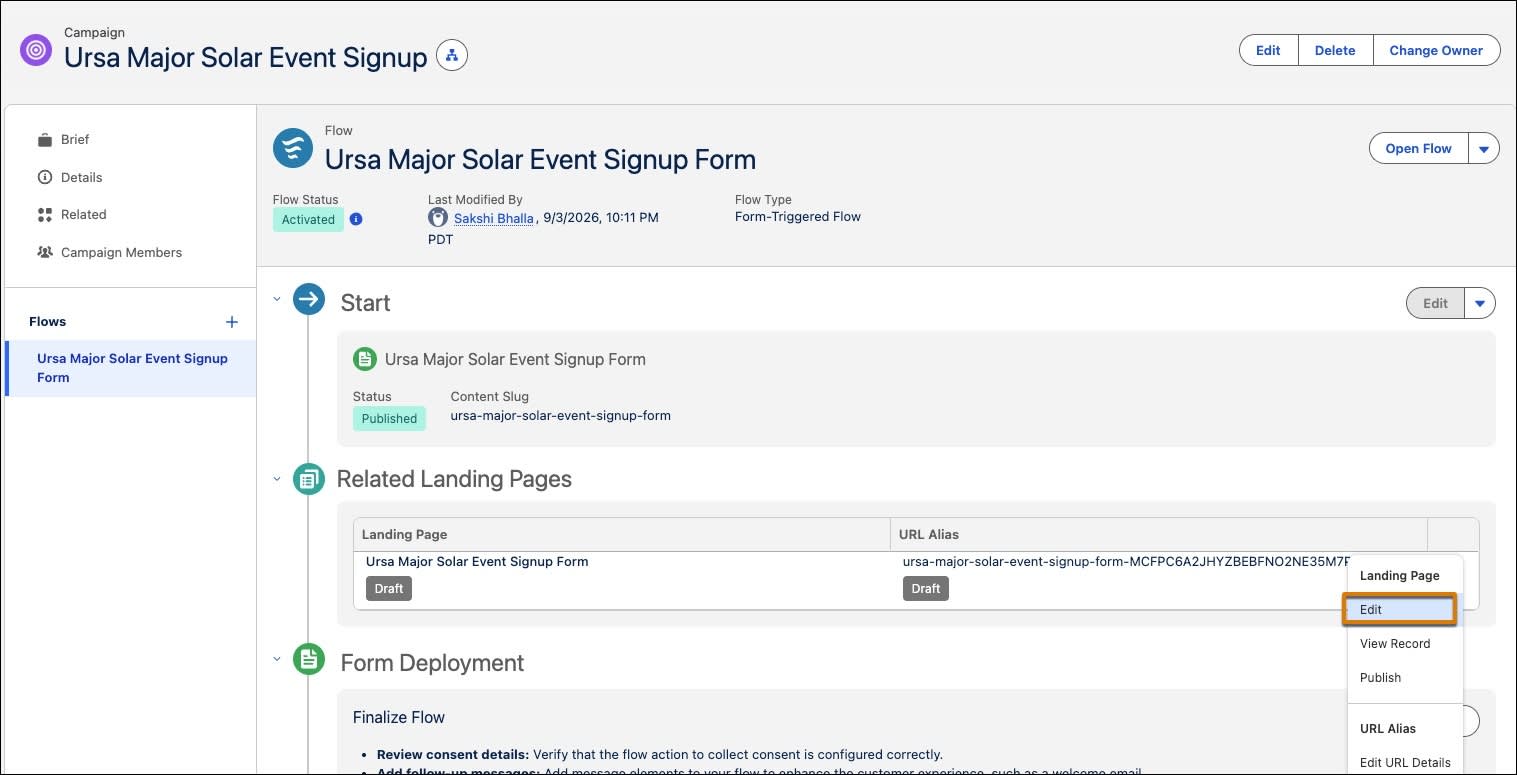
- From your activated flow, select the Back arrow to navigate to the Ursa Major Solar Event Signup page.
- In the Related Landing Pages section, select the dropdown | Edit.
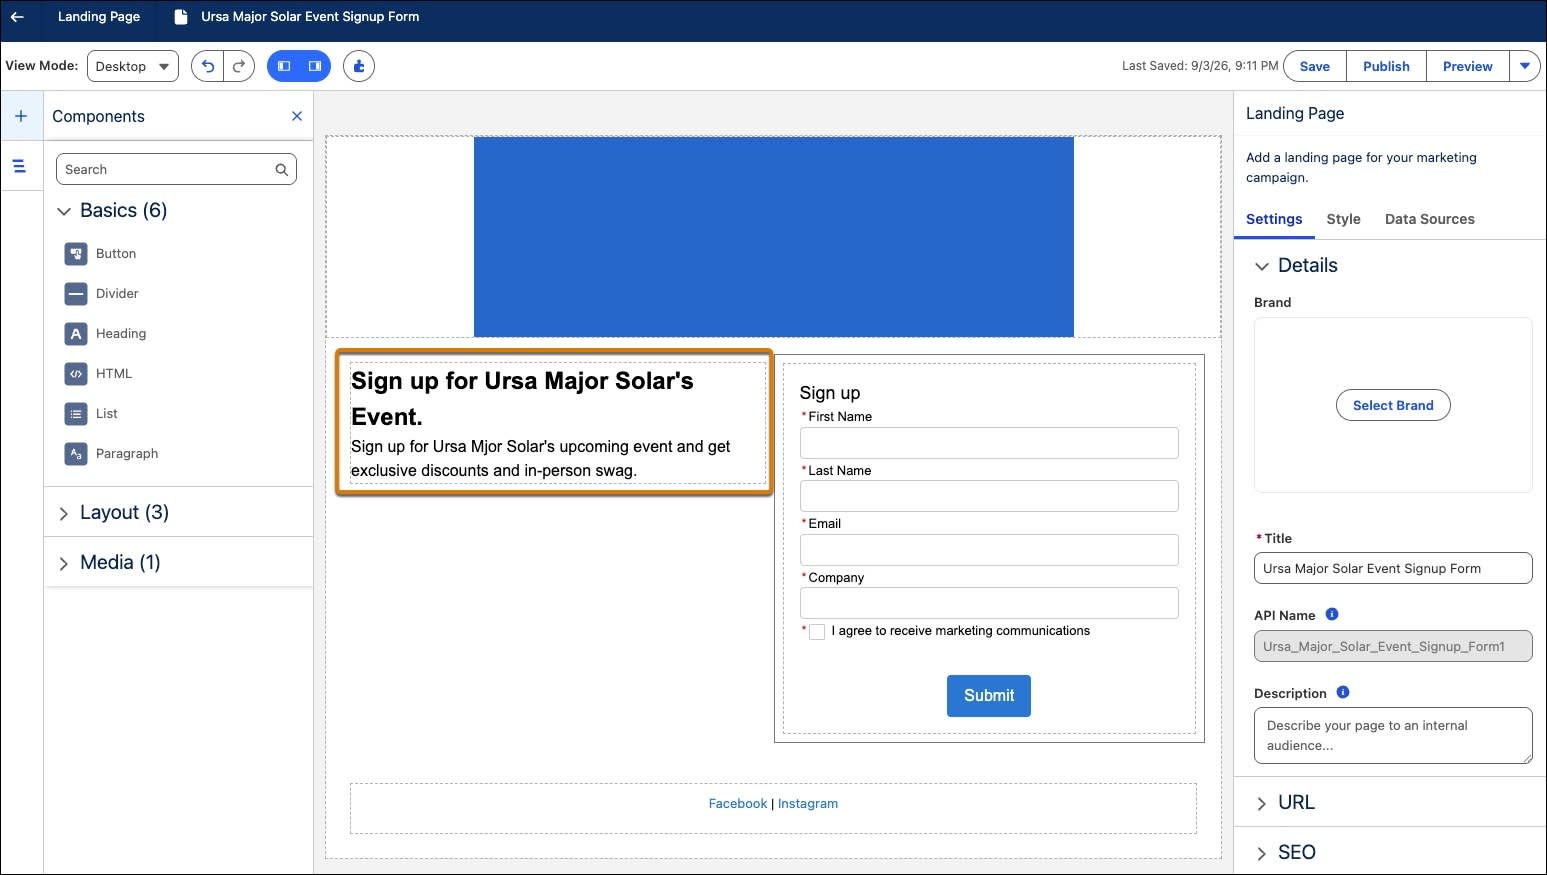
The landing page opens. Maria can see the form fields such as First Name, Last Name, Email, Company, and the consent checkbox. The form looks good but the page still has the placeholders, and a generic headline. It’s time to make it feel like Ursa Major Solar.
Edit the Landing Page
The page editor lets Maria customize the visual experience without touching the form fields or Flow logic.
- To update the headline:
- Select the headline text: Let’s design a signup page.
- For default text enter:
Sign up for Ursa Major Solar's Event - For the paragraph text, enter:
Sign Up for Ursa Major Solar's upcoming event and get exclusive discounts and in-person swag.
- Select the headline text: Let’s design a signup page.
- Remove the Important section.
- Select the Important section.
- Select the delete icon.
- Select the Important section.
- Remove the testimonial section.
- Select the testimonial section.
- Select the delete icon.
- Select the testimonial section.

- Select Save.
- Select Preview to review the page.
- Select the X (Cancel and close) to close the preview.
Publish the Landing Page
Maria publishes the landing page so she can provide the Public URL to the marketing team.
- To access the Public URL, select Publish.
- In the Publish Content dialog, select Next.
- Select Next | Publish Now. Publishing your landing page may take a moment.
- On the campaign page, in the Related Landing Pages section, select the dropdown | View Record.
- Select the URL tab.
- Select the Copy Public URL icon.
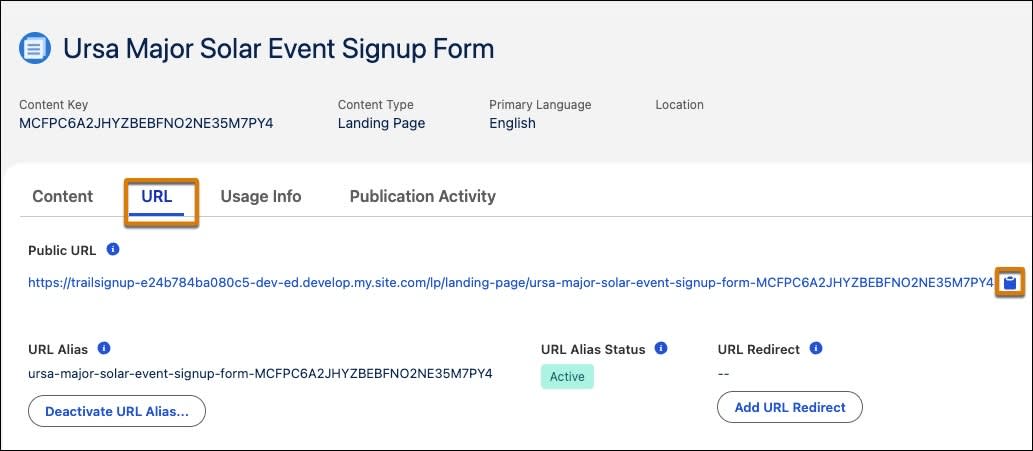
Maria pastes the URL into a note and sends it to the marketing team. It’s ready to drop into the social media posts.
Test the Form
Before the campaign goes live, Maria submits a test entry to verify the full pipeline: form submission to Flow to Lead record in Salesforce.
- In a new browser tab, paste the Public URL.
- Fill in the form with test details.
-
First Name:
Test -
Last Name:
Lead -
Email:
testlead@abc.com -
Company:
ABC
-
First Name:
- Select the consent checkbox.
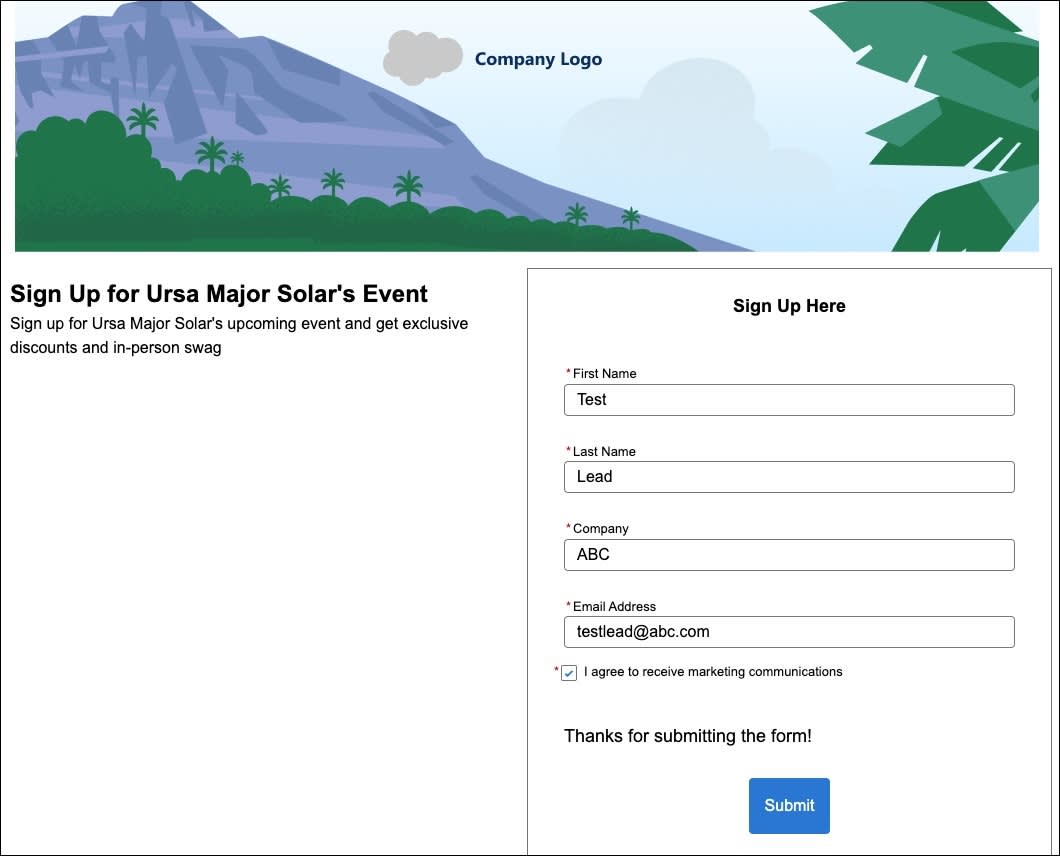
- Select Submit.
The thank you message appears. Now Maria needs to confirm the Lead record was created in Salesforce.
Verify the Lead Record
Maria navigates to the Leads tab to confirm everything landed correctly.
- Navigate back to your playground, and select the Leads tab.
- Use the Search bar to find and select the Test Lead record.
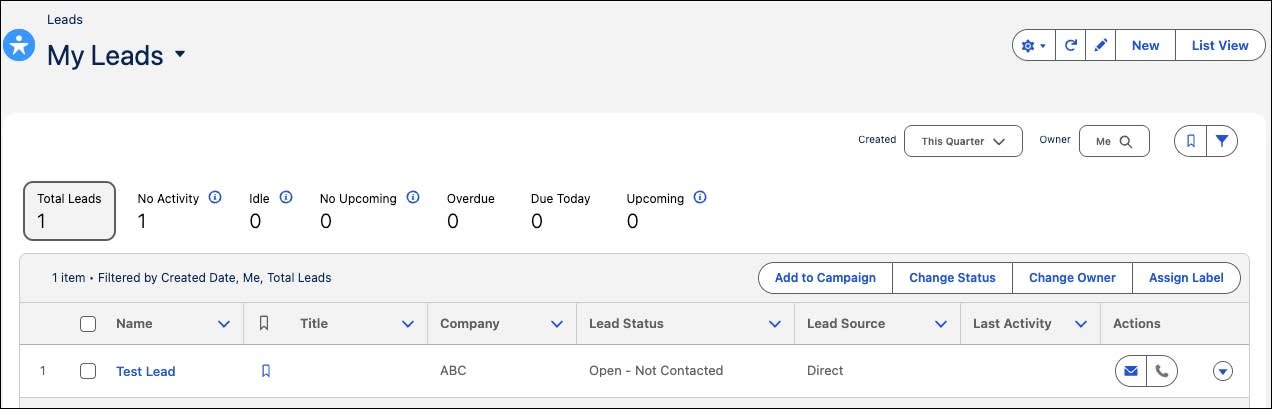
Maria confirms the fields populated correctly—everything checks out. The form submission created a properly mapped Lead record.
The End-to-End Data Path
Now that all the elements are live, here’s what happens from the moment a visitor clicks Submit to the moment their data is ready for the sales team.
-
Form Validation: The form validates the submission by checking required fields and email formatting.
-
Flow Execution: The connected Flow fires automatically to process the submission.
-
Duplication Check: The “Check for Matching Records” element compares the submitted email address against existing Lead records. If it identifies a match, it skips creating a new record.
-
Lead Creation: The “Create Records” element generates a new Lead in Salesforce CRM using the mapped field values.
-
Consent Capture: The “Create Consent” element links a Contact Point Consent record to the new Lead.
-
Confirmation: The form displays a confirmation message to the visitor.
-
Data 360 Sync: The Data Kit automatically syncs the new Lead record to Data 360, where Identity Resolution matches it to a Unified Individual profile.
Ursa Major Solar’s advertisement campaign is live. Maria built a fully connected lead capture form with duplication check and consent, published it to a live landing page, and verified the full pipeline end-to-end—all without writing a single line of code.
Wrap Up
You now have the skills to set up lead generation end-to-end—from creating a campaign to publishing a live landing page that feeds clean, enriched Lead records directly into Salesforce CRM and Data 360.
To pass the challenge and complete the badge, select Check Challenge to Earn 500 Points.