Get Started with Grounding Agents in Data 360
Learning Objectives
After completing this unit, you’ll be able to:
- Explain why Data 360 is important for grounding agents.
- Ingest and map Case data in Data 360

Before You Start
Before you get started, consider completing this recommended content.
-
Data 360-Powered Agentforce
-
Retrieval Augmented Generation: Quick Look
-
Hybrid Search for RAG: Quick Look
Data 360 and Grounded Agents
When agents are grounded in data from Data 360, they access a vast knowledge base of up-to-date, unified customer data. Grounded agents respond to customers more intelligently and effectively, replacing generic responses with personalized ones based on real customer experiences. In this badge, you implement a service agent that’s grounded in Case data from Data 360. You build a RAG-powered solution that includes a search index, retriever, and prompt template. The solution extracts relevant information from the unstructured free-form text fields in the Case records and grounds your agents’ responses.
Case Study
The company you’re working for is a leading provider of toaster ovens. As the company’s customer base grows, its service team is getting overwhelmed by customer inquiries. You’ve been tasked with building a service agent to alleviate stress on the service team and resolve customer questions. Your agent will use past customer cases to formulate their responses.
Let’s get started!
Sign Up for a Developer Edition with Data 360
To complete this badge, you need a special, limited-time custom playground that contains Data 360 and our sample data.
- Select Create Playground.
- Your new org is automatically attached to your Trailhead account.
- Make note of your org's expiration date and complete this badge before then.
Ingest and Map Case Data
The first step is ingesting Case data with free-form fields. To bring Case data into Data 360, create a data stream.
- In the App Launcher, enter and select Data Cloud.
- Select Connect & Unify, then select Data Streams.
- Select New, select Salesforce CRM, and select Next.
- Select View Objects, then search for and select Case, then select Next.
- In the Standard Fields tab, deselect all fields. The required fields will remain by default and can’t be deselected.
- Search for and select the Subject, Description, and Created Date fields.
- For the Object Category, select Engagement.
- In the Event Time Field, select Created Date.
- Keep the selections in the Custom Fields tab. Click Next.
- Select Deploy. If you get a message about required fields, ignore it.
- Select the Case_Home data stream.
- If the Data Stream Status is Active and the Last Run Status is not Success, select Refresh Now, Incremental Refresh, then Refresh Now. If the Data Stream Status is Processing, wait a few minutes then check again.
- Wait 10 minutes then refresh the page. Confirm that Last Run Status is Success and Total Records has a number before proceeding.
Now you’ve successfully ingested data into Data 360.
Map the Case Object
The data stream automatically creates a Case_Home data lake object (DLO). Next, map the Case_Home DLO to the Case data model object (DMO).
- In the Data Mapping panel, select Start.
- Under Data Model Entities, choose Select Objects.
- Search for
Casein the All Objects panel, select the + button next to Case, then select Done. DLO and DMO fields are automatically mapped.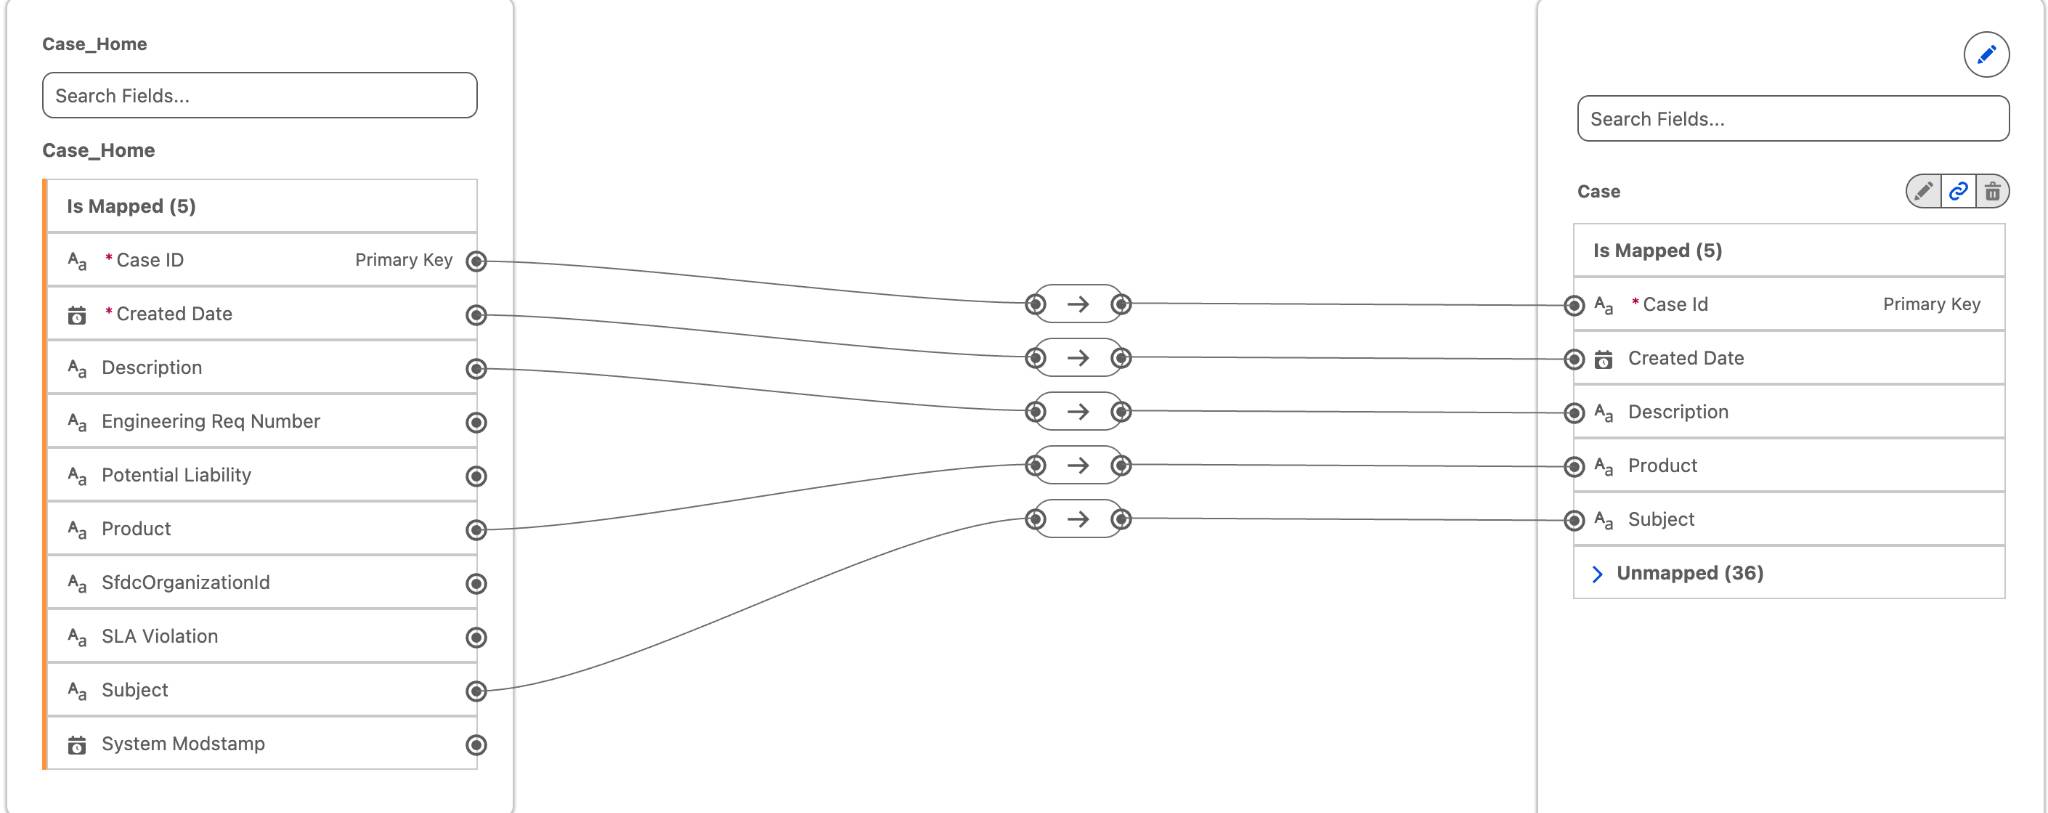
- Select Save & Close.
Finally, view your data in the Case DMO from Data Explorer.
- Select Explore & Optimize, then Data Explorer.
- For Object, select Data Model Object, then search for and select Case.
Notice how the Description and Subject fields contain free-form text.
Turn On Einstein and Agentforce
- Select the gear icon and select Setup.
- In the Quick Find box, search for and select Einstein Setup.
- Turn on Einstein.
- Refresh the browser.
- In the Quick Find box, search for and select Agentforce Agents.
- Turn on Agentforce Agents.
Next Up
Now your Case data is ready to be used in Data 360! Click Check Challenge for 500 points to move on to the next unit where you build a search index so the Cases are searchable.