Import Data and Test the App
You now have a fully functional application. You built the data model, and in parallel behind the scenes, the user interface was created for you. And a full SOAP and REST API layer was automatically created to integrate your Travel Approval objects with objects in other systems. In this final step, you import some data and test the app.
Import Departments
Before you test your application, first load some sample data into the Departments object.
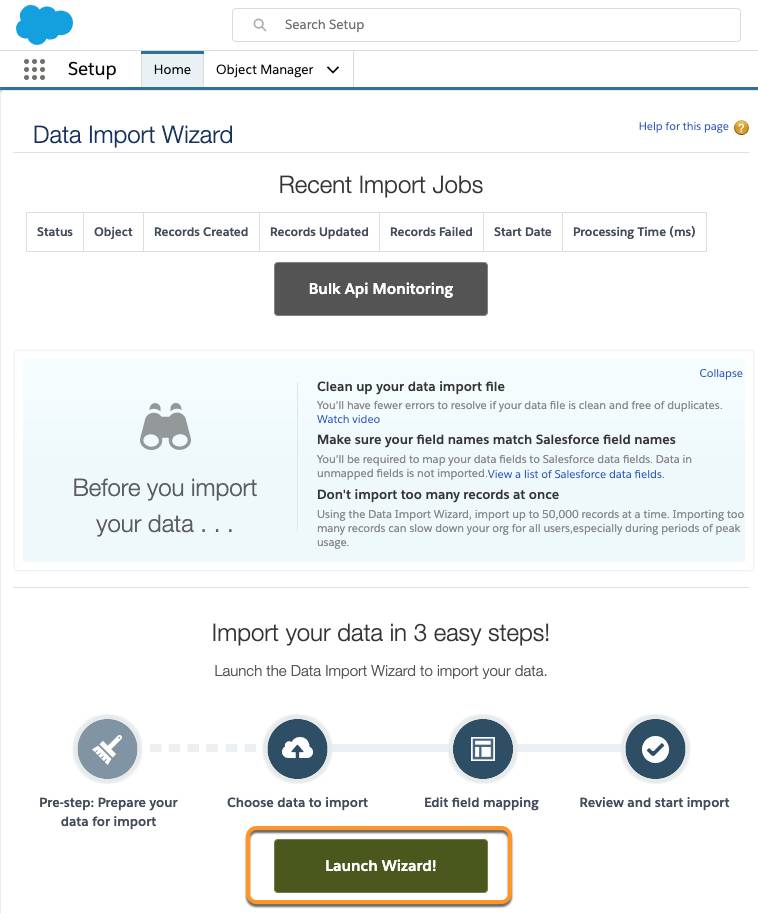
- From Setup, click the Home tab.
- In the Quick Find box, search for and select Data Import Wizard.
- Click Launch Wizard!
- Click the Custom objects tab and select the Departments object.
- Next, select Add new records.
- Drag and drop the Departments.csv file you downloaded in the first unit to the Drag CSV file here to upload section, or click the CSV icon and browse to select your file. Select Next.
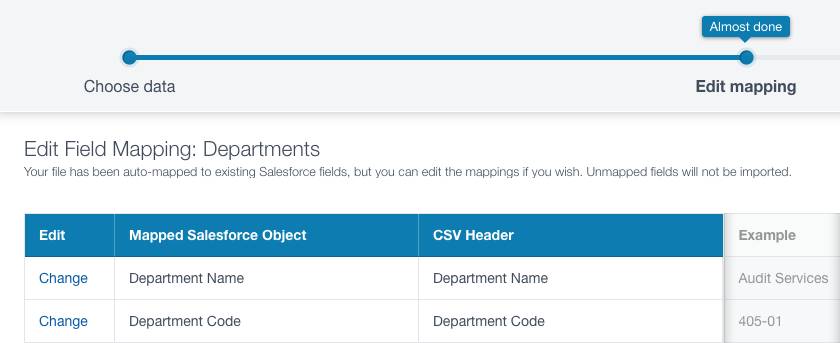
- Since the field names in the CSV file (CSV Header) are the same as the field names in your object (Mapped Salesforce Object), the fields are automatically mapped. Click Next.
- The next screen gives you a summary of your data import. Click Start Import.
- Click OK on the popup.
This takes you to the bulk import summary window that shows that the process has completed and 16 records have been successfully imported or processed. You also get an email notification confirming the import.
Test the App
Now that you imported department data, you can test out the app.
- Click
 to open the App Launcher and navigate back to your Travel App.
- Click the Departments tab.
- Click the Recently Viewed (1), and select All (2).

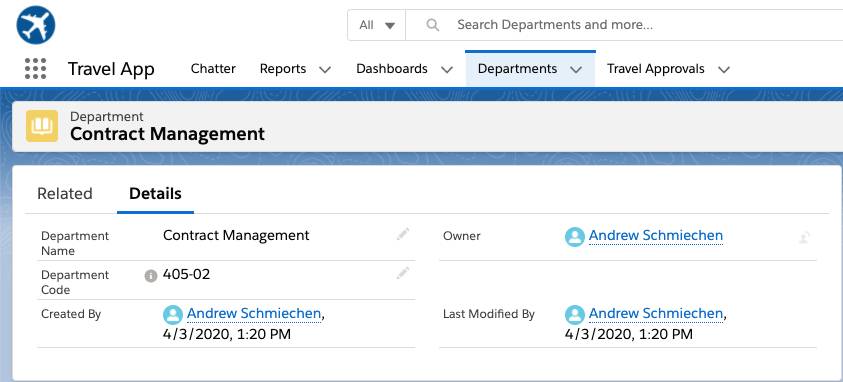
- Click any one of the departments to drill down into the Department details. For example, click Contract Management and check out the department details including the Department Code field you created, along with some default fields.
Now, create a sample travel approval and associate a few expense estimates to it.
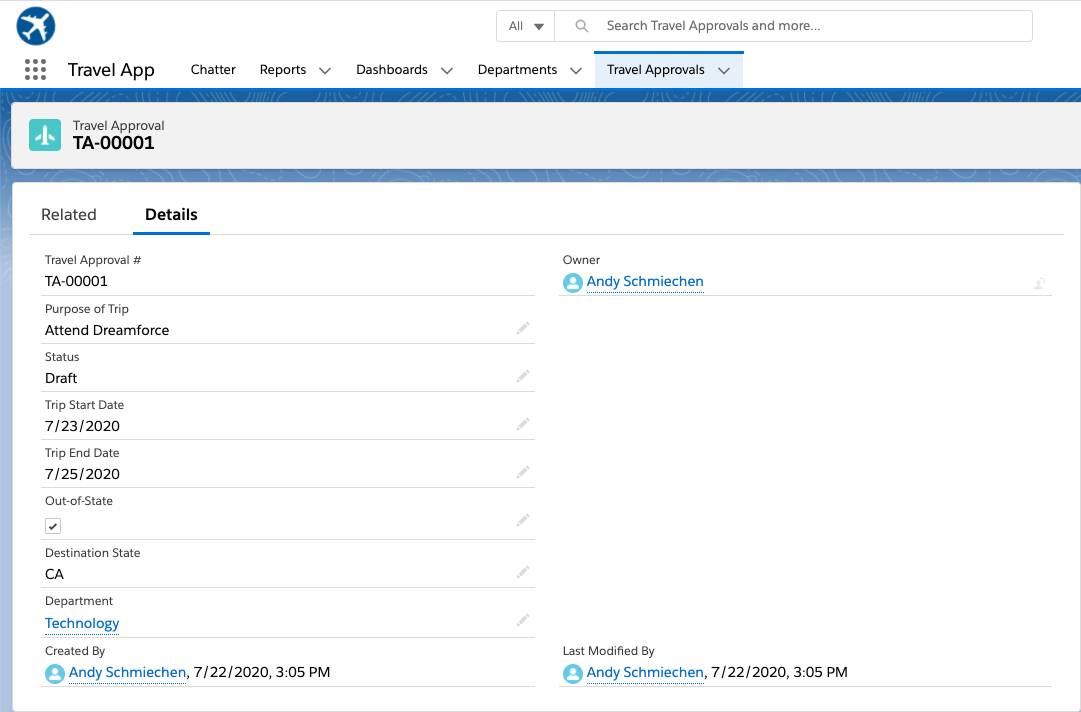
- Click the Travel Approvals tab and click New.
- Enter these details.
Parameter |
Value |
|---|---|
Purpose of Trip |
Attend Dreamforce |
Status |
Draft |
Trip Start Date |
(pick any date you want) |
Trip End Date |
(pick any date you want) |
Out-of-State |
Check/select this option |
Destination State |
CA |
Department |
Technology |
- Click Save. You now have a travel approval record.
Finally, add expense estimates for airfare and hotel to the travel approval. Click the Related tab.
- Click New, then enter these details.
- Amount:
450 - Expense Type: Airfare
- Click Save & New.
- Click New then enter these details.
- Amount:
870 - Expense Type: Hotel
- Click Save.
Congratulations! You successfully created a travel app for your organization. To build the app, you created custom objects for Departments, Travel Approvals, and Expense Items, and you imported department data. Finally, you tested the app by creating the first Travel Approval record. In the next badge, you learn how to customize the user interface, work with list views, and enable Chatter.