Approve and Complete the Connection
Learning Objectives
After completing this unit, you’ll be able to:
- Approve requests for Slack connections in Salesforce.
- Finalize the connection via the Slack admin dashboard.
Approve the Connection Request
Now, return to your Salesforce environment. Once the request to connect has been made in Slack, a Salesforce admin (in this case, you!) can approve it in Salesforce.
- From Setup, in the Quick Find box, search for and select Manage Slack Connection. You’ll see a pending request from your Slack playground.
- Check the checkbox to agree to terms, including the Slack user terms.

- Select Approve. The connection page refreshes and the Waiting for activation by Slack admin status appears.
Activate the Connection in Slack
Let’s go back to Slack and finalize the connection. Workspace Owners and Salesforce Admins can activate a pending Salesforce connection.
- If you’re not on the Slack admin page, navigate there by selecting Workspace name | Tools & settings | Manage Salesforce organizations.
- If you kept your tab open, refresh. Your Salesforce org appears with a connection status of Ready to activate.
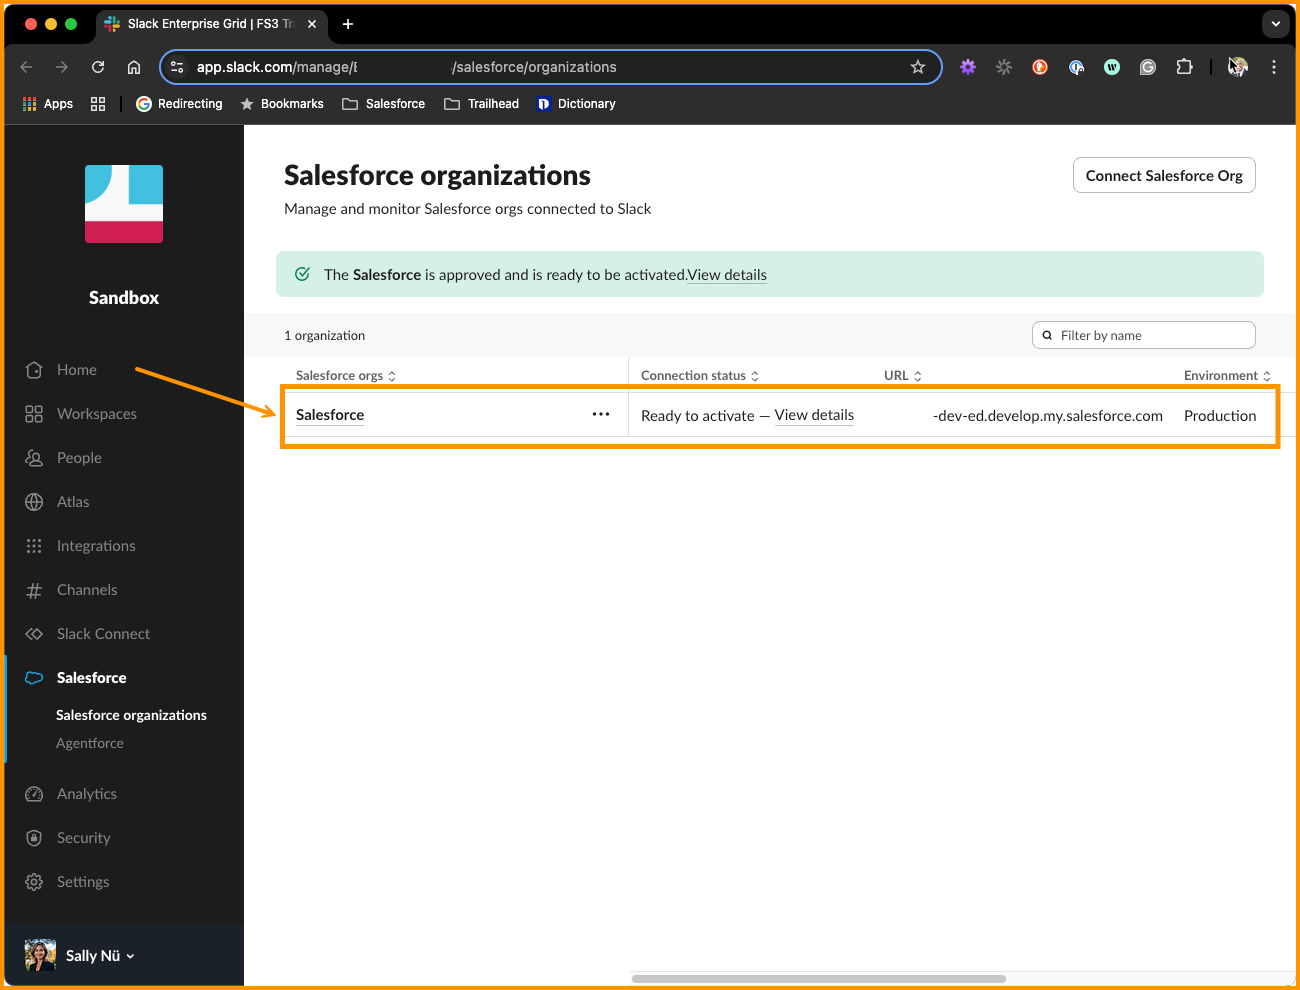
- In the Connection status column, select View Details.
- Then, select Activate.
- In the modal, select Activate.
Stay on this page to add your user.
Add Your Slack User to Salesforce
Now you can add your Slack user.
- Select the Users tab.
- Select Add individually.

- Search for your Slack user and select your username. It’s appended with “(you)”.
- Select Grant Access to 1 Person.
Your Slack user should now be listed under the Users tab.
Sign Your Slack User into Salesforce from Slack
The final part of this integration is to sign in using your Agentforce org user credentials.
- Go back to your Slack workspace. If you kept the tab open, refresh.
- A modal in your navigation says Bring Salesforce data into Slack. Select Sign in to Salesforce.

- Select Continue.
- Select Continue to Salesforce.
- Enter your admin login credentials.
- Select Login and then Allow.

You get a message that you were successful in connecting your account. You can close the OAuth window. Go back into your Slack workspace, and the modal should show that your org is connected.
That’s it—your Agentforce and Slack orgs are connected, and your agent is primed to be deployed.
Integrations can take time and effort, and you did well! You created the connection between your Agentforce org and Slack. Now, you can easily and safely bring agents into the flow of work. All this hard work makes it easy to deploy your agent.
What Next?
It’s time to deploy your agent into Slack! To learn more about Slack agents, how they can interact with your team and Slack org, and complete the deployment, take the Agentforce Configuration for Slack Deployment badge.
Resources