Get Started with Preference Manager
Learning Objectives
After completing this unit, you’ll be able to:
- Describe how Preference Manager features help you meet privacy law requirements.
- Navigate the Preference Manager dashboard.
Why Preference Manager?
Meet Calvin Green, the company admin for Zephyrus Relocation Services. Zephyrus is a small, but growing company that offers comprehensive relocation management for corporate employees moving out of their native countries. This means that Zephyrus handles a lot of personal, and sometimes sensitive, customer information. The company helps employees acquire visas, find housing, locate schools, arrange for language training, acclimate to a new culture, and more.

One of Calvin’s challenges is to ensure that his org stays compliant with data privacy legal requirements. While specific requirements vary and evolve by region, the overall privacy law landscape has established guidelines to protect and empower data subjects. Laws like the General Data Protection Regulation (GDPR) give individuals the right to:
- Control if and how their data is accessed by data controllers.
- Request that controllers stop accessing their data.
- Request a copy of their data from the controller.
- Request that their data be deleted from the org.
The data controllers, such as Zephyrus, use tools like Salesforce Privacy Center to help legally manage these requests and how data is stored, deleted, and transferred. But what about how a data subject’s consent is obtained and maintained? This is where Preference Manager shines.
With Preference Manager, Zephyrus can host self-service forms for customers to indicate when, why, and how they want to hear from the company. Do they want daily emails with rental and real estate listings in the area they’re moving to? Newsletters about local events and meetups for expatriates? Do they want to hear about Zephyrus’s growing repertoire of services, even after they’ve moved? With Preference Manager, customers can quickly and easily update their consent preferences at any time.
Privacy Law Compliance
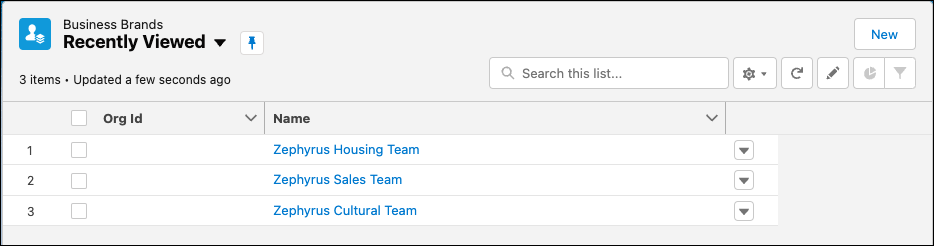
Since data subjects have the right to control who has their data, and what kind of data they have access to, Calvin needs a way to clearly communicate which internal teams are requesting the data subject’s information. Salesforce has a solution: Calvin can organize the company’s different departments using the Business Brands object.
By creating different records on the Business Brands object, he can establish different internal “brands,” such as the sales team, the visa acquisition team, and the cultural acclimation team. Some customers may only want Zephyrus’s help with getting a visa, while others may want help finding language training or help buying a house.
These brand records are an essential component to how the preference forms are structured. And by giving customers the option to decide who can contact them from Zephyrus, Calvin is respecting the data subject’s legal right to object to and restrict how their data is processed by Zephyrus.
Data privacy laws like GDPR require a basis of data processing. In other words, organizations must have a lawful basis to retain and use personal data, such as to satisfy the purpose of an agreement with the data subject or to obtain consent to be contacted. Organizations are required to obtain consent in a manner that is freely given, specific, informed, and unambiguous.
Calvin can meet these requirements by using the Data Use Purpose object in his org’s Preference Manager setup.
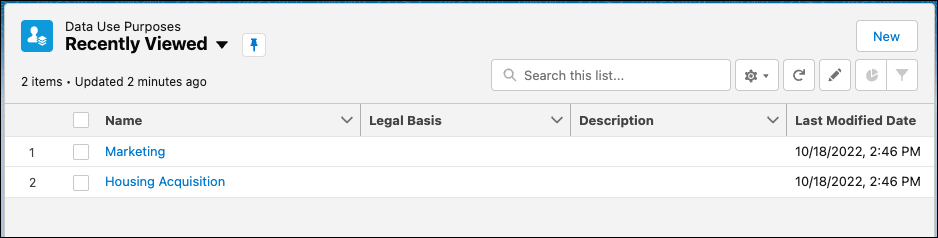
Say the sales team wants to store email addresses so they can contact existing customers about a new service. Their data use purpose for storing email addresses is marketing. But do they need customer home addresses for email marketing purposes? Of course not. The team that helps customers acquire housing does though, and Calvin can create a different data use purpose record just for that team. Now they can securely, and legally, store customer addresses for the purpose of acquiring housing. By creating data use purpose records for Zephyrus, Calvin’s org is privacy law compliant.
Navigate the Preference Manager Dashboard
After Calvin creates records for the different business brands and data use purposes that his company needs, he can start creating self-service preference forms for his customers. Everything Calvin needs to create a no-code preference form is available from the Preference Manager dashboard. Follow along as he gets acclimated with the app.
From the App Launcher, enter Privacy Preference Manager, and select the app.
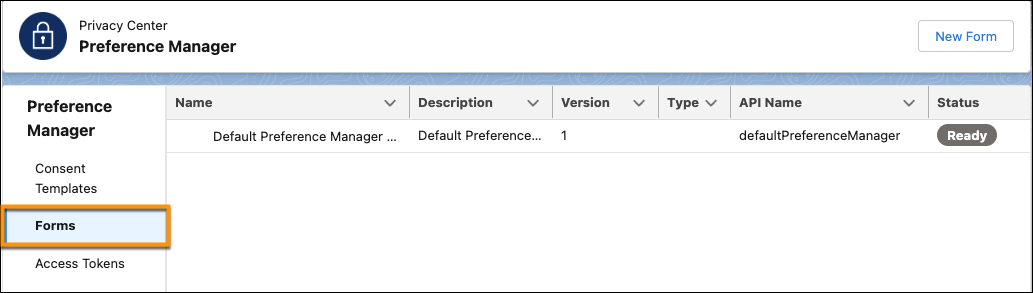
Forms
Preference Manager opens on the Forms feature by default. The dashboard lists all the org’s forms, including different versions of the same form. The Status column shows if a form is published or ready to be published.
To create a new form, Calvin can click New Form. To edit an existing form, he simply selects a form from the list. In both instances, Calvin is taken to Preference Builder, where he can customize the components of the form, like giving it a unique title or changing the text of the submit button.
When Calvin first launches Preference Manager, a form is automatically generated. He can edit this form to get a feel for how Preference Builder works, but keep in mind that with this method he’s creating the form from scratch. To use this form he would have to set up and use Apex, since this form isn’t made from a consent template.
Consent Templates
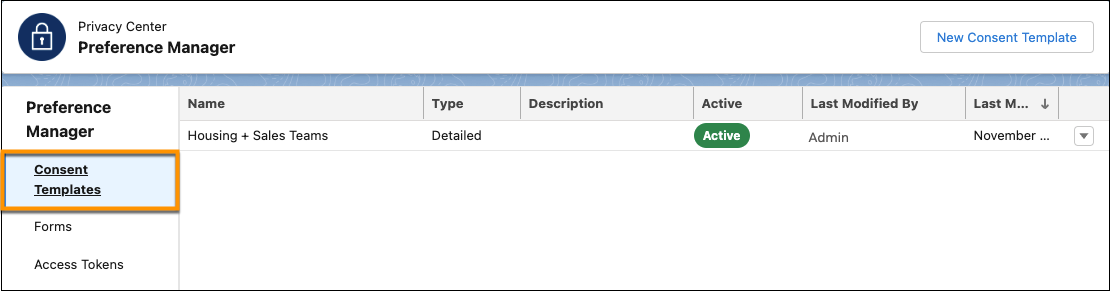
The Consent Templates feature lets Calvin quickly create reusable templates that can populate information into a preference form. Applying a template gives Calvin a head-start on how the form is structured and organized, but he can still customize the form in Preference Builder before it’s published.
When Calvin creates a consent template he can choose from multiple template types. Each template type lets him select different combinations of the brands, data use purposes, and contact point channels that he wants to base the form on. He can create as many consent templates as he wants, and he’ll see them listed in the table on the dashboard.

After using a consent template to create a form, it’s ready to publish. Calvin can publish directly from Preference Builder if he’s editing a form, or he can publish from the Preference Manager dashboard. After the form is published, he can host it online so his users can access it and submit their preferences.
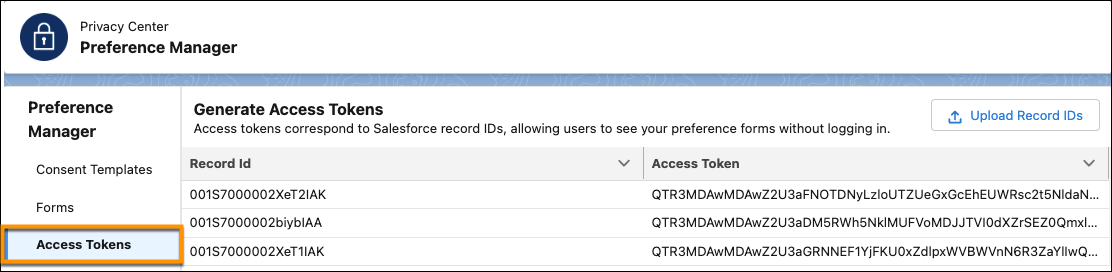
Access Tokens
Let’s say Calvin wants to let Experience Cloud site users access the form without logging in, or even be able to host the form on an external site. For these instances he needs to use the Access Tokens feature. Calvin uploads the record IDs of the users he wants to give access to in CSV format. Each user is then assigned a unique access token that matches to their record ID, which he’ll append to the website URL. When the user clicks the URL, the access token matches to their record ID and then the magic happens: Their unique data is pulled into the preference form!
Each user sees their own contact information that Calvin is gathering preferences for, such as their email addresses or phone numbers. For logged-in Experience Cloud site users the access token isn’t necessary because their data populates when they log in to the site.
Once the form is hosted online, Calvin’s ready to intake customer consent preferences. Take the Create a No-Code Preference Form project for a step-by-step walkthrough of how to use these features!
Resources
- PDF: Salesforce Data Processing Addendum
- External Site: Text of General Data Protection Regulation
- Salesforce: Trust and Compliance Documentation
- Trailhead: Learn Privacy and Data Protection Law