Manage Tickets and Notifications
Learning Objectives
After completing this unit, you’ll be able to:
- Describe how sales reps and team leads manage tickets.
- Explain how admins manage tickets.
- Configure ticket notification settings.
Depending on your assigned role in Salesforce Spiff, you have different view and management options for tickets. In this unit, you learn about these options for reps, team leads, and admins.
Ticket Management by Reps and Team Leads
Reps see an additional Tickets page and a ticket icon on their statement. The Tickets page displays a list of tickets belonging to or assigned to them.
As a rep, you can submit tickets in two different ways.
The first way is directly from your statements by clicking the ticket icon . If you submit from the statement view, the ticket is associated with the statement. For example, if you think your payout is wrong for the October period, but aren’t sure which opportunity is leading to the incorrect payout, you can submit a ticket from the statement view so it is linked with the October statement.
The second way to submit a ticket is to go to a specific obligation in a period and click the same ticket icon  on the obligations view. So the ticket gets associated with that obligation. For example, if you see that the annual recurring revenue (ARR) on an obligation is incorrect, you can submit a ticket from the obligation. Whoever is assigned to the ticket can go to the associated obligation directly from the ticket.
Whether you submit a ticket from a statement or an obligation, you are presented with the same options. Each ticket is given a subject and a description. You @mention specific individuals to inform them: a dropdown menu of available individuals appears after typing the @ symbol. Fill out the form and click Submit Ticket. You’re then returned to your statement with a message that the ticket has been submitted. You can also click the link to be taken directly to the ticket.

From the ticket page, you can:
- Access the activity feed. The activity feed shows all changes made to the ticket.
- Comment on the ticket and attach relevant files. Comments can have up to three attachments.
- Resolve the ticket by clicking
 on the ticket.
- Copy the ticket link by clicking
 under the ticket number.
- Go back to statement by clicking
 under the statement details section.
- Go back to the obligation by clicking
 if the ticket was submitted on a specific obligation.
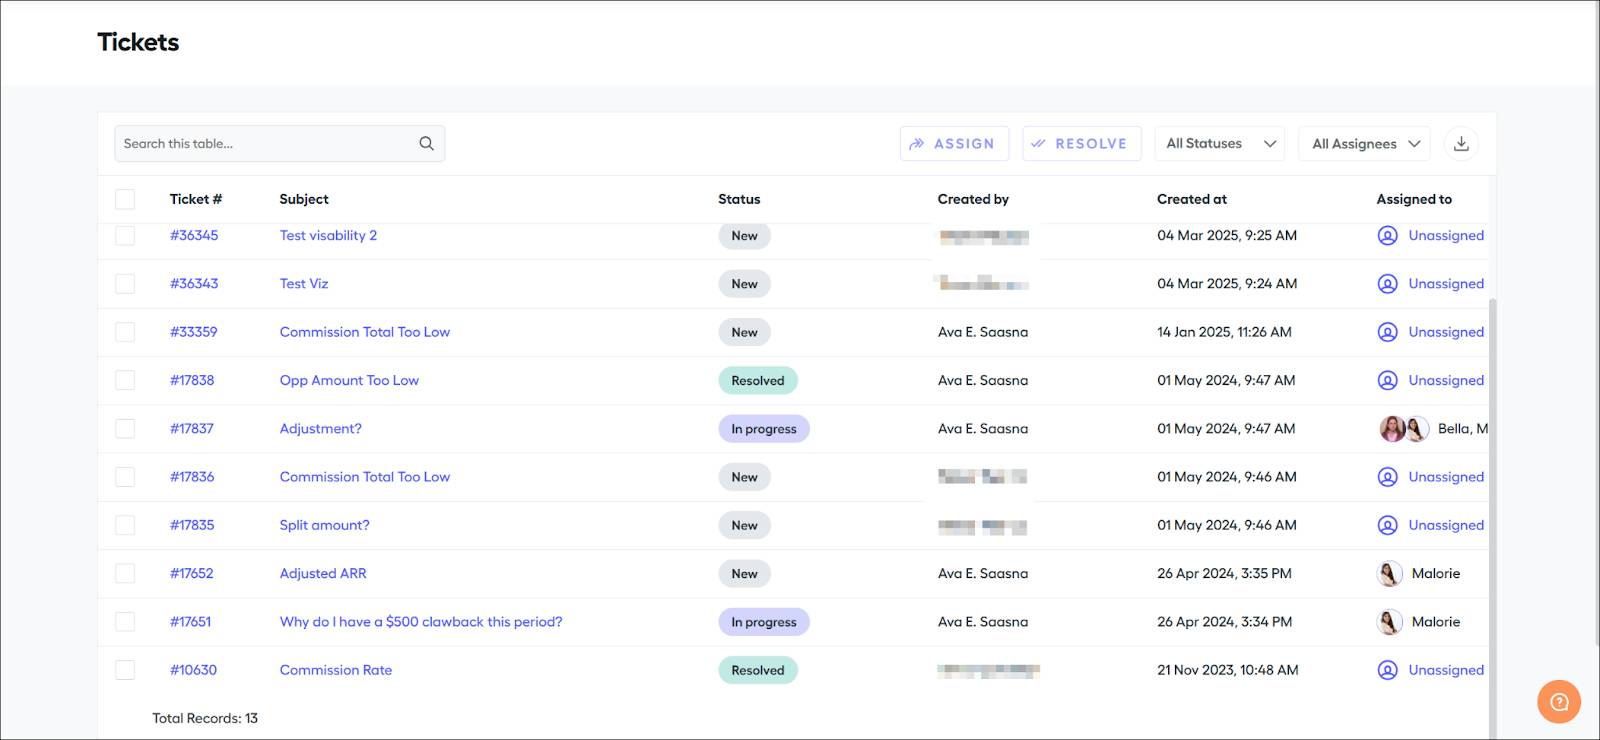
The Tickets tab displays all submitted tickets. You can check the tickets assigned to you by using filters. You can also filter the tickets by status: New, Resolved, or In Progress.
Team Lead View and Management of Tickets
When you log in and access the Tickets tab as a team lead, you see all the tickets submitted by members of your team, or tickets assigned to you. You can export a list of these tickets and resolution times to a CSV file.
Team leads get the same ticket-handling features as the reps. One exception is that team leads and managers aren't notified by default when their team members submit tickets. Team leads and managers must be @mentioned in the comments of a ticket, or assigned a ticket by a Spiff admin to receive a notification.
Ticket Management by Admins
To see tickets as an admin, click Admin | Tickets. In addition to the options available to reps and team leads, administrators can assign tickets from this page. To assign a ticket, select the tickets to assign to a specific user, then click  .
.
When viewing a ticket, you can update the status of the ticket. Any status changes are reflected in the activity feed. A ticket must be opened to change its status. This action can't be performed from the page where all tickets are visible. You can also designate assignees from tickets apart from the main ticket page. To assign a user when the ticket view is open, click 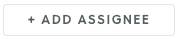 under Assigned to select from a list of users.
Configure Ticket Notifications
To access Spiff's notification settings, click  on the home screen, then the three dots icon located just below it. Administrators, team leads, and reps can choose if they want to be notified via email, Slack, or in-app notifications within Spiff. The Status option notifies users when a ticket's status is changed—for example, from New to In Progress. Administrators can select New to trigger a notification every time a new ticket is created.
While admins receive notifications when new tickets are created, team leads don't. Team leads receive a notification only if they are @mentioned or assigned a ticket by an admin. And only users who have logged into Spiff can see email notifications for tickets.
With Salesforce Spiff, you track and resolve tickets faster. Boost your team’s productivity, simplify the ticketing process, and ensure timely issue resolution!