Schedule Visits and Request Product Transfer
Learning Objectives
After completing this unit, you’ll be able to:
- Schedule a visit for surgical case management.
- List the benefits of field inventory management.
- Request product transfer.
Schedule a Visit
Leroy can now use Agentforce Life Sciences to schedule visits and manage inventory. He doesn’t have to call or go to the hospital to check Leanne’s schedule.
You can schedule visits from the Intelligent Sales home page on the desktop app, or the My Visits page on the mobile app.

Here’s how Leroy schedules a visit.
- If you’re on the desktop app, search for and select Visits from the App Launcher and click New. If you’re on the mobile app, tap the + icon on the My Visits page.
- For Place, select Locations. Select the name of the account location you had created. Leroy selects StayHealthy Hospital.
- Select a priority for the visit. Leroy selects High.
- Select the account you will visit, StayHealthy Hospital.
- Specify a Planned Start Time that's in the future. Optionally, add a Planned End Time.
- Select the sales rep as the visitor with the type User. Leroy selects himself.
- Click Save.

Next, Leroy adds Dr. Leanne as the visited party and associates the visit with the action plan template that Soumodip created in the previous unit. Here’s what he does.
- On the Related tab of the visit record, click New on the Visited Parties related list.
- Select the contact as Leanne Marceline, and add a name.
- Click Save.

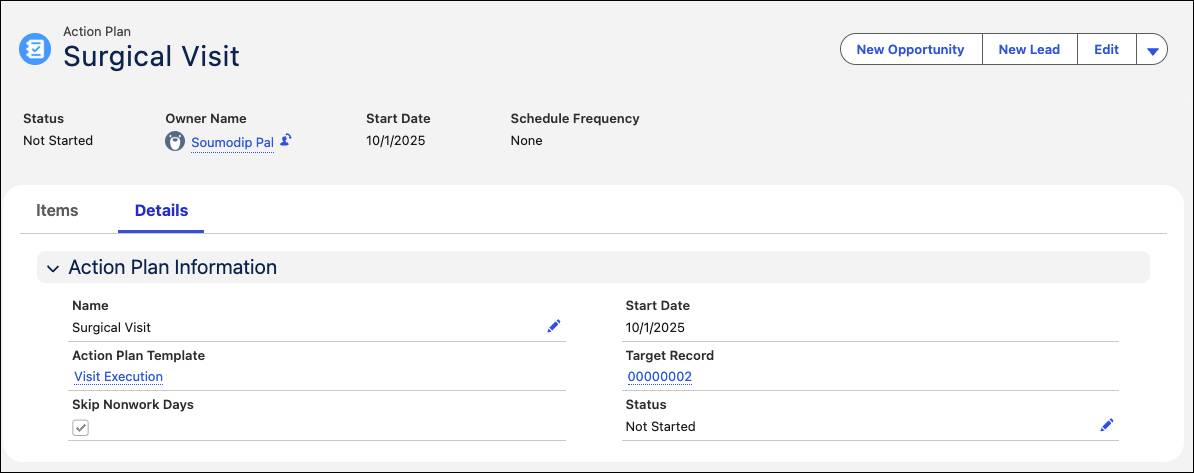
- On the Action Plans card on the visit record, click New Plan.
- For Name, enter
Surgical Visit.
- Select the action plan template as Visit Execution.
- Select Start Date as the first date of the current month.
- The Target Record is auto-populated with the visit record.
- Click Next, and Save.
Finally, Leroy creates a Product Required record to associate the Pacemaker product with the visit record.
- From the App Launcher, go to Products Required, and click New.
- For the Parent Record, select Visits, and select the visit record you created.
- For Product Required, select Pacemaker.
- For Quantity Required, enter
5.
- For the Quantity Unit of Measure select Each.

The Visit record now shows all the information in a single page.
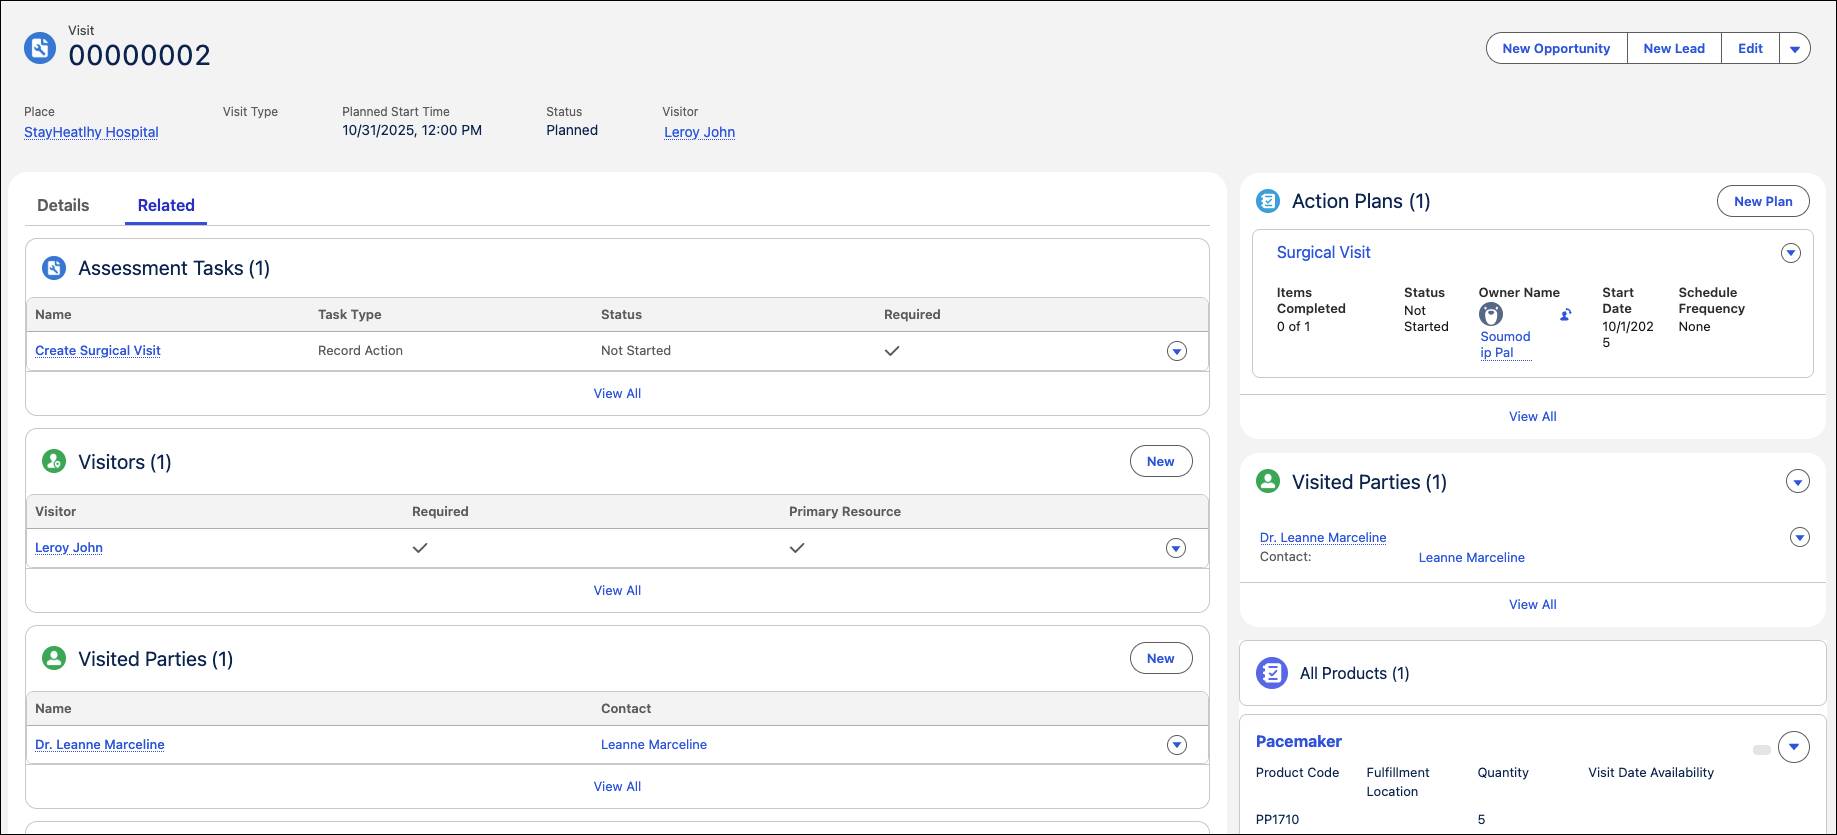
Having scheduled the visit and specified the visited party and product required, Leroy visits the hospital to meet Dr. Leanne Marceline.
Say Hello to Field Inventory Management
Field inventory management is about managing inventory in field locations, such as truck stock and consignment locations, on a day-to-day basis. Sales reps, sales ops, and inventory analysts in the middle and back office functions can use Agentforce Life Sciences to manage the storage, request, transfer, and consumption of every item in the inventory.
Having the right inventory at the right place (trunk or consigned) helps Leroy accommodate his customers’ needs and gives him a chance to expand in the market.
Field inventory management is important for businesses like MedTech device manufacturing. Let’s take a look at some of the ways in which field inventory management helps sales reps and customers.
- Helps cut costs by letting sales reps learn which product is performing well and which ones are simply taking up space.
- Helps manage customer expectations by giving sales reps an idea of when the products will be delivered.
- Helps sales reps proactively request product transfers and replenishment orders.
- Helps sales reps accept product transfers for serial tracked products. This mobile-first feature lets them do barcode scanning using a mobile device, making serial inventory management easy and efficient.
Request Product Transfer
Detecting product shortfall early helps sales reps act proactively and plan better. Although field inventory management enables sales reps to replenish products from the warehouse, they can request the product from other sales reps if it’s needed urgently or is not available at the warehouse.
During a surgical case visit, Leroy realizes that there’s a shortage of pacemakers at StayHealthy Hospital. He decides to replenish the inventory using rep-to-rep product transfer.

He checks the nearest location from where the product can be requested. Once the location is found, Leroy can simply put in a transfer request from the other sales rep while placing a replenishment order back to the global supply chain or warehouse. This way, his client’s needs are met without any delays in delivery.
Shortfall projections for the products associated with scheduled visits are available on the Intelligent Sales home page on the desktop app. If you’re on the mobile app, these projections are on the My Products page.

Leroy finds another inventory within a 50-mile radius to request a product transfer from. Here’s how he requests a product transfer from the mobile app.
- On the Intelligent Sales mobile app, go to My Products and tap the card for the product with a shortfall.
- Tap the options icon next to an event card, and then tap Request Transfer.
- On the next page, filter available locations by location type and tap Request Transfer for the location you want to send a request to.
- Select a transfer date, enter the quantity you need, and add any comments you have.
- Tap Done.
- Tap Place Request when you’re done.

After a successful transfer of products, Leroy must mark the product as Received and close the transfer request. You can only do this from the mobile app, and the status of the transfer request must be Accepted before you can mark it as Received.
Here’s how Leroy closes the transfer request.
- On the Intelligent Sales mobile app, go to Sent Requests.
- Tap the options icon for the request you want to close and then tap Mark as Received.
- On the next page, enter the quantity received, and add or scan the barcodes of the products received. You can scan barcodes by tapping the barcode scanner icon next to the serial numbers section header.
- Tap Done.
It’s a Win-Win with Agentforce Life Sciences
Agentforce Life Sciences’ Intelligent Sales feature not only enables Vance Laboratories to offer better service to its clients, but also makes life easier for sales reps. With easy access to data about visits and inventory, Leroy has overcome several challenges that sales reps face in the MedTech industry.
Resources
- Salesforce Help: Schedule Visits for Product Orders
- Salesforce Help: Make Up for Shortfalls with Product Transfers
- Salesforce Help: Request a Product Transfer on the Mobile App
- Salesforce Help: Perform Visits with the Mobile App
- Salesforce Help: Receive Products from Transfer Requests