Assign the Login Flow and Test It in Your Portal
Learning Objectives
After completing this unit, you’ll be able to:
- Assign your flow as the portal’s login flow.
- Test your login flow to make sure it creates a new contact and individual record.
Assign the Login Flow
So you created a registration flow and laid the groundwork in your org and portal for it to work. Now what? Connect the dots and test out the implementation to see how it works. Follow the steps in this unit, then click Check Challenge to Earn 500 Points.
First things first: assign the login flow that you created in Create a Self-Registration Flow for an Experience Cloud Site to the profile that you just set up.
- From Setup, in the Quick Find box, search for and select Login Flows.
- Click New and fill out the information for the flow and profile you need. In this case:
- Type: Flow
- Name:
Privacy Settings - Flow: Privacy_Settings
- User License: Customer Community
- Profile: Customer Account Portal
- Click Save.
Now your registration flow is visible only to folks accessing the portal with the correct profile.
Test Your Login Flow
Next, publish and activate the portal so that you can test the flow.
- Navigate to your portal in Experience Builder. (Go to Setup | Digital Experiences | All Sites and click Builder next to the portal name.)
- In Experience Builder, click Publish, and in the confirmation dialogue, click Publish again, and then click Got It.
- Navigate to Administration in Experience Workspaces.
- You should already be on the Settings page by default, but if not, click Settings.
- Click Activate and then click OK.
Activating a site makes it available to members and sends a welcome message.
Now test the login flow to make sure it works. To do so, you have to: Create a user for the portal, log in as the new user, go through the login flow, and finally check that the right records are created and updated. Here’s how it’s done.
- From Setup, in the Quick Find box, search for and select All Sites.
- Copy your portal’s URL (the one ending in /accountportal) and paste it into an incognito browser window. (Highlight the URL and copy it, or right-click it and select Copy. Don’t right-click the URL and select Copy Link Address.) Going incognito ensures that you’re logged out of the portal for testing purposes.
- You should see the portal’s home page in the incognito window. Click Login at the top of the page to continue with testing.
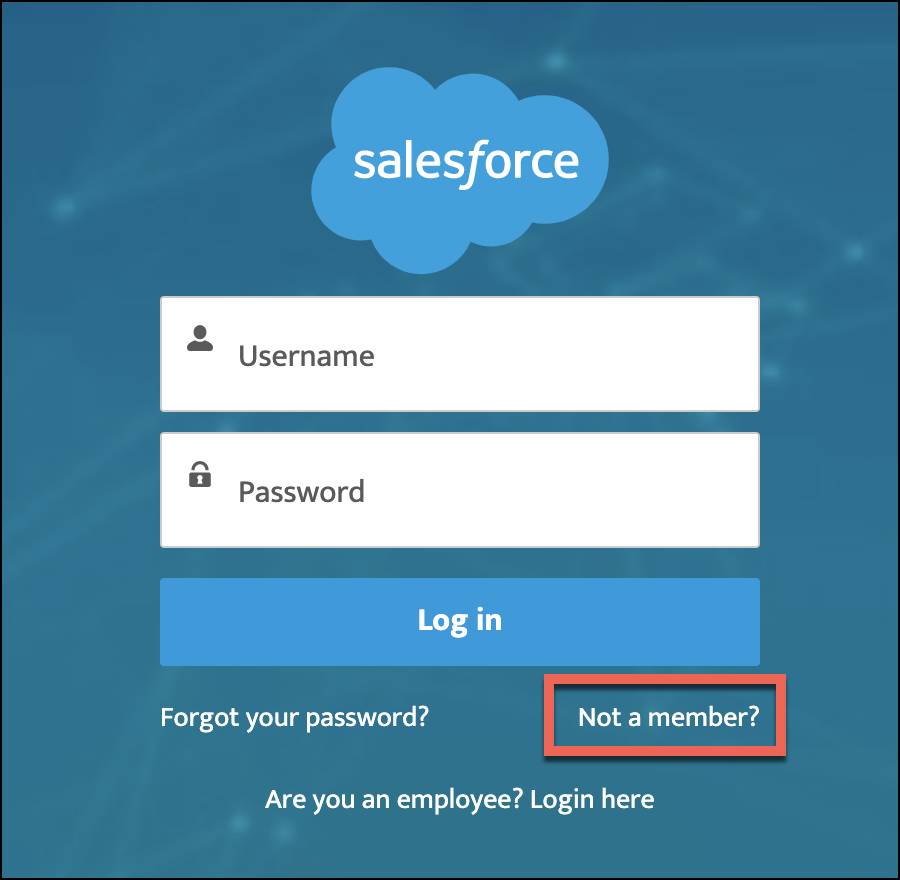
- Click the Not a member? link in the login window. If you don't see the link, you haven’t set up self-registration for your site. Make sure you’ve done so and published and activated the site.
.
- When prompted to create a new user, create a user named Mary Hollywood. Enter an email address that’s different from the email address you used to set up your Trailhead Playground, but one that you can still access easily.
- Click Sign Up. You’re asked to check your email for a link to complete your account portal registration. It can take several minutes for the link to arrive.

- We don’t check the following steps in the hands-on challenge, but try them in your Trailhead Playground. Check your email and click the link.
- Step through the login registration flow and select all the checkboxes set up in the flow.

- Click Next and then click Finish.
Complete the registration process by setting up a password. You should be taken to the portal’s home page. Now that you set up a new portal user, jump back into your org as the admin to see that everything you expected to happen has actually happened.
- Click the App Launcher icon in the browser window where you’re logged in as the Salesforce admin.
- Search for and select Contacts.
- Click the name of the new contact you created.
- Click the Details tab. Notice that the newly created contact record is part of the Registrants account.
- From the App Launcher, search for and select Individuals.
- Change the list view to All Individuals and click the name that you entered in the incognito window.
- Click the Details tab and notice the privacy preferences that are checked in the record.
Congratulations! You created a customer account portal that captures customers’ data privacy settings. Want to take it up a notch and add Lightning Knowledge and Messaging to your portal? Check out Build an Experience Cloud Site with Knowledge and Enhanced Chat to see how it’s done.