Prepare Your Agentforce and Slack Orgs
Learning Objectives
After completing this unit, you’ll be able to:
- Activate Agentforce.
- Use your Agentforce org domain URL to request a secure connection from Slack.
Agentforce and Slack
Here’s the situation: You’re a Salesforce and Slack admin and you’ve recently deployed a product specialist agent via Agentforce. It’s been working great in your Salesforce org. Users report that their productivity has improved with an agent that can help track down critical product information, update records, and even help log product gaps.
Business leaders wonder if you can take this further: Can you activate this agent in Slack to help more team members in the flow of work? Give everyone access to an agent that can help with critical product information? And search, post, update, and collaborate in Slack?
Yes!
This badge teaches you how to integrate your Agentforce org with Slack. When you’re done, you can complete the full agent deployment lifecycle in Agentforce Configuration for Slack Deployment.

Sign Up for Your Special Agentforce Developer Edition Org
Note: This Developer Edition org is designed to work with the challenges in this badge and the Agentforce Configuration for Slack Deployment badge. It might not work for other badges. Always check that you’re using the Trailhead Playground or special Developer Edition org that we recommend.
- Sign up for a free Developer Edition org with the product specialist agent.
- Fill out the form.
- For Email, enter an active email address.
- For Username, enter a username that looks like an email address and is unique, but it doesn't need to be a valid email account (for example, yourname@example.com).
- After you fill out the form, select Sign me up. A confirmation message appears.
- When you receive the activation email (this might take a few minutes), open it and select Verify Account.
- Complete your registration by setting your password and challenge question. Tip: Save your username, password, and login URL in a secure place—such as a password manager—for easy access.
You are logged in to your Developer Edition.
Activate Einstein, Einstein Bots, and Agentforce
When you first log in to your org, you need to activate several features. Let’s get that done.
- Select
 , and then select Setup from the dropdown.
- In the Quick Find box, search for and select Einstein Setup.
- Ensure Einstein is enabled. If it isn’t, toggle Einstein On.
- Next, in the Quick Find box, search for and select Einstein Bots.
- Set Einstein Bots to On.
- In the Setup Quick Find, search for and select Salesforce Go.
- If a welcome modal appears, you may review the introductory video. Select Let’s go to dismiss it.
- If a welcome modal appears, you may review the introductory video. Select Let’s go to dismiss it.
- In the Search features... textbox, enter and select Agentforce (Default).

- Select Get Started.
- Select Turn On.
- Select Confirm.
Locate Product Management Agent
Now that Agentforce has been activated in your org, confirm Product Management Agent is available.
- Open App Launcher.
- Search for and select Agentforce Studio.
- Confirm Product Management Agent is on the list.

Now you’re ready to connect your Agentforce and Slack orgs and prepare to deploy this agent in Slack.
Retrieve Your Domain URL
One last thing before you go to Slack: You need your My Domain URL to kick off the authentication process.
- In Setup, search for and select My Domain in the Quick Find box.
- Copy and save the URL in the Current My Domain URL field. It should be in this format: (yourdomainname)-dev-ed.develop.my.salesforce.com. You need this URL later in this unit.
You’ve set up your Agentforce org to integrate with Slack. You have your credentials and your domain. In the next step, you configure your Slack environment to connect with your org using these key pieces of information.
Retrieve Your Trailhead Slack Playground
Trailhead is integrated with the Slack Developer Program. This lets us provide you with a special Slack Playground designed for hands-on learning. When you connect your Trailhead account for the first time, you’re signed up for the Slack Developer Program, which gives you access to a wealth of Slack development resources.
It’s time to get your Slack Playground up and running.
- Scroll down to the Challenge section of this page, where it says Verify Step.
- By default, your primary Trailhead email address is selected. If you prefer another email address that’s associated with your Trailhead account, select it from the email dropdown.
- Add a check to the box next to “I accept the Slack Developer Terms of Service.” Optionally, you can check the next box to subscribe to the Slack Developer Newsletter.

- Select Create Slack Playground. After a moment, your playground is created and the page refreshes.
- Scroll back down to the challenge section. Select Launch to open your playground in a new tab.

- As this is the first time opening your playground, a terms of service modal appears. Select I Agree.
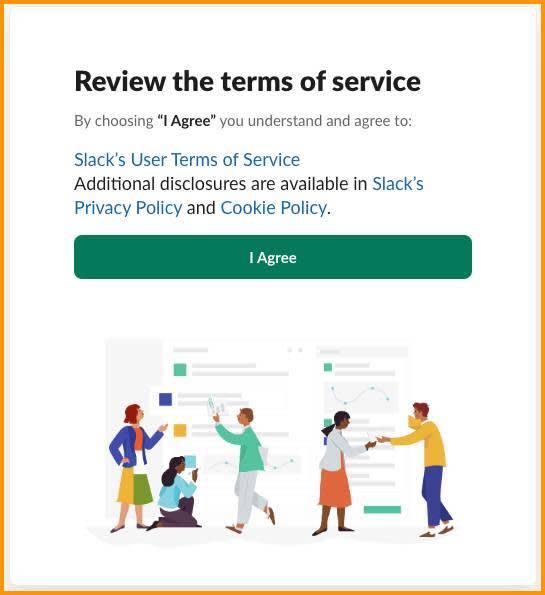
Your playground is ready!
Request a Connection to Salesforce
Now you can start connecting your Salesforce org to Slack. You can connect up to 25 Salesforce orgs in Slack by repeating the following steps with additional orgs.
When you request a Salesforce connection in Slack, you can choose how your members’ Slack and Salesforce accounts are connected. You have the option to automatically configure member accounts using Email or SAML NameID fields. For this badge, you manually configure user accounts using your admin credentials. Remember the domain URL you retrieved from your Agentforce org in the previous step? You use it in this section.
- In your Slack Playground, select the name of your workspace to view the dropdown menu.
- Navigate to Tools & settings | Manage Salesforce Organizations to be taken to the Salesforce organizations page.
- Select the Connect Salesforce Org button.
- Paste the domain URL into the field for Salesforce org to connect.
- Uncheck the toggle for Map user accounts automatically.
- Select Request Connection. You get a response that the request was sent to the Salesforce admin. That’s you!
- Select Okay.
The integration is now underway. Next, you accept the connection on the Salesforce side.