Enable MuleSoft Services and User Access
Learning Objectives
After completing this unit, you’ll be able to:
- Enable MuleSoft services for MuleSoft Composer.
- Assign the MuleSoft Composer User permission set to users.
Enable MuleSoft Services for MuleSoft Composer
Behind the scenes, MuleSoft Composer is powered by the MuleSoft Anypoint Platform, an enterprise integration platform that enables you to design, build, and run integrations and APIs. In order to make Anypoint Platform work with MuleSoft Composer, you need to enable MuleSoft services for MuleSoft Composer.
When you take this step, Salesforce automatically creates an Anypoint Platform org and account for your Salesforce org. Subsequently, when you use MuleSoft Composer in your Salesforce org, Anypoint Platform uses this Anypoint Platform org and account to run and manage all integration flows.
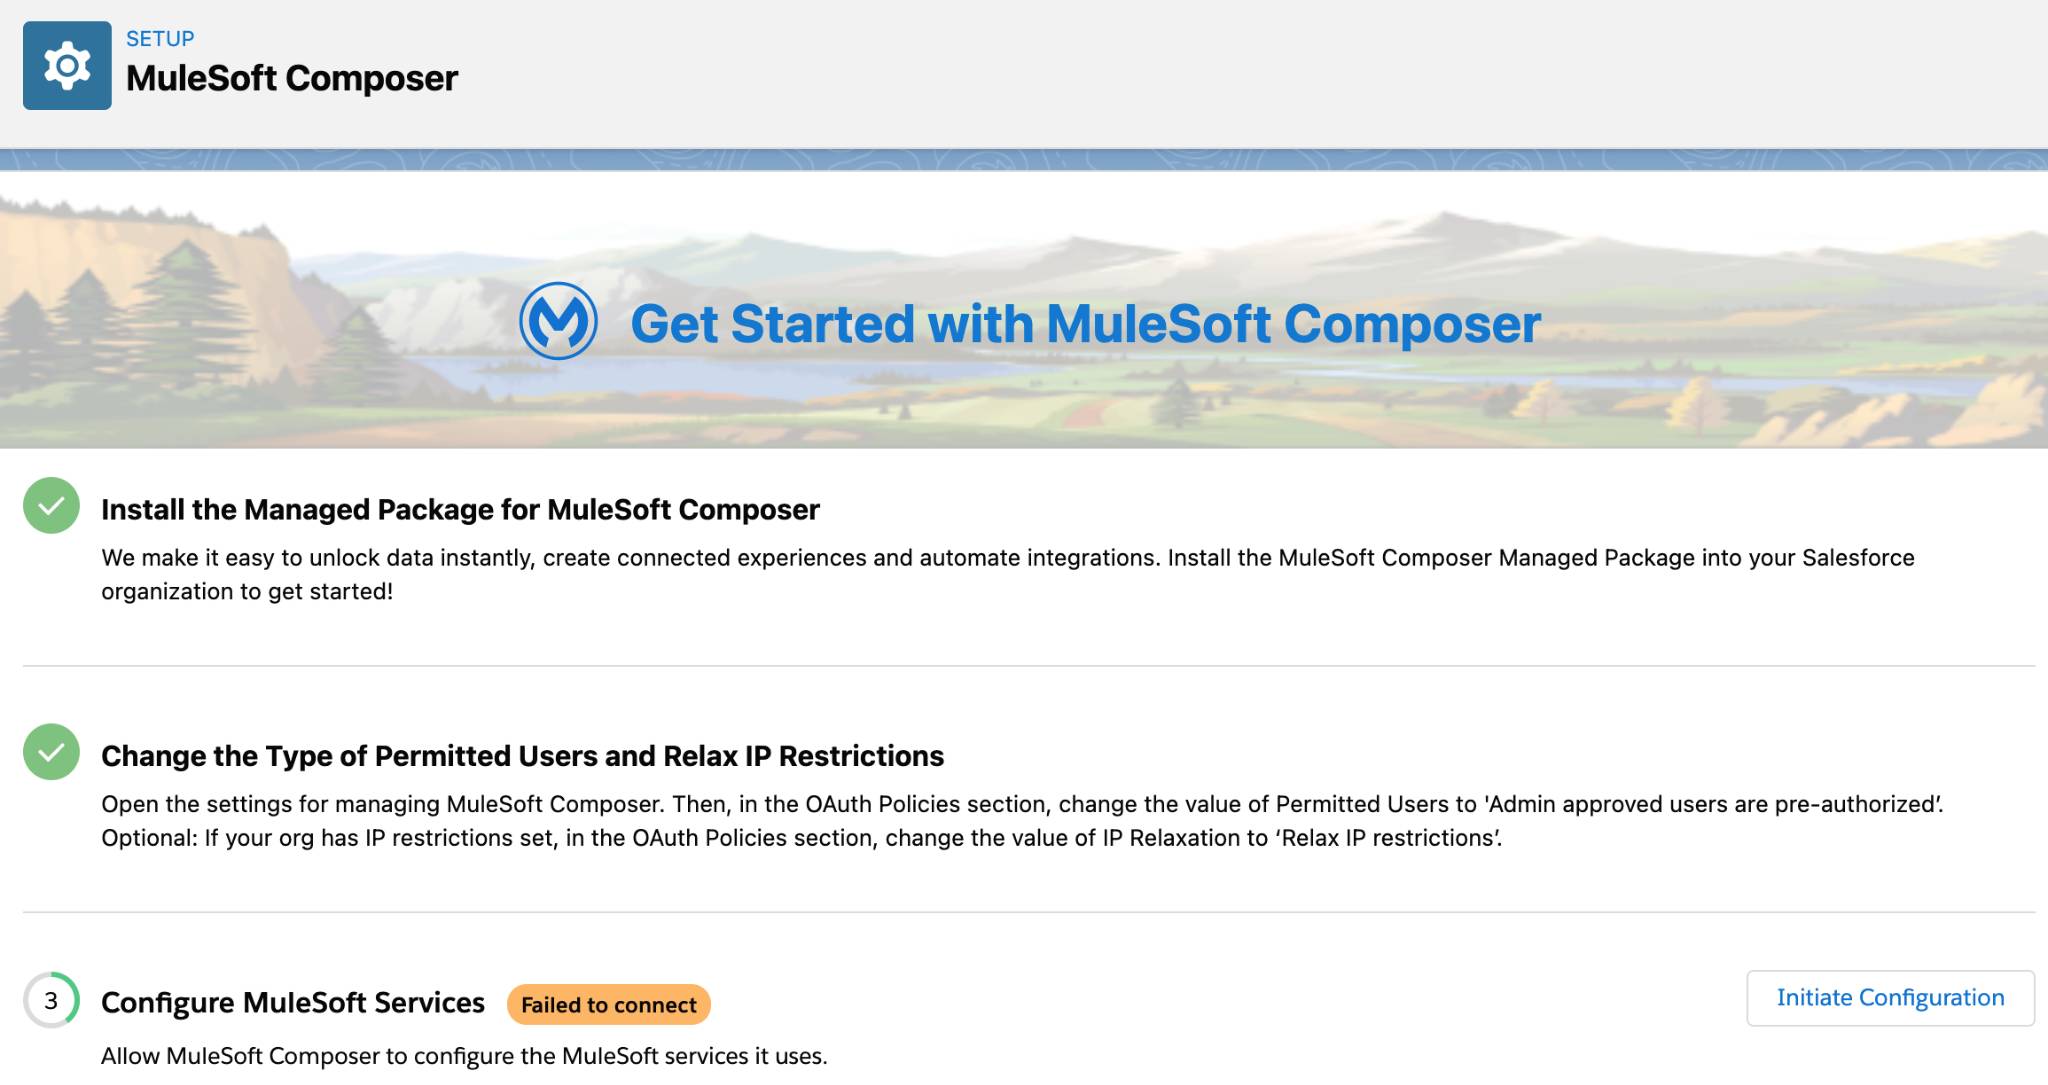
Some important things happen in this step, but we’ve made it easy for you. To enable MuleSoft services for MuleSoft Composer, on the Configure MuleSoft Services setup step, simply click Initiate Configuration. This creates and configures an Anypoint Platform org and account, and then connects it to your Salesforce org.

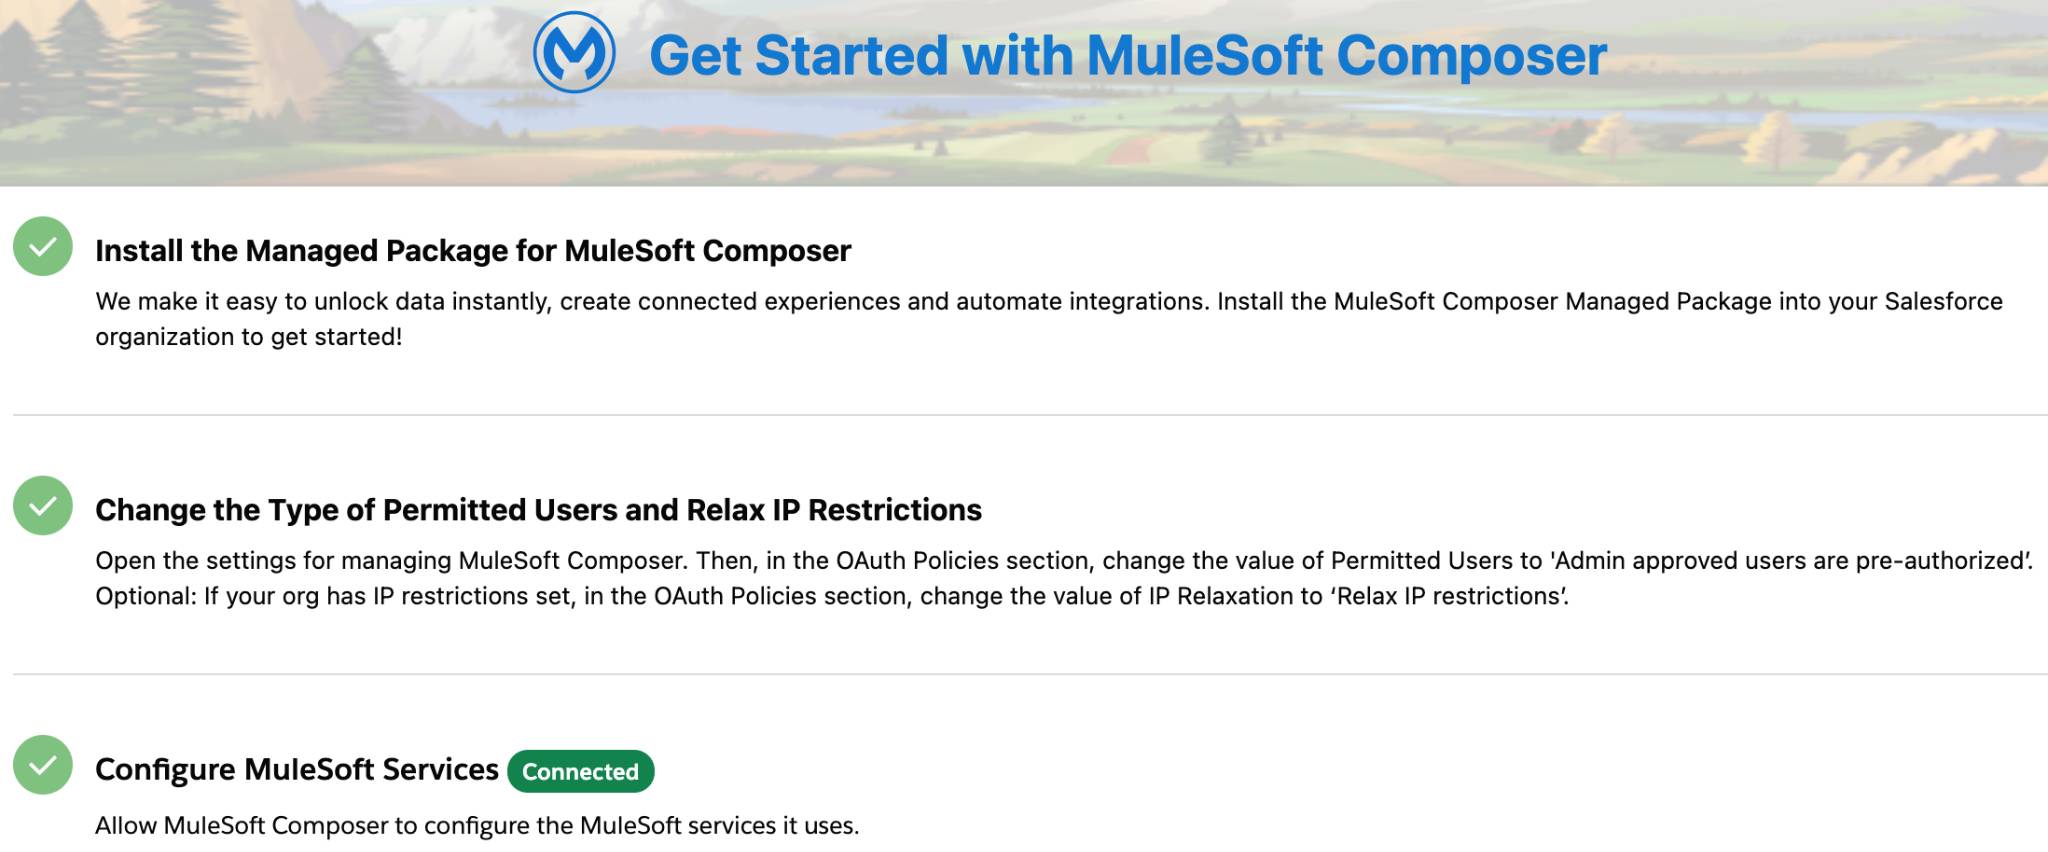
After you click Initiate Configuration, the Failed to connect message next to the Configure MuleSoft Services setup step is replaced with Connected. This indicates that MuleSoft Composer is connected to MuleSoft Services.

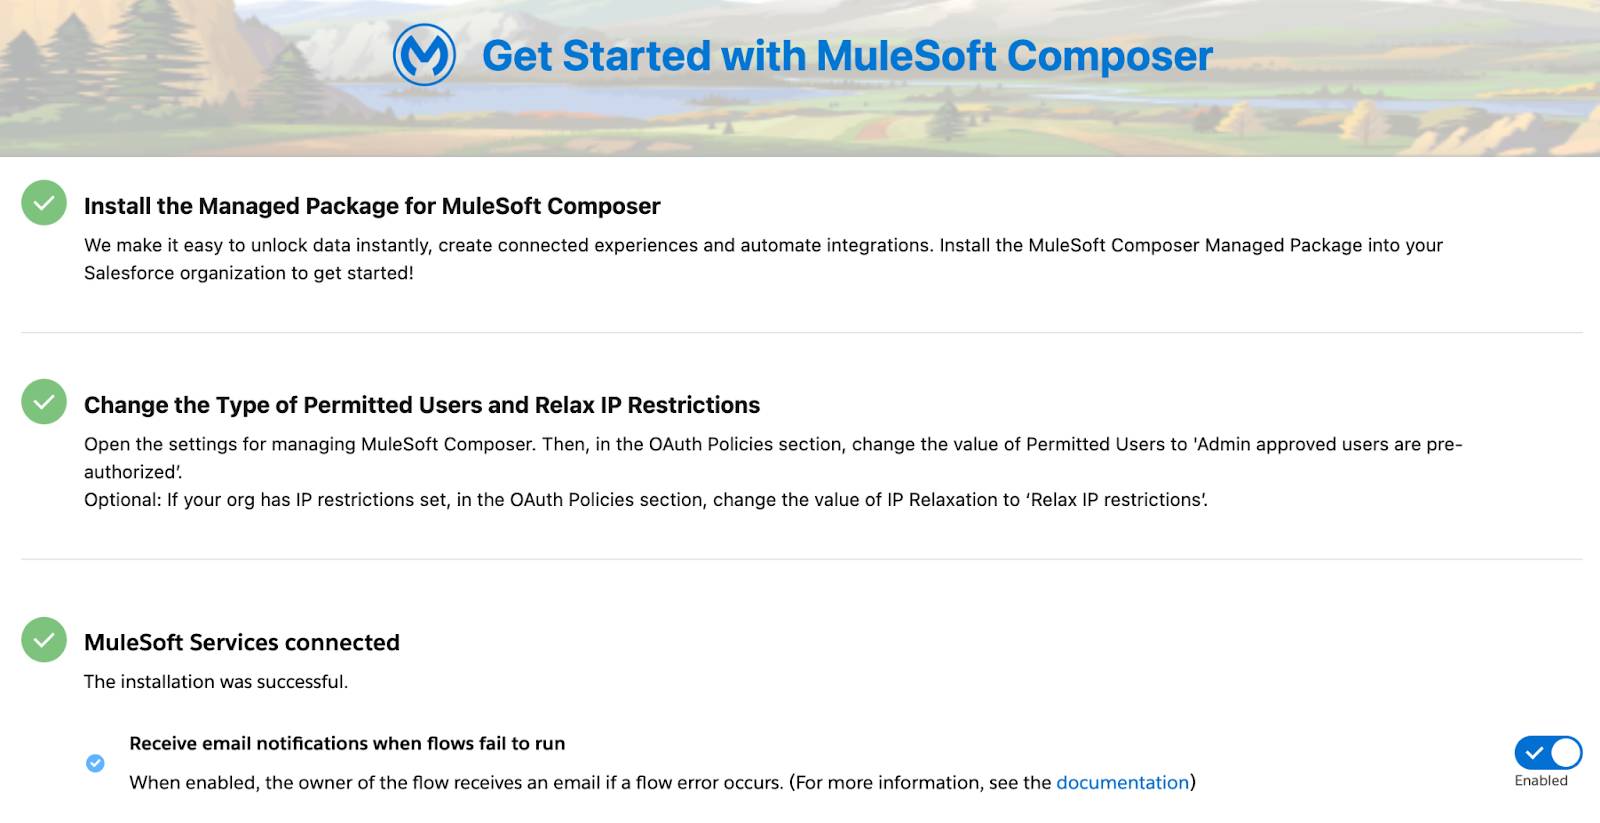
Next, to enable MuleSoft Composer to send email notifications to end users when their flows fail to run, click Enabled in MuleSoft Services.

From this time on, MuleSoft Composer checks for failed flows and runs a report every 15 minutes. If there are any failed flows, MuleSoft Composer sends an email notification to the flow owner.
Assign the MuleSoft Composer User Permission Set to End Users
Users with the MuleSoft Composer User permission set can build and run integration flows. As the admin who installed the MuleSoft Composer managed package, you automatically have this permission set and can now grant this permission set to your end users. At this point in the setup process, all admins in your Salesforce org are also able to assign the MuleSoft Composer User permission set to themselves and to end users.
To assign the MuleSoft Composer User permission set to individual end users, follow these steps.
- On the Assign Users to MuleSoft Composer setup step, click Assign Users. The Permission Sets page appears.

- Click C and then click Composer User.

- Click Manage Assignments.

- Click Add Assignments.

- Select the usernames of the users that need the MuleSoft Composer User permission set.

- Click Assign.

- Click Done.

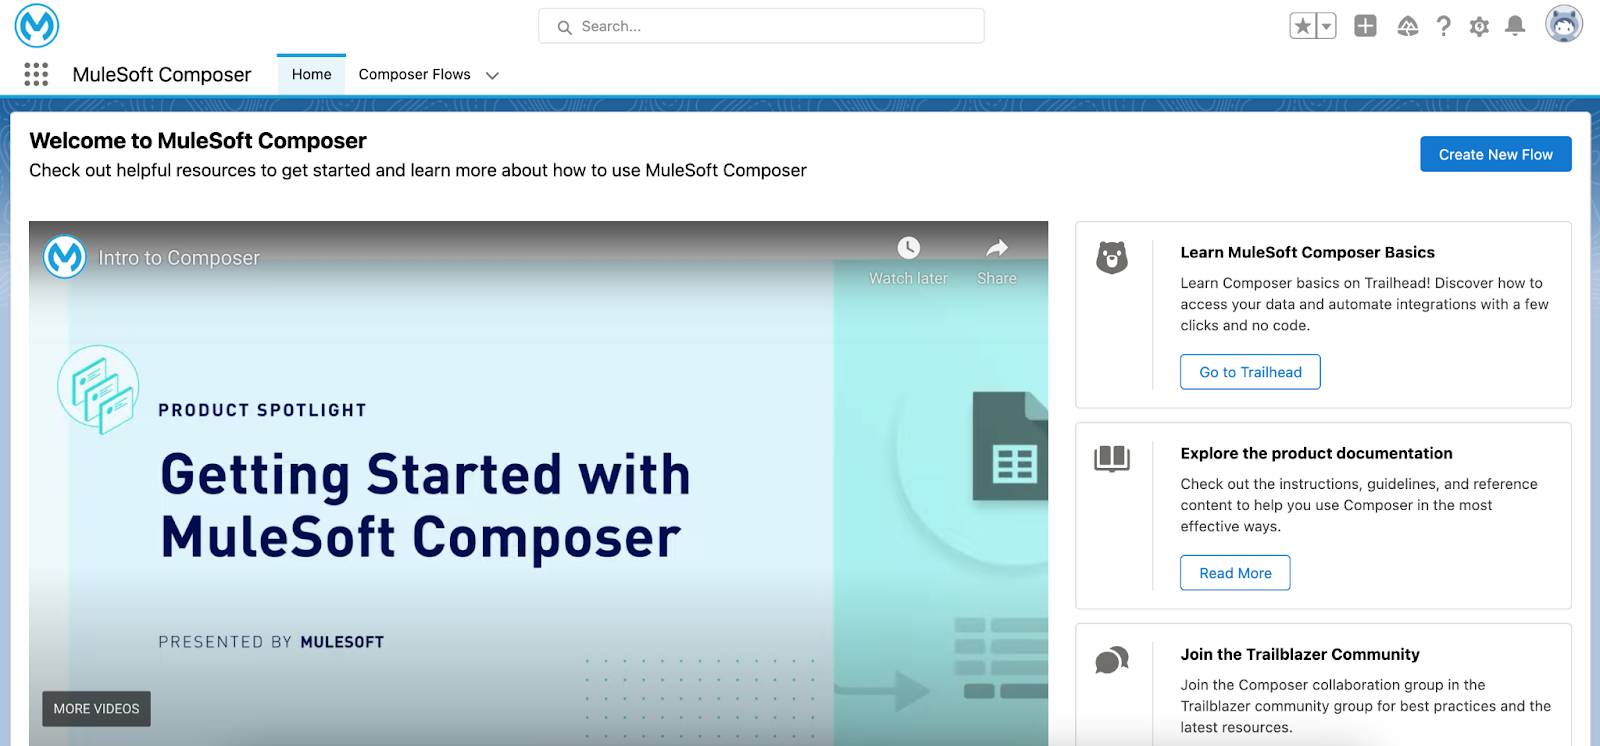
Way to go! You have just one more step to take to start using MuleSoft Composer. From the MuleSoft Composer Setup page, on the Launch MuleSoft Composer step, click Launch. The Flows List page appears. You can now build and run integration flows.

In this module, you learned how to install the MuleSoft Composer managed package and preauthorize users to access MuleSoft Composer. You also learned how to enable MuleSoft services and grant end users access to MuleSoft Composer.
To learn about MuleSoft Composer’s integration features, flow components, and flow creation tasks, take the MuleSoft Composer Basics module next.
To learn how to use MuleSoft Composer to build and run flows that solve common integration problems, take the other modules in the MuleSoft Composer Trailmix.