Start Routing with Omni-Channel
Learning Objectives
After completing this unit, you’ll be able to:
- Associate a routing configuration with a queue.
- Create a presence configuration and presence status.
- Add Omni-Channel to the Service Console app.
- Route your first work record.
Follow Along with Trail Together
Want to follow along with an expert as you work through this step? Take a look at this video, part of the Trail Together series.
(This clip starts at the 23:25 minute mark, in case you want to rewind and watch the beginning of the step again.)
Get Your Omni-Channel Settings in Order
In order to start routing cases with Omni-Channel, Maria needs to set up a few more things behind the scenes. She has to create a queue for her routing configuration, set presence status for users, and then make a console app and add Omni-Channel to it.
Link Your Routing Configuration to a Queue
With her routing configuration all set, Maria needs a queue to link to it.

- From Setup, enter
Usersin the Quick Find box, then click Queues.
- Click Edit next to High-Priority Cases.
- Under Supported Objects, select Case in the Available Objects, and click Add to move it to the Selected Objects.
- Under Queue Members, in Search, select Public Groups and select All Internal Users in the Available Members list, then click Add to move it to Selected Members.
- Under Queue Members, in Search, select Users, and add yourself to Selected Members too.
- Click Save.
Make the Presence Status Available to Users
The guided Omni-Channel setup flow that you completed in unit 2 also created a presence status. Here’s how to make that presence status available to you and your users.
- From Setup, enter
Usersin the Quick Find box, then select Profiles.
- Click the name of the profile you want to enable Omni-Channel for. Maria clicks System Administrator. Don’t click Edit next to the profile name. If you do, you won’t see the correct page section where you can enable statuses.
- Hover over Enabled Service Presence Status Access and click Edit.
- Select Available - Case in the Available Service Presence Status, and click Add to move it to Enabled Service Presence Statuses.
- Click Save.
- Repeat for any other profiles you want to use with Omni-Channel, for example, the Custom: Support Profile or the Standard User profile.
At this point, you normally create your presence configurations. If you’re following along in your Trailhead Playground, we already created a default presence configuration for you, so you don’t need to set one up. The presence configuration determines settings such as capacity for your reps, and you can assign specific users or profiles to each configuration you create. This is great for granting different options and abilities to different reps by team or experience level.
Now that Maria has created all the Omni-Channel objects she needs, she can add Omni-Channel to a console app.
Add the Omni-Channel Widget to Service Console
- From Setup, enter
App Managerin the Quick Find box and click App Manager.
The App Manager shows all apps, including the Service Console app.
- Click the dropdown to the right of Service Console, and select Edit.
- Select Utility Items. (You may see Utility Items (Desktop Only)).
- Click Add Utility Item.
- Select Omni-Channel and click Save.
- Click Navigation Items.
- Add Accounts, App Launcher, Cases, and Contacts as navigation items by selecting them and clicking the right arrow.
- Click Save.
- Select Navigation Rules.
- Click Cases, select Subtabs of and select Account (Account) to make Cases and Contacts open as subtabs of the Account.
- Click Save.
- Select User Profiles.
- Assign this app to profiles by moving Custom: Support Profile, Standard User, and System Administrator to Selected Profiles.
- Click Save.
Done! Maria’s ready to test out all her hard work.
Route a Case with Omni-Channel
Maria routes a case to check that Omni-Channel is working as she expected.
Because you don’t have any customers submitting cases to you (yet!), we need to create a case ourselves.
- From the App Launcher, find and select Service Console.
- Click the navigation arrow and select Cases.
- Click New.
- Select the Priority High.
- Select the Case Origin Web.
- Enter the Subject:
Website is down.
- Enter any description you want.
- Click Save.
Because you created the case, you’re already the case owner. Now let’s route it with Omni-Channel.
- From the App Launcher, find and select Service Console.
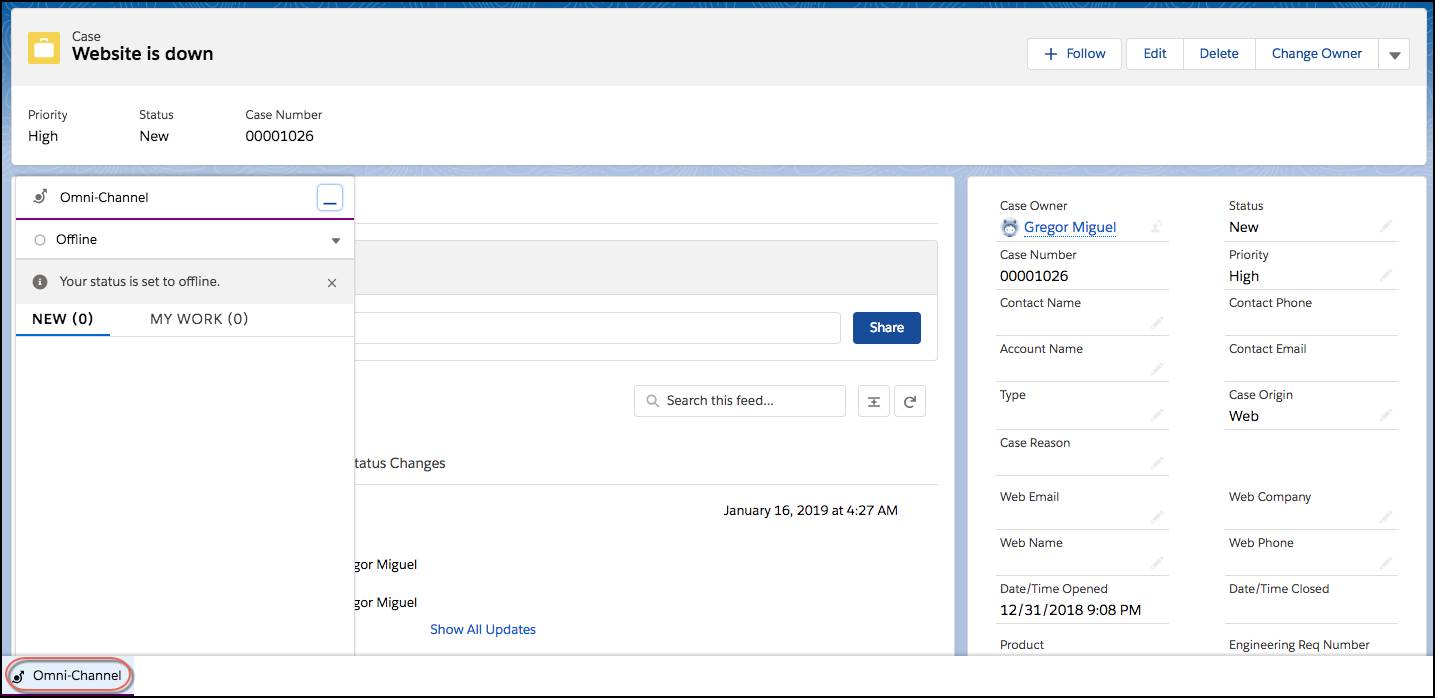
- From the console, click Omni-Channel in the console footer to open the Omni-Channel widget. Set your status to Available - Case.
- Go to the Cases tab and change the list view to All Open Cases using the dropdown arrow next to Recently Viewed.
- Select the checkbox next to the case you created and click Change Owner.
- Select Queues from the down arrow, and use the lookup to select High-Priority Cases.
- Click Submit.
- You get a notification in the Omni-Channel widget. Go ahead and accept it by clicking the checkmark; the case opens in a tab in your console. Leave this tab open. It comes in handy later.
Congratulations! Everything looks great. You’re ready to route cases with Omni-Channel.
Prepare for the Hands-On Challenge
The guided Omni-Channel setup flow that you completed in unit 2 enabled skills-based and direct-to-rep routing. Because we don’t need it for the upcoming hands-on challenge, let’s disable it now.
- From Service Setup, enter
Omni-Channelin the Quick Find box, then select Omni-Channel Settings.
- Uncheck Enable Skills-Based and Direct-to-Agent Routing.
- Click Save.