Explore Sorting Rule Strategies
Learning Objectives
After completing this unit, you’ll be able to:
- Describe common sorting rule strategies that you can use for sale, new arrivals, and top sellers sorting results.
- Explain how dynamic attributes work.
- Explain how to use manual sorting rules to optimize the sort order on the catalog and search results pages.
- Explain how product attributes can help you customize your search results.
- State how the Storefront Toolkit helps with dynamic sorting.
Make a Plan
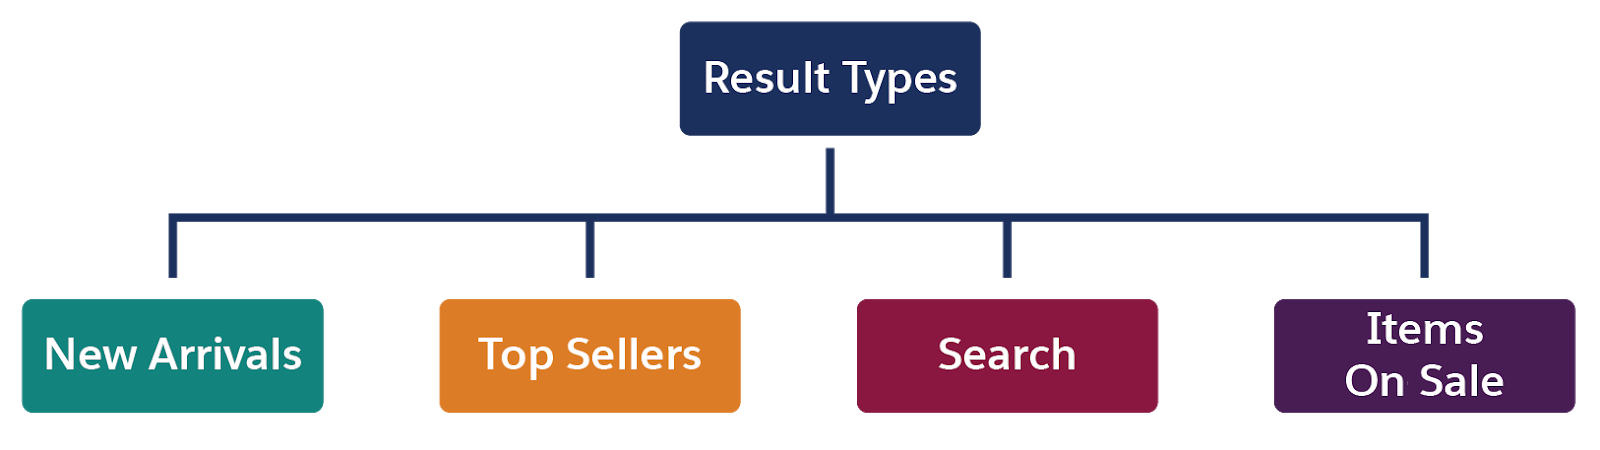
Now that you know how sorting rules work, you can develop a strategy that connects shoppers with the products they want to buy. By focusing on these result types, you can develop a plan that maximizes shopper satisfaction and cart conversions.
-
New Arrivals: Sell exciting new products
-
Top Sellers: Highlight what other shoppers like the most
-
Search: Show shoppers what they want to see
-
Items On Sale: Encourage shoppers to consider end-of-season merchandise
Here are some examples of goals and sorting rule plans you can use.
|
Result Type
|
Goal
|
Sorting Rule Plan (in attribute order)
|
|---|---|---|
New Arrivals |
Control the top 1–2 rows of a results grid, followed by new arrivals |
|
Top Sellers |
Place the top sellers at the top of the page. |
|
Search |
Boost products that are most relevant to the shopper’s search term |
|
Items On Sale |
Sort products in the Sales category by SKU coverage, sales velocity, and best sellers |
|
Critical to developing your own plan is knowing how to:
- Create manual sorting rules
- Use product attributes in sorting rules
- Use dynamic attributes
Create Manual Sorting Rules
Manual attributes include category position, search placement, and search rank. Only after you activate them manually in Business Manager can you use them in a sorting rule.
Category Position
You use this attribute in a sorting rule to make sure products within a certain category sort exactly the way you want. To create this sorting rule, use this process.
- Assign a category position to products within a category.
- Create a sorting rule that uses the category position attribute.
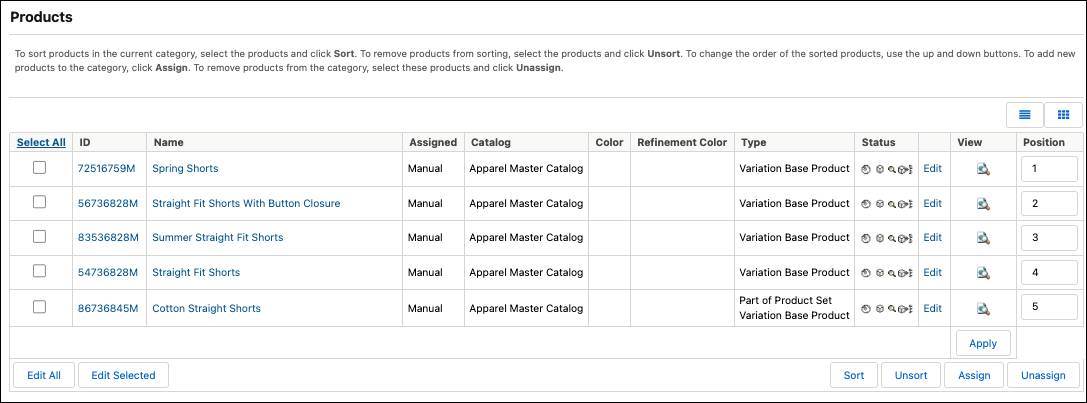
For example, you want Agentforce Commerce for B2C to sort men’s shorts in a certain order, so you assign the order position to these products manually in Business Manager. Then you add the category position attribute to a sorting rule. Here’s how to assign the sort order position.
- In Business Manager, click App Launcher, and select Merchant Tools | Products and Catalogs | Catalogs.
- Select your catalog and a category: mens
- Select sub-categories: mens-clothing and mens-clothing-shorts
- Enter numbers (integers) into the Position column to order the products.
- Click Apply.

You add the category position attribute to a sorting rule, along with another attribute to accommodate keyword search results. You create sorting rules in the next unit.
Search Placement
For some products, assigning a category position is too specific, and category position only works with categories. With search placement, you can do these things.
- Group certain products together.
- Promote or demote certain products.
- Make sure that certain products show next to each other.
- Sort subcategories in a particular order within a main category.
You can assign search placement codes that rank products from high to low, by using the values in Business Manager or creating your own. Here are the values in Business Manager.
- NONE—This value is the default.
- 8 (Top Featured Product)
- 7 (Featured Product)
- 6 (Product)
- 5 (Secondary Product)
- 4 (Featured Accessory)
- 3 (Accessory)
- 2 (Spare Part)
- 1 (NLA Product)
You use search placement to establish relevance of a particular product within a category. For example, within the women's category, you want shoes to appear first in search results, and tights last. To set this configuration, you assign a search placement code to each subcategory within the women's category. Without this setup, Sort assigns the products that you want to list between shoes and tights a null (empty) value and shows them below the tights.
Here’s how to select a search placement value for one subcategory.
- In Business Manager, click App Launcher, and select Merchant Tools | Products and Catalogs | Catalogs.
- Select your catalog and then the womens category.
- Click Edit to the right of the shoes category.
- Click the Category Attributes tab.
- For Search Placement, select the placement value:
8 (Top Featured Product)Sort assigns this value to all products in this category, unless you assign a different value for a subcategory or the product itself.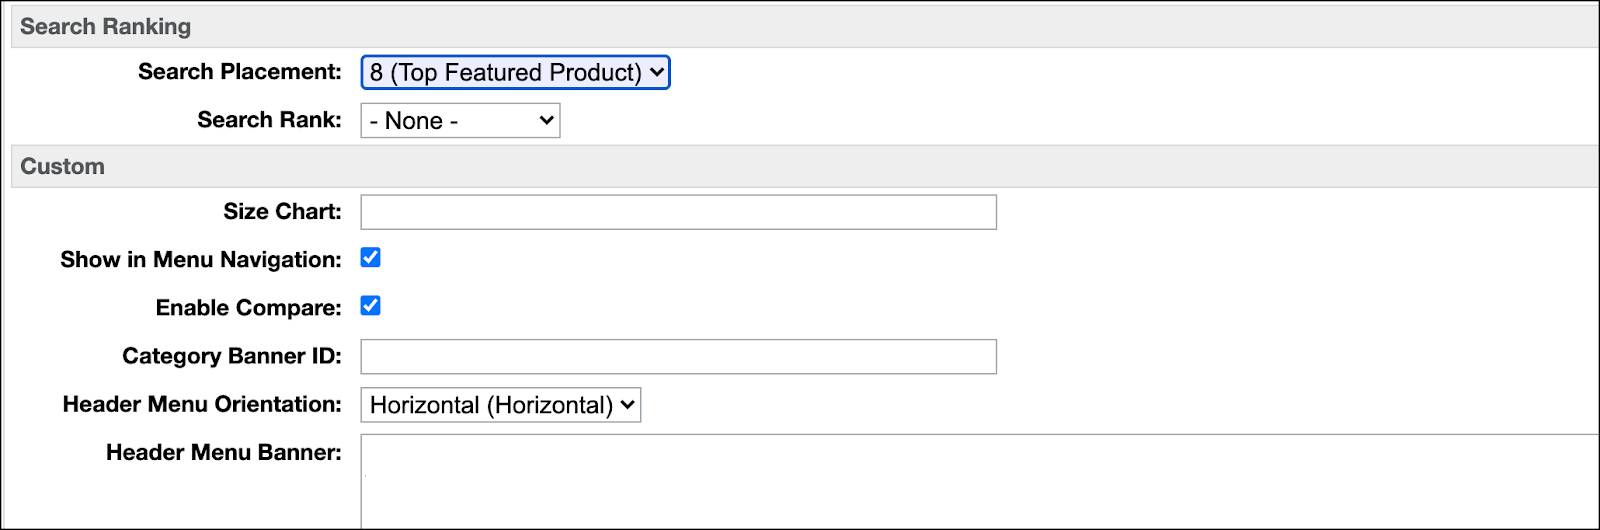
You create a sorting rule to include the new product attribute. (You create sorting rules in the next unit.) You can also assign a search placement value to an individual product.
Search Rank
To promote a group of products, you can explicitly set the search rank of a group of products to one of these settings.
- 3 (High)
- 2 (Medium)
- 1 (Low)
For this example, you want to phase out seasonal women’s tops. Here’s how you give them a search rank of high to move them to the top.
- In Business Manager, click App Launcher, and select Merchant Tools | Products and Catalogs | Catalogs.
- Click your main catalog ID.
- Click Edit to the right of the womens-tops category.
- Click the Category Attributes tab.
Sort assigns this value to all products in this category, unless you assign a different value for a subcategory or the product itself.
(To set it for the product, click Merchant Tools | Site | Products and Catalogs | Products | product.)
- Scroll down to the Search Ranking section.
- Select the search rank: 3 (High)
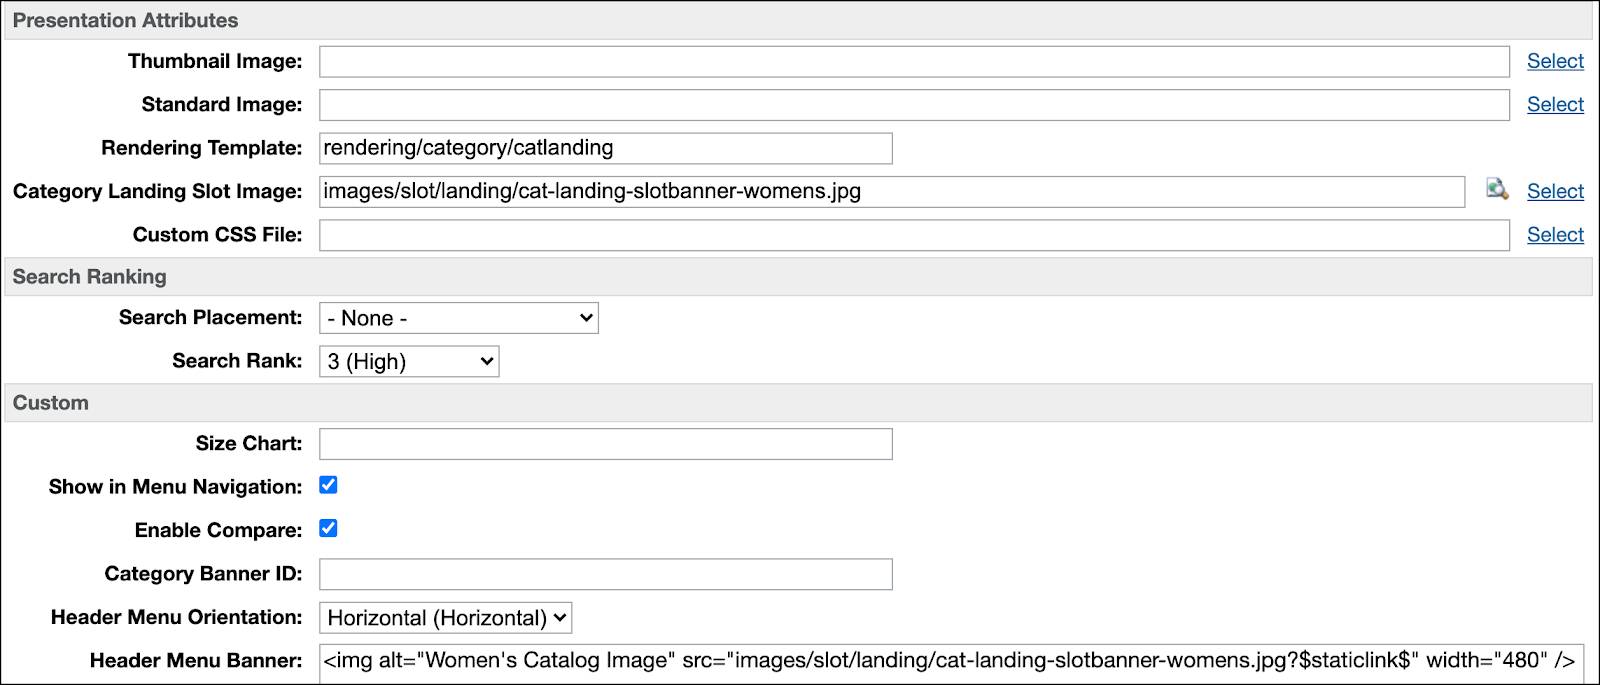
- Click Apply.
Use Product Attributes in Sorting Rules
You can use the Agentforce Commerce for B2C product system object attributes in a sorting rule or create custom attributes. Product attributes define product details, such as product ID, title, small description, size, and so on.
Here’s how you create a custom product attribute called isSale to push sales items to the bottom of the search results.
- In Business Manager, click App Launcher, and select Administration | Site Development | System Object Types.
- On the System Object Type List page, click the name of the object you want to edit:
Product - Click the Attribute Definitions tab.
- Enter
isSaleinto the ID or Name field and click Find.
- If it’s there, you’re all set. You can skip to creating the sorting rule.
- If it’s not there, click New.
- Enter this information:
- Enter a unique ID for the attribute:
isSale - Enter a display name:
On sale? - Value Type:
Boolean
- Click Apply. You can now use this attribute in a sorting rule. You’ll do this in the next unit.
The product object has a new attribute, but it’s not populated across the database. You can populate the new attribute manually or through a bulk update or a product feed. Here’s how to add the new attribute as a field on the Business Manager product page General tab.
- In Business Manager, click App Launcher, and select Administration | Site Development | System Object Types.
- On the System Object Type List page, click Product.
- Click the Attribute Grouping tab.
- Click Edit for the Business Manager display group:
Search Refinements - Click the gray ellipses, then locate and select isSale. You can now populate isSale data in Business Manager.
Sort in Real-Time with Dynamic Attributes
Dynamic attributes contain multiple active data attributes, each providing a percentage of the whole, or a weighted value. Agentforce Commerce for B2C uses them to make near real-time sort adjustments based on storefront activity and sales, for both category and keyword search. For example, you want to sort search results by a combination of revenue, units, look to book ratio, and availability, each with a weight of 25%. You can change the weighting whenever you want, and test one scenario against another with Agentforce Commerce for B2C A/B Testing.
Null Values
A null value means that Agentforce Commerce for B2C calculated null for a product’s value. For standard attributes and single active data attributes, products with null values show at the bottom of the results set, regardless of the configured direction. For dynamic attributes, you can set a default for null value handling, as follows.
|
Default
|
How it Sorts Null Values
|
Goal
|
|---|---|---|
Minimum |
End of the result set. |
|
Average |
Middle of the result set. |
|
Maximum |
Beginning of the result set. |
|
Sum It Up
In this unit, you explored common sorting rule strategies and learned how to configure manual sorting rules, create dynamic attributes, and use product system object attributes. Next, you learn how to configure sorting rules.
Resources