Create and Manage Articles
Follow Along with Trail Together
Want to follow along with an expert as you work through this step? Take a look at this video, part of the Trail Together series.
(This clip starts at the 40:26 minute mark, in case you want to rewind and watch the beginning of the step again.)
Introduction
By going through the process of creating a Knowledge article yourself, you ensure that Ada is set up for success as she creates and manages her own articles.Create a Knowledge article using the foundation you set up from the previous steps in this project. Then after you publish it, update the article, creating a new version.
Enable Validation Status for Articles
Before you can do anything with validation statuses, the validation status field must be activated. Make sure this is ready to go!
- If you navigated away, click the Setup gear
 and select Service Setup.
- Enter
Knowledge Settingsin the Quick Find box and select Knowledge Settings.
- Ensure Activate Validation Status field is enabled. (It should already be selected.)
Create a Validation Status
Notice there are two different validation statuses already in the system—Validated and Not Validated. Add a Work in Progress status for articles that are in the works, but not ready for validation.
- Enter
Validation Statusesin the Quick Find box and select Validation Statuses.
- Click New.
- In the textbox, enter
Work in Progress.
- Select the Record Types that use this value, FAQ and How To.
- Click Save.
- Click Reorder and move Work In Progress above Validated using the up arrow.
- Select Work in Progress as the default value.
- Click Save.

Create and Publish an Article
So far, you set up record types, page layouts, data categories, access and visibility settings, and validation statuses for Knowledge. Now that the foundation is in place, create and publish an article to test the process. Once you create your article, assign it to Ada for validation, and finally, publish it.
- Click the App Launcher
 and select Service.
- Click the Knowledge tab.
- Click New.
- Select How To as the record type and click Next.
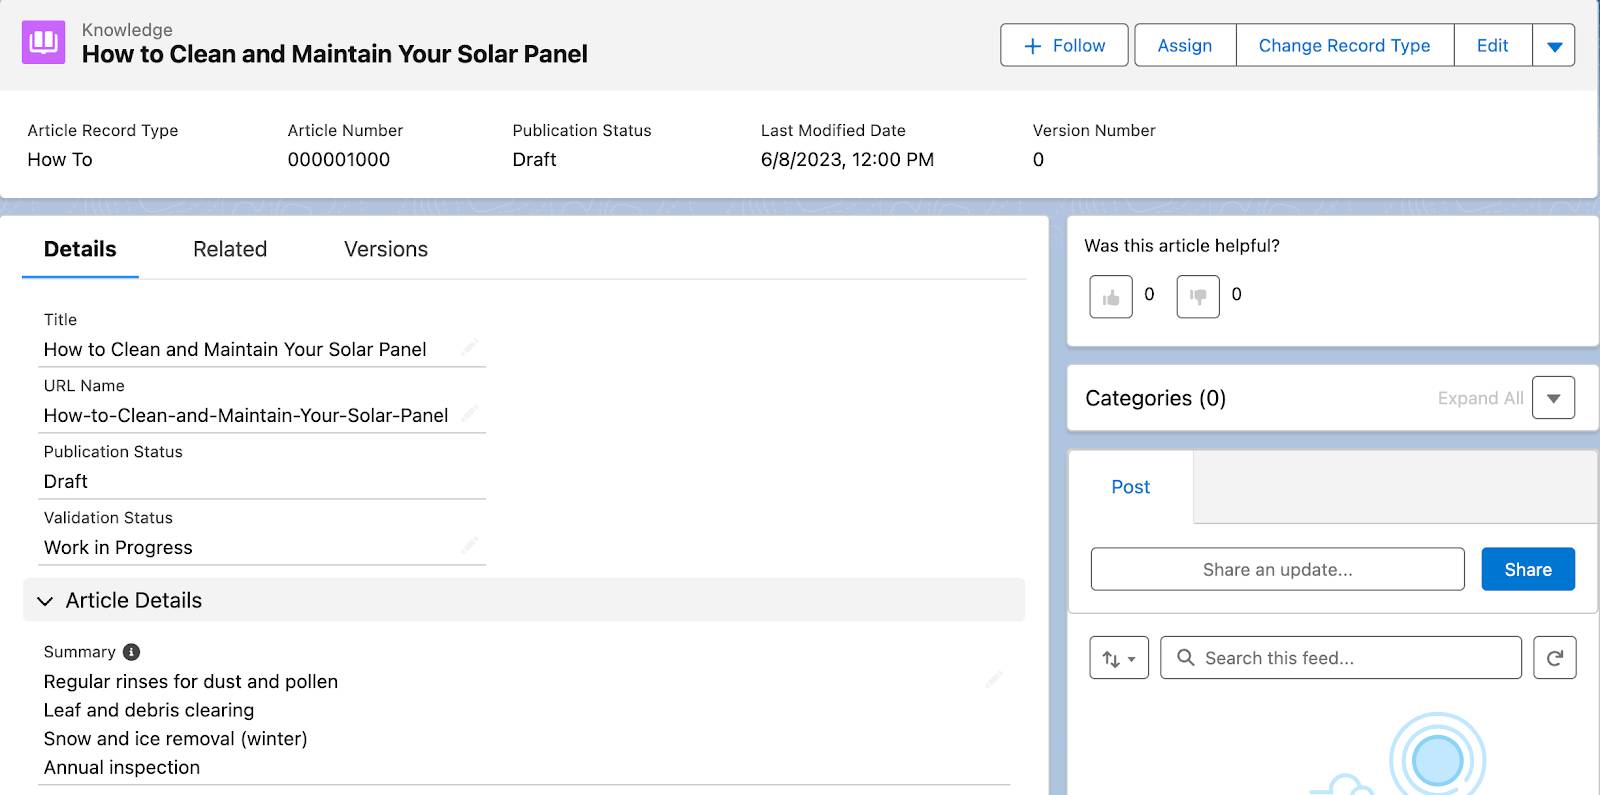
- For Title, enter
How to Clean and Maintain Your Solar Panel. (URL Name is auto-populated.)
- In the Summary field, enter these options:
Regular rinses for dust and pollenLeaf and debris clearingSnow and ice removal (winter)Annual inspection
- Under Properties, ensure Visible in Internal App is selected, and select Visible in Public Knowledge Base.
- Click Save. (Note: The Publication Status says Draft and Validation Status says Work In Progress.)
Now assign the article to a category and then assign it to Ada.
- Click the dropdown next to Categories and click Edit.
- Click Expand All to Expand the Solar Installation & Maintenance category, and select the checkbox next to Solar Panels.
- Click Save.

- Click Assign at the top of the page. (Note: Access other actions with the buttons and dropdown at the top of the page. For example, you could change the record type and submit an article for approval if you needed to!)
- Assign to Ada Balewa. (Tip: x out of your name in the Assign to field, then search for Ada Balewa.)
- Add instructions:
Ada, can you confirm details are correct and publish? - Click Save.

- Notice that Under the Assignment Information, the Assigned To field now says Ada Balewa.
Validate and Publish the Article
To fully test the process, sign in as Ada, and validate and publish the article you just created.
- In Setup, Enter
Usersin the Quick find box and select Users.
- Next to Ada Balewa, click Login.
- Ensure you are viewing the Service App, and click the Knowledge Tab.
- From the list view dropdown at the top of the page select the Draft Articles list view.
- Click How to Clean and Maintain Your Solar Panel.
- Review the Assignment information.
- Click Edit at the top of the page.
- Select the Validated status from the Validation Status picklist and click Save.

- Click Publish at the top of the page, keep Publish Now selected and click Publish. (Note that the Publication Status field has been updated to Published.)
Note: If the Publish button is not immediately visible, click the dropdown menu next to the Edit button to reveal it.

- Click Log out as Ada Balewa at the top of the page.
Update the Article
Once an article is published, you can always improve or update the information as needed. To test this process, add a note to your recently published Knowledge article. This is accomplished by creating a new version of the article and adding the new text. Once it’s updated, re-publish the article.
- From the Service app, click the Knowledge Tab.
- From the dropdown, select the Published Articles List View.
- Click the How to Clean and Maintain Your Solar Panel article.
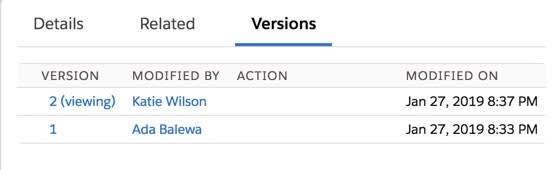
- Click the Versions tab. Notice that you are viewing version 1, and at the top of the page under Version Number it also says 1.
- Click the Edit as Draft button at the top of the page, then click Edit as Draft again.
- At the bottom of the Summary field enter:
Note: Never attempt to repair any component of your solar system yourself. - Click Save. Notice that the Publication Status says Draft again and version number is 0.
- Click Publish. You may have to click the down arrow to the right of the Edit button to see the Publish option.
- Keep Publish now selected, keep Flag as New Version selected, and click Publish.
- Click the Versions tab. Notice there is a Version 2 now, and at the top under Version Number it says 2. Also note the Publication Status field has been updated to Published again. Your changes to the article now appear in the Summary field (on the Details tab).
You created your first Knowledge article—and published it. Next, use your Knowledge article to close a case.
Resources