Route and Reorder Flow Elements
Learning Objectives
After completing this unit, you’ll be able to:
- Create a decision element that checks a custom permission.
- Connect flow elements with a nonlinear connection.
- Cut and paste elements on the flow canvas.
Before we wrap up this badge, let’s go over some useful techniques to control how your flow runs.
Power-Up Decisions with Custom Permissions
There’s a global variable we didn’t cover in the Data and Actions in Flows badge, because it pairs perfectly with the Decision element, like chicken with donuts. (If you haven’t, try it sometime!)
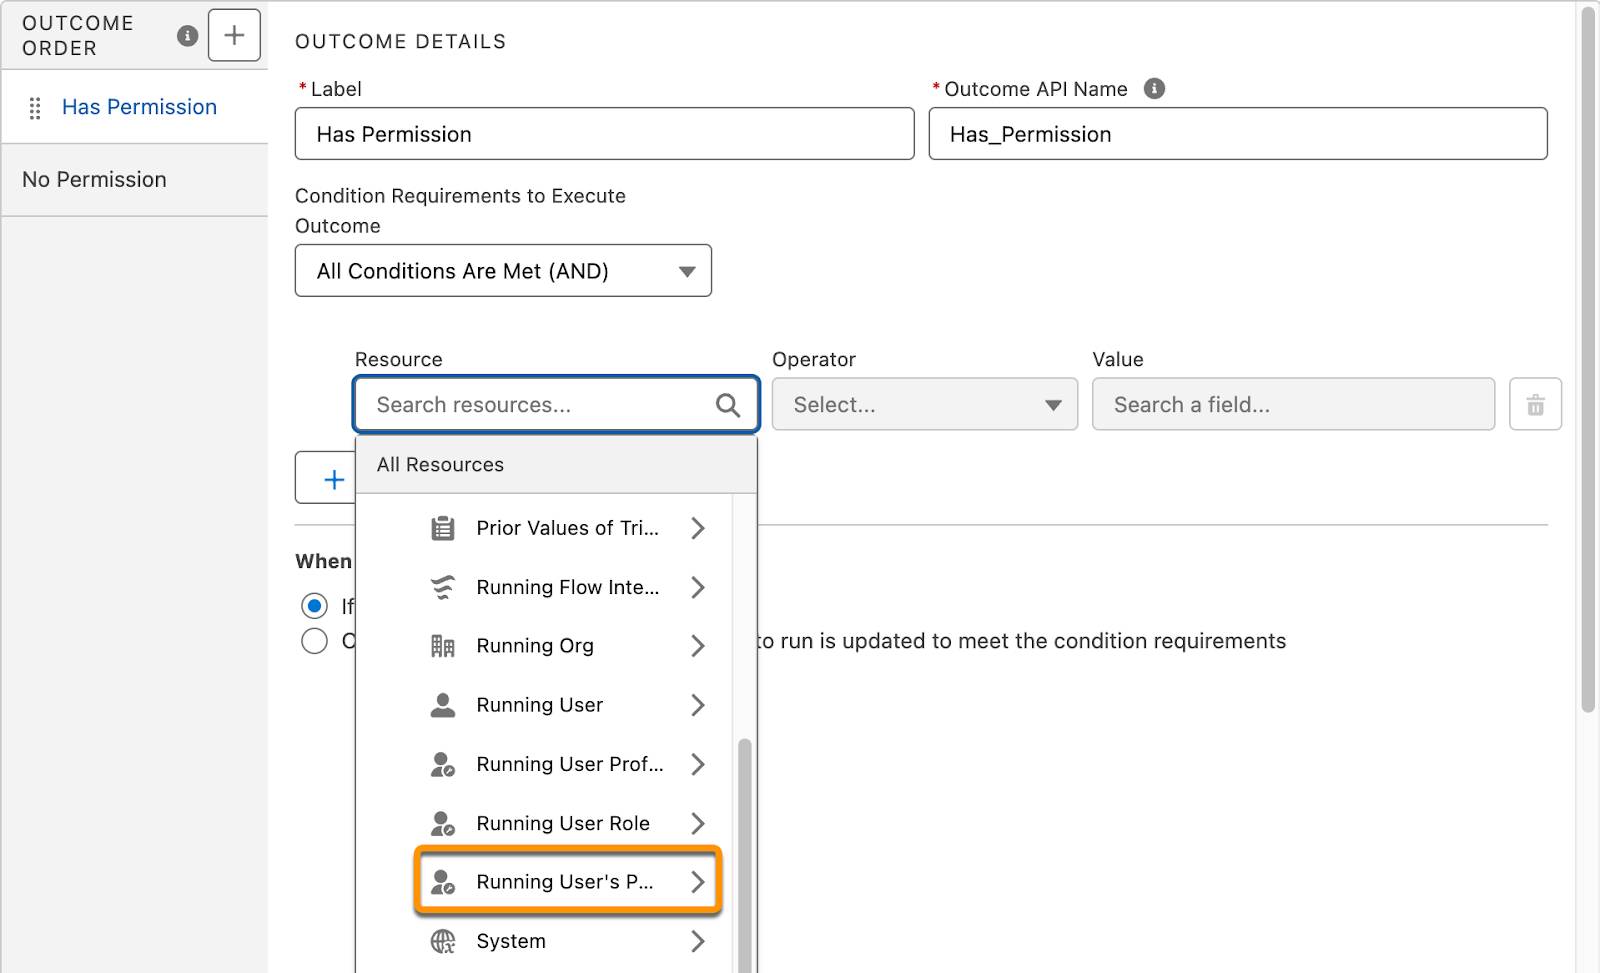
The Running User's Permission global variable (which might be called $Permission in some elements) returns TRUE only if the running user has the specified custom permission. Using the Running User's Permission global variable with custom permissions allows you to build a flow that branches based on the user’s permissions.
You can combine the Running User’s Permission global variable with the Decision element to make your flow take different paths depending on who’s running the flow.
Let’s look at another example scenario. Pyroclastic’s customer-onboarding managers have asked for an automated tool that guides users through their onboarding projects. After listening to their needs, Flo understands that the project kickoff screen should be shown only to specific project leads, users who have the Onboarding Lead permission. Everyone else should see a message that instructs them to contact an onboarding lead.
To check for this permission, the Decision element checks if Running User’s Permission > Onboarding_Lead is equal to true.
If the running user has the permission, the flow runs the path with the project kick-off screen; if not, the flow runs the path with the prompt to contact an onboarding lead.
Create a Decision Element That Checks a Custom Permission
Before you build the flow, create a custom permission named Onboarding Lead
.
- From Setup, enter
permission
in the Quick Find box and then click Custom Permissions.
- Click New.
- For Label, enter
Onboarding Lead
.
- Make sure the Name is
Onboarding_Lead
.
- Click Save.
Now build the flow.
- Create a screen flow.
- Add a Decision element.
- For Label, enter
Onboarding Lead?
- Update the New Outcome:
- For Label, enter
Yes
.
- For Resource, select Running User’s Permission > Onboarding_Lead.
- For Operator, select Equals.
- For Value, select True.
- Change the Default Outcome Label to
No
.
- Save the flow. For Flow Label, enter
Onboarding Project Initiation
.
Make a Long-Distance Connection
The Flow Builder canvas keeps your elements neat and tidy, and prevents connectors from becoming a tangled mess. But sometimes you don’t want to just flow along for the ride; you need to flow your own way, to boldly flow where no flow has gone before!
You can connect an element to any other element on the canvas, even a previous element, using a Go To Connector. Go To Connectors create nonlinear connections in your flows, and hide their paths to prevent clutter and confusion.
Follow these steps to connect to another element.
- On the connector that you want to reroute, click .
- Click Connect to element.
- Click on the element that you want to connect to.
Click the connection text to highlight its destination, or click the number of connections text to highlight the origin.
If a branched path doesn’t merge with the other paths, you can use this method to reconnect it. Just click before the path ends and follow the same steps.
Move Your Elements Here, There, and Everywhere
Sometimes your beautiful, elegant, genius flow creation… turns out not so perfectly. Or maybe it would’ve been perfect if it weren’t for those meddling users! Either way, sometimes you want to move an element to a different location on the canvas.
Follow these steps to move an element from one location to another.
- Click the element that you want to move.
- Select Cut Element.
- Hover over where you want to move your element, and click . The element leaps to its new home.
Auto-Layout is the fastest, cleanest, and most feature-rich way to build flows. But if you need to move a whole bunch of elements, it’s sometimes faster to switch to Free-Form temporarily. In Free-Form mode, select the connector and press Backspace
or Delete
. Create a new connector by clicking and dragging the circle at the bottom of the element to the connector’s new target.
Resources