Set Up a Marketing Cloud Next Campaign
Learning Objectives
After completing this unit, you’ll be able to:
- Create a data graph.
- Configure a campaign record.
Sign Up for a Developer Edition with Data 360 and Marketing Cloud Next
To complete this challenge, you need a special, limited-time custom playground that contains Data 360 and Marketing Cloud Next.
- Select Create Playground.
- Your new org is automatically attached to your Trailhead account.
- Make note of your org's expiration date and complete this badge before then.
You're now ready to follow along with this unit's example. You need to complete all the steps to pass the challenge at the end of this unit. It’s time to get started!
Before building the campaign flow, you need to prepare the customer data that powers it. That starts with identity resolution, which links records from different sources and creates a unified view of each customer.
Generate an Identity Resolution Ruleset
Now let’s create an identity resolution ruleset. Here’s how to do it.
- Select
 , and search for and select Marketing.
- Select the Identity Resolutions tab. If you don’t see this as a menu option, it may be listed in the More dropdown.
- Select New, then Create New Ruleset, and Next.
- Select Individual in the Primary Data Model Object dropdown list.
- For Ruleset ID, enter
MKTand select Next.
- For Ruleset Name, enter
Marketingand select Save. It can take a few minutes for the ruleset to save.
- Under Match Rules, select Configure. Review the instructions and select Next.
- Select Configure next to Match Rule 1, select Fuzzy Name and Normalized Email, select Next, then select Next again.
-
Save. It may take a minute or so for the ruleset to publish.

The resulting Unified Individual gives you a consolidated customer profile that can be used across Data 360. With that foundation in place, you can now build a data graph that brings together the specific customer attributes needed for segmentation and personalization.
Build a Data Graph
You need a data graph that connects the Unified Individual to the customer attributes the flow will use for branching and personalization. When building a data graph, include only the objects and fields your flow actually needs. Unnecessary data adds complexity and can affect performance.
- Select
 , and search for and select Data Graphs.
- Select New.
- Select Start from Scratch.
- Select Next.
- Specify these details.
- Data Graph Name:
Marketing - Primary Data Model Object: Unified Individual MKT
- Data Graph Name:
- Select Next.

Select Fields for the Data Graph
You’ll find all the fields related to the Unified Individual object. Select the fields you need to personalize your email and evaluate branching conditions in your flow.
- From the list of Unified Individual MKT fields, select First Name.

- In the Search data model object search field, enter and select Account.
- In the Select a Path for the Account Object window, select Unified Individual MKT > Unified Link Individual MKT > Individual > Account and Select to continue.

- From the list of Account fields, select Annual Revenue Amount and Created Date.

- Select Save and Build.
- Select a Weekly refresh interval. A less frequent refresh works well when updates aren't time sensitive or if cost is a concern.
- Select Save and Build.
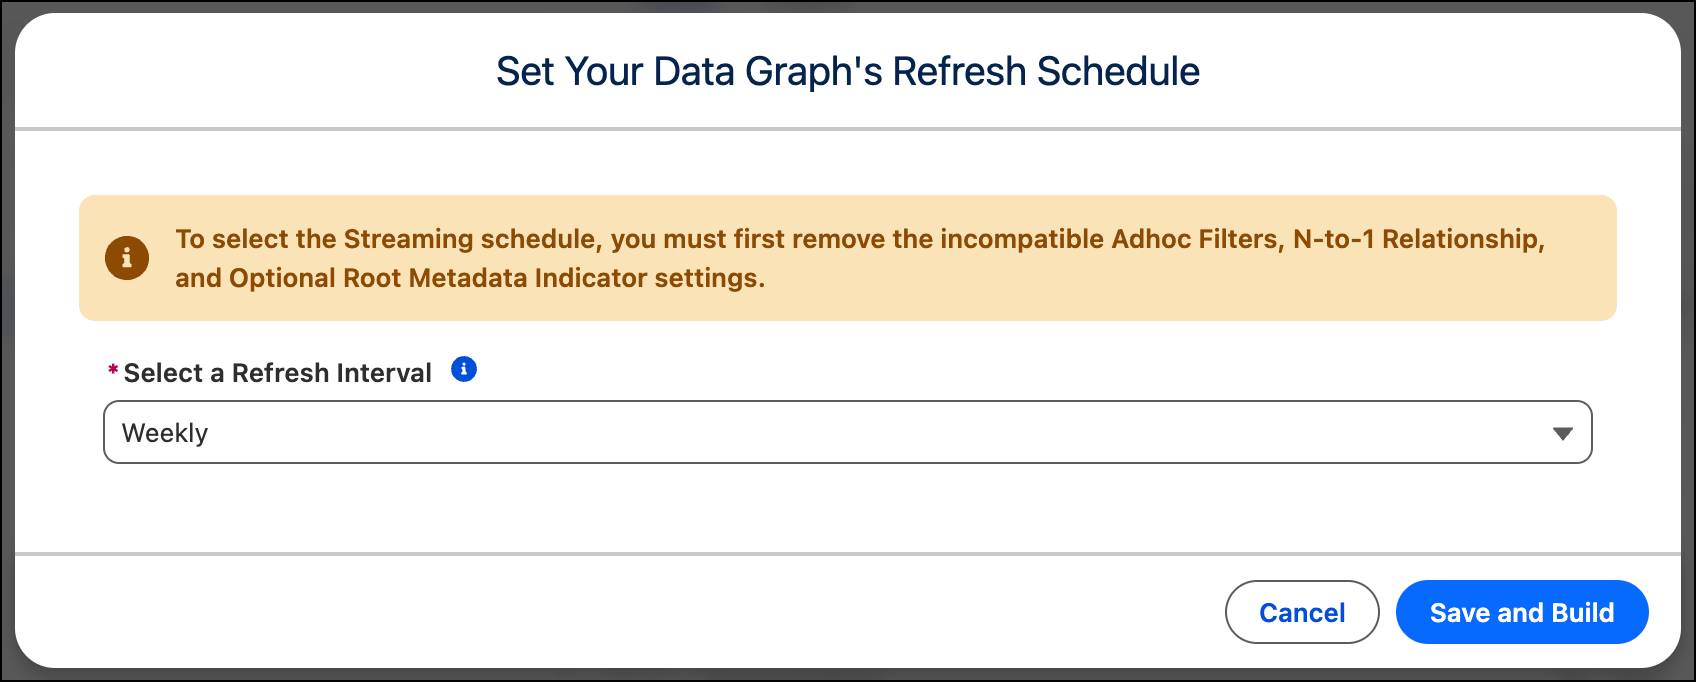
It takes a few minutes to build the data graph. You can track the status on the Data Graphs tab.
Set the Default Data Graph
To use the data graph for personalization, set it as the default in the system.
- Select
 , and select Setup.
- In the Quick Find box, search for and select Customer Engagement.
- In the Configure Basic Personalization section, select the Marketing data graph.
- In the Update data graph? window, select Update.

Now you can use the selected objects and fields to personalize email content and drive decision logic in your flow. With your data graph configured, the next step is to design the email messages that your flow delivers to each audience path.
Design Email Messages
Before you can send email from your flow, you need to have them ready to go. In Marketing Cloud Next, you create and manage email content in a CMS Workspace, which serves as the content library for your campaign assets.
Create the Workspace
- Select
 , search for and select CMS Workspaces.
- Select Add Workspace.
- Leave the selection for Marketing as is, and select Next.
- Enter the Name as
Cloud Kicks.
- Select Next.
- Select Finish.

Create the First Email
- Select Add, and select Content.
- Select Email, and select Create.
- Keep the default selection, and Select.

- Choose any standard template, and Select.
- Customize the template as needed. When you’re done, enter the following details exactly, as you'll need them later in the module:
- Select
 next to the email title in the navigation bar, enter
 Super Kicks Early Access, and select Done.
- Subject Line:
We saved you a spot before the drop
- Select
- Select Save and then Publish.
- Select Next.
- Keep Publish Now as the default selection and then select Publish Now.
Create the Remaining Email Messages
- Navigate back to the Cloud Kicks workspace. You’ll notice that supporting files such as images are automatically added to the workspace, keeping all related assets organized and accessible in one place.
- Repeat the steps in Create the First Email to create two more email messages with the following details:
Title |
Subject Line |
|---|---|
Super Kicks Product Recommendation |
Welcome to the Cloud Kicks family |
Super Kicks Launch |
Something Big is Coming |
To learn how to build and customize email, check out the Marketing Cloud Next Email Sending Essentials module.
You now have three email messages ready to use in your campaign flow. Next, you set up the campaign record that brings your audience, email, and campaign flow logic together.
Set Up a Campaign Record
To build a customer journey using a flow, you must first create a campaign.
- Select
 , and search for and select Marketing.
- Navigat to the Campaigns tab.
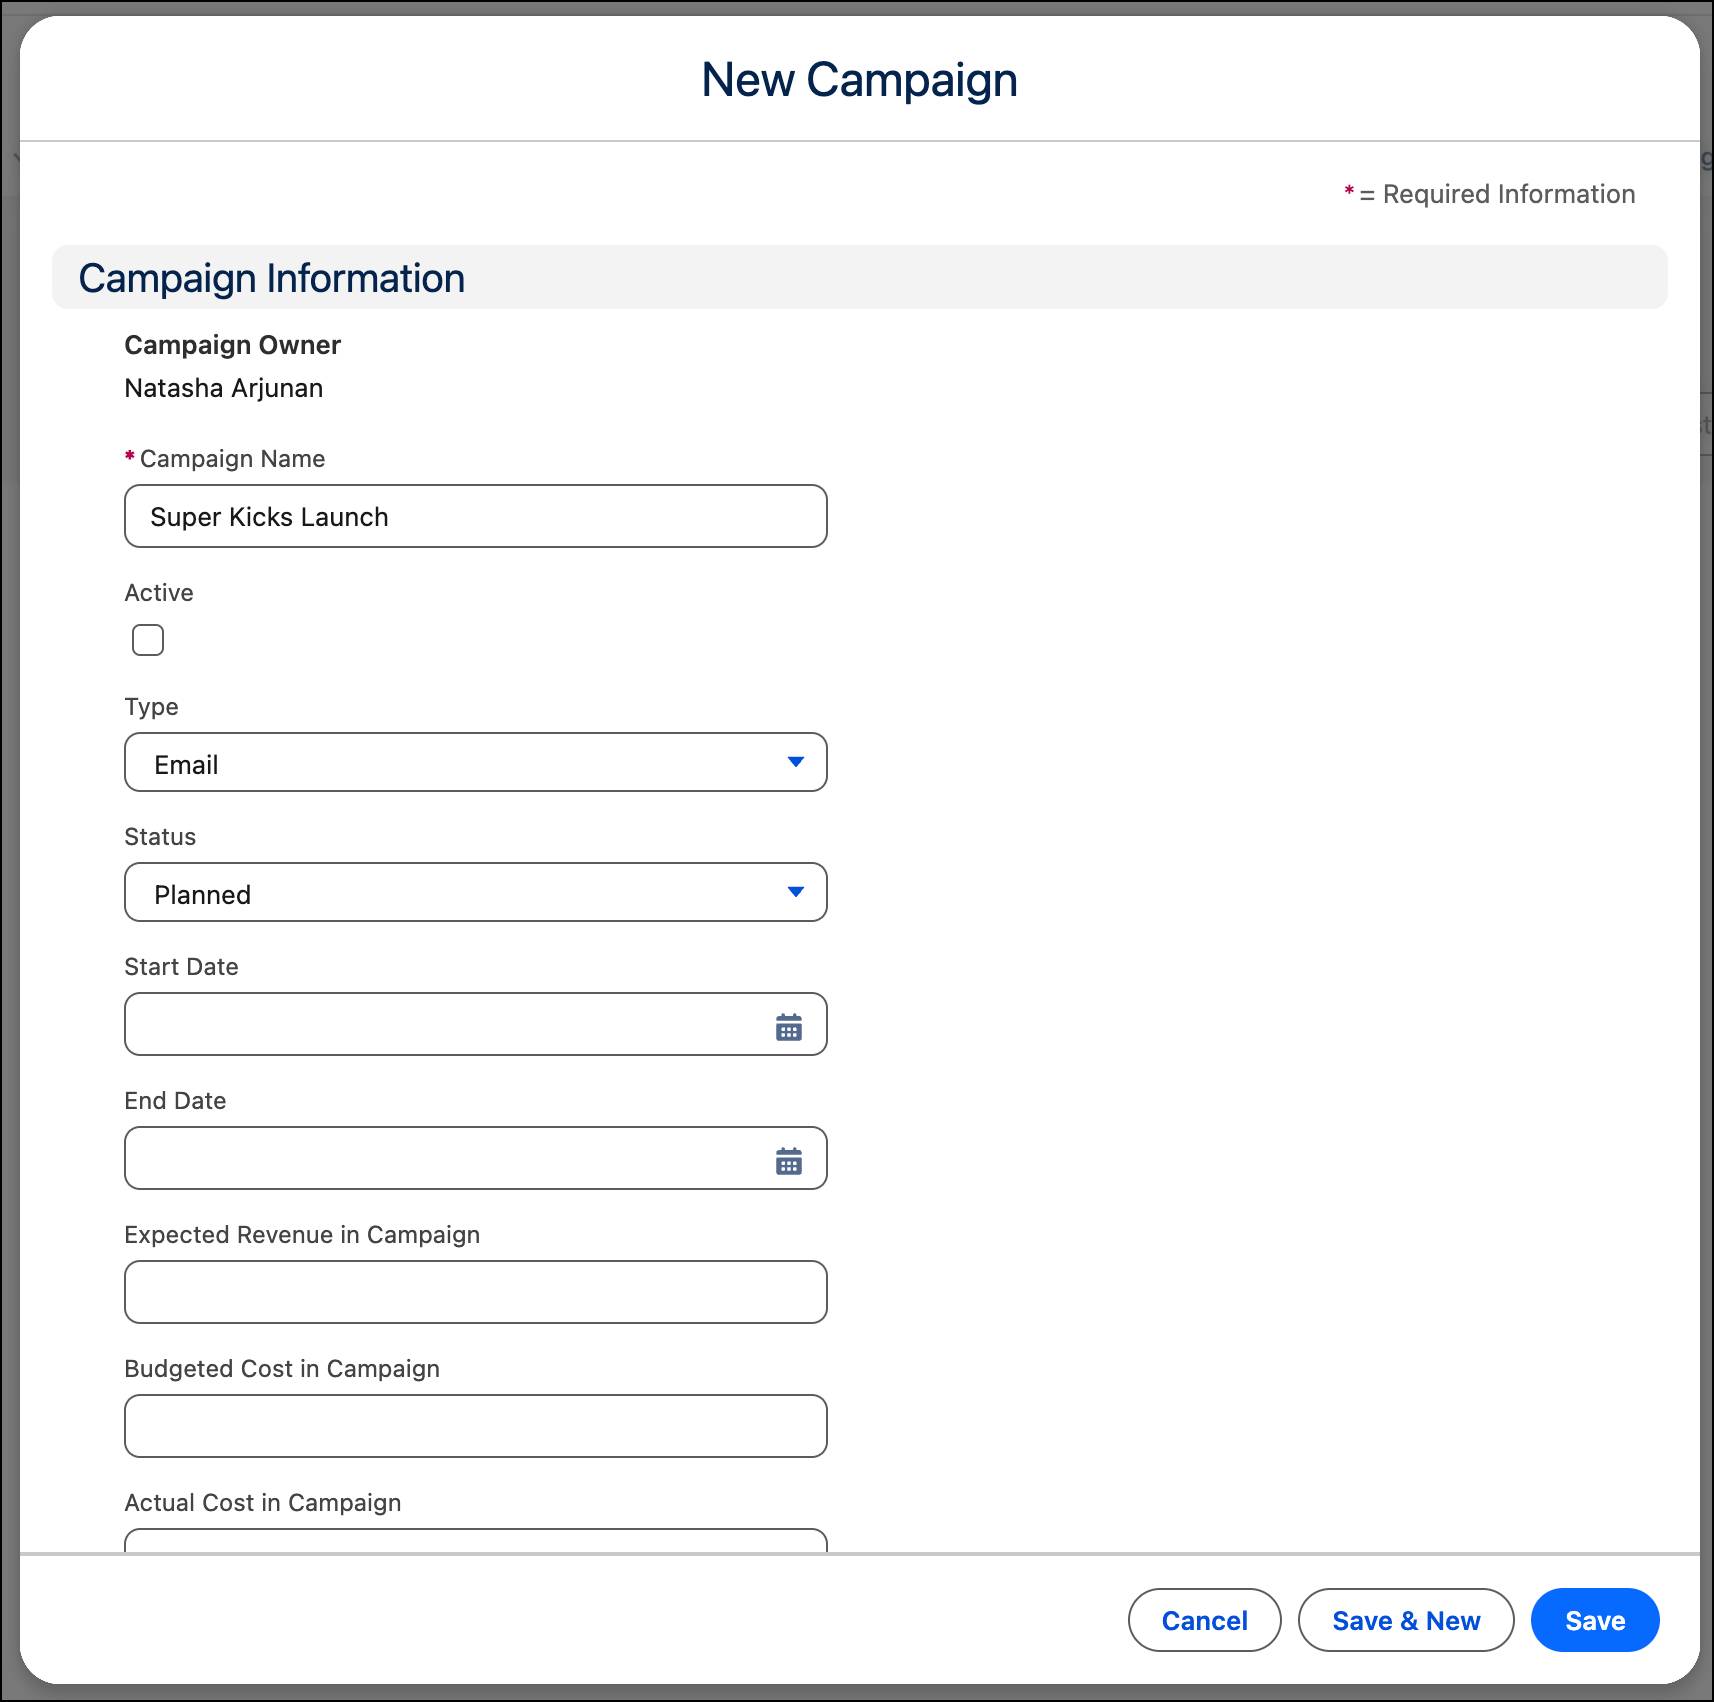
- Select New.
- Specify these details:
- Campaign Name:
Super Kicks Launch - Type: Email
- Select Save
- Select Quick Start. In the Blank Email section, choose Select to set up an email series.
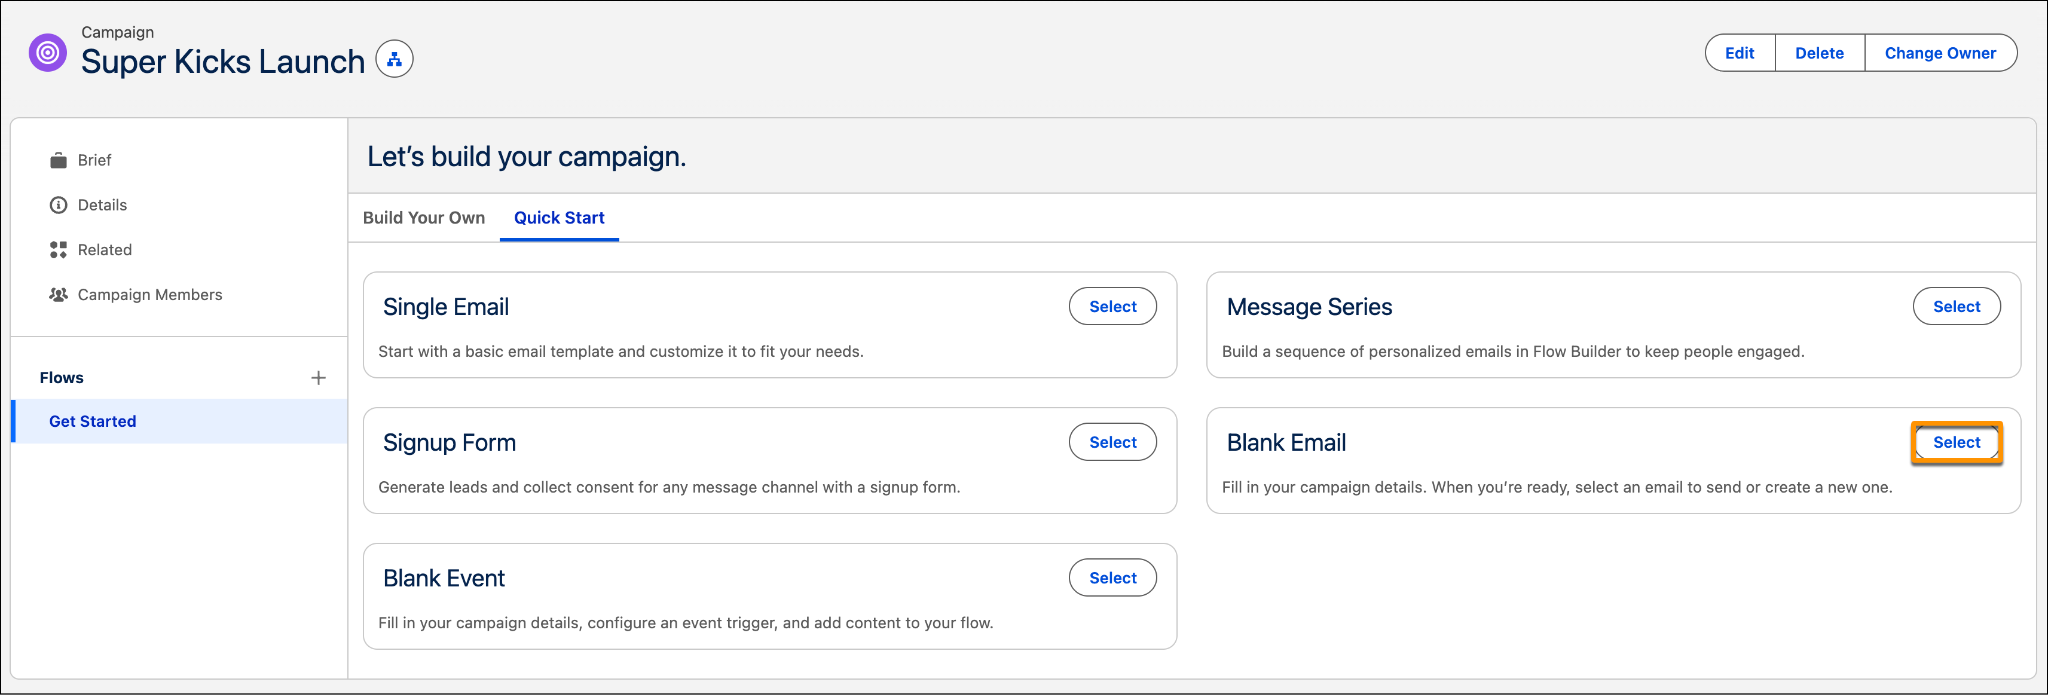
The campaign record displays the flow summary, where you configure the schedule, audience, and any message or wait elements.

Begin with setting the schedule.
Schedule the Message
Set up when an audience can enter the flow.
- Select Schedule.
- Specify these details.
- Start Date: Select any future date
- Start Time: 12:00 AM
- Time Zone: Select any time zone
- Select Save
- Start Date: Select any future date
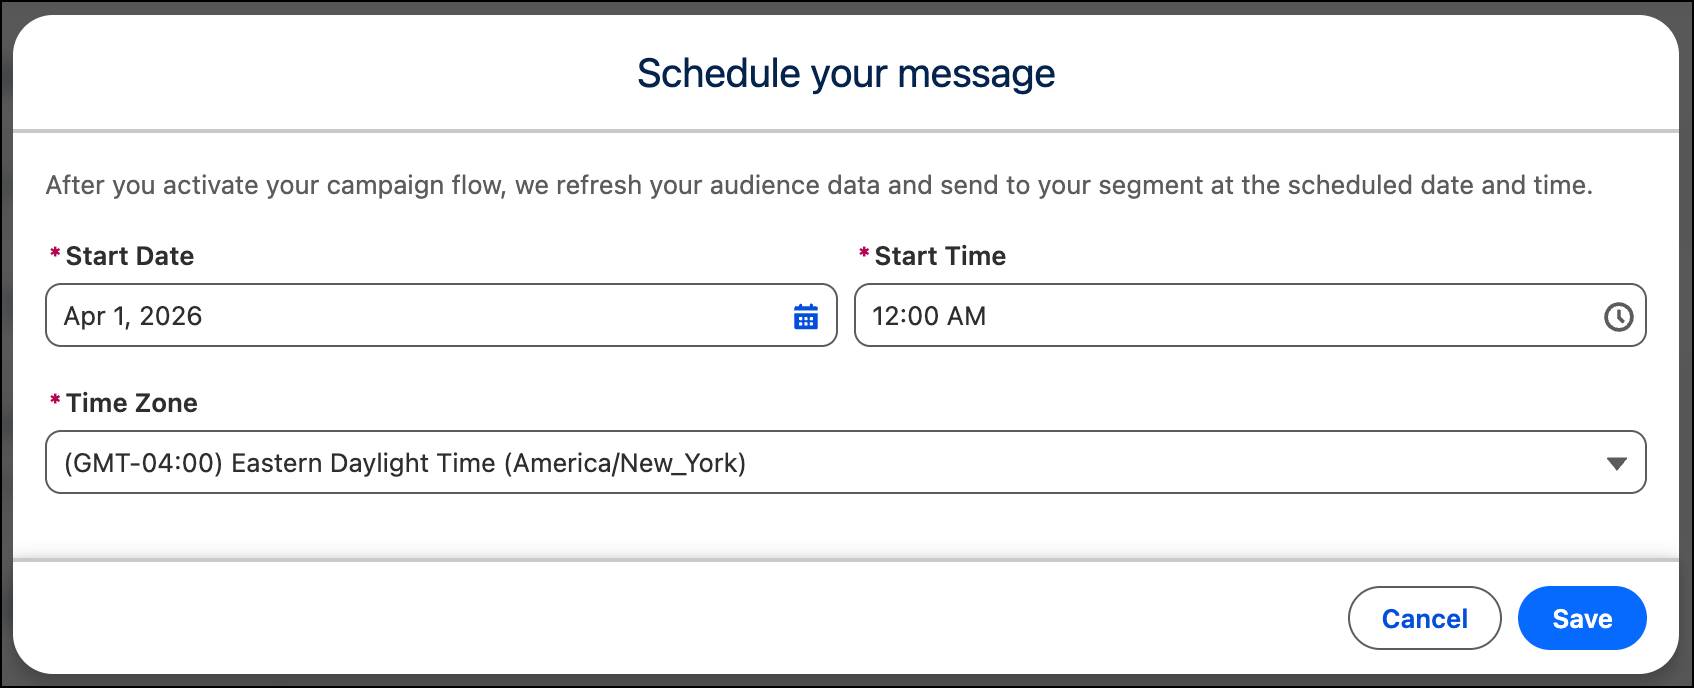
When you activate a campaign flow, messages don’t send immediately. Marketing Cloud Next first refreshes the audience data to make sure the segment is current. Then, at the scheduled date and time, it sends the message to everyone who qualifies.
Define the Audience
Define who enters the campaign by filtering Data 360 data into a segment or using quick filters to narrow your audience. For this campaign, you select all contacts.
- In the Start section, choose Select Segment.
- Select Use Quick Filters and Next.
- Select Contacts.
- Select Create. It may take a few minutes to create the segment.

- If the segment status is Counting, refresh the page until the status changes to Active. Then, select Publish in the Start section.
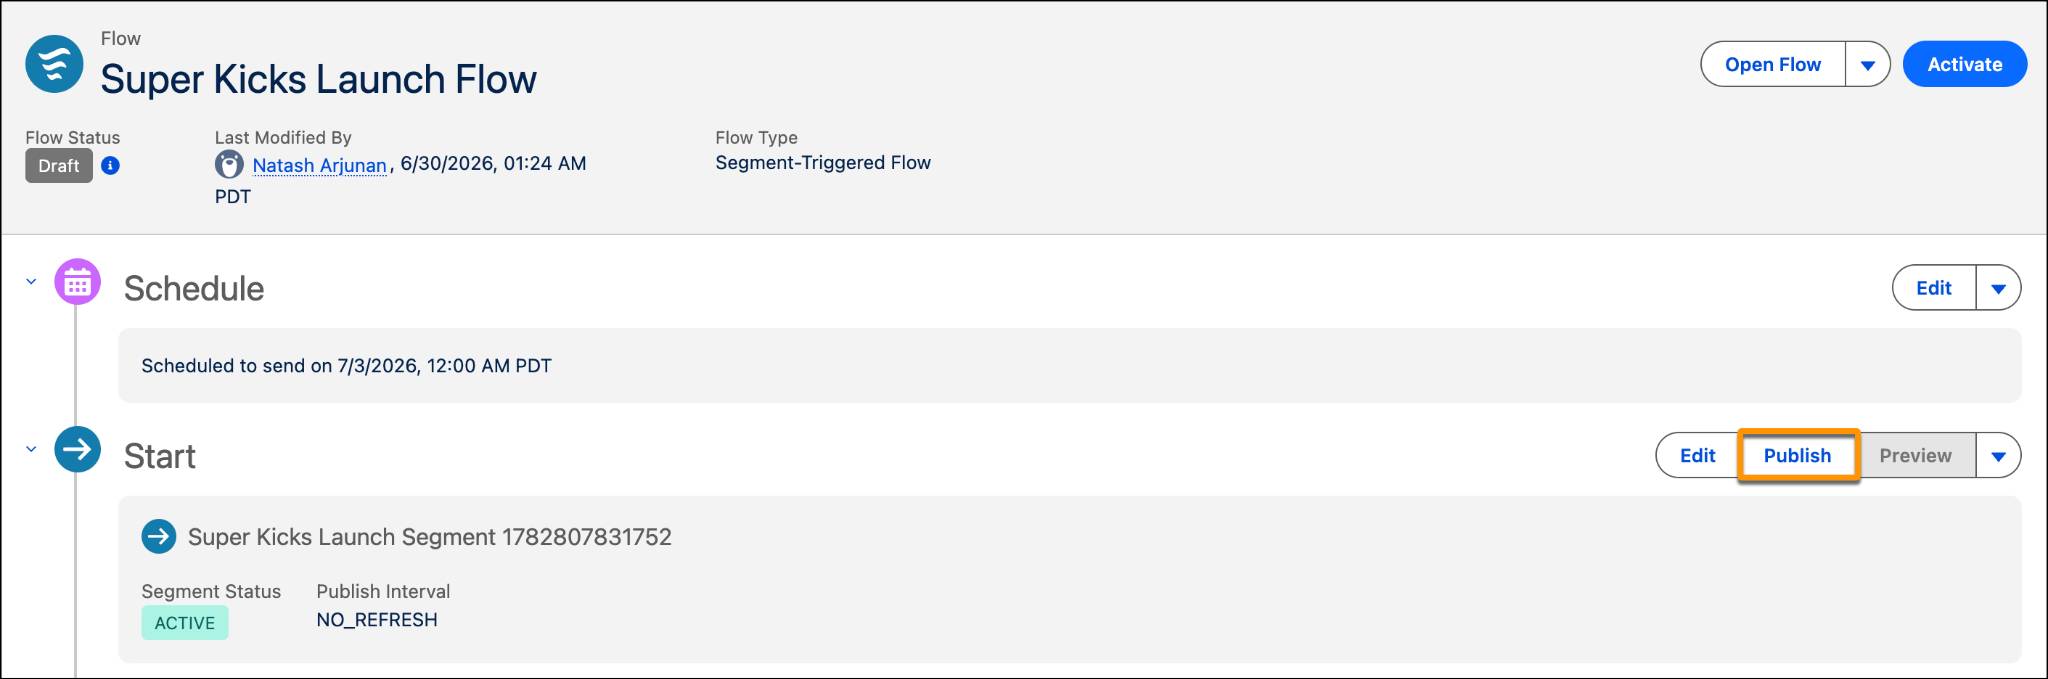
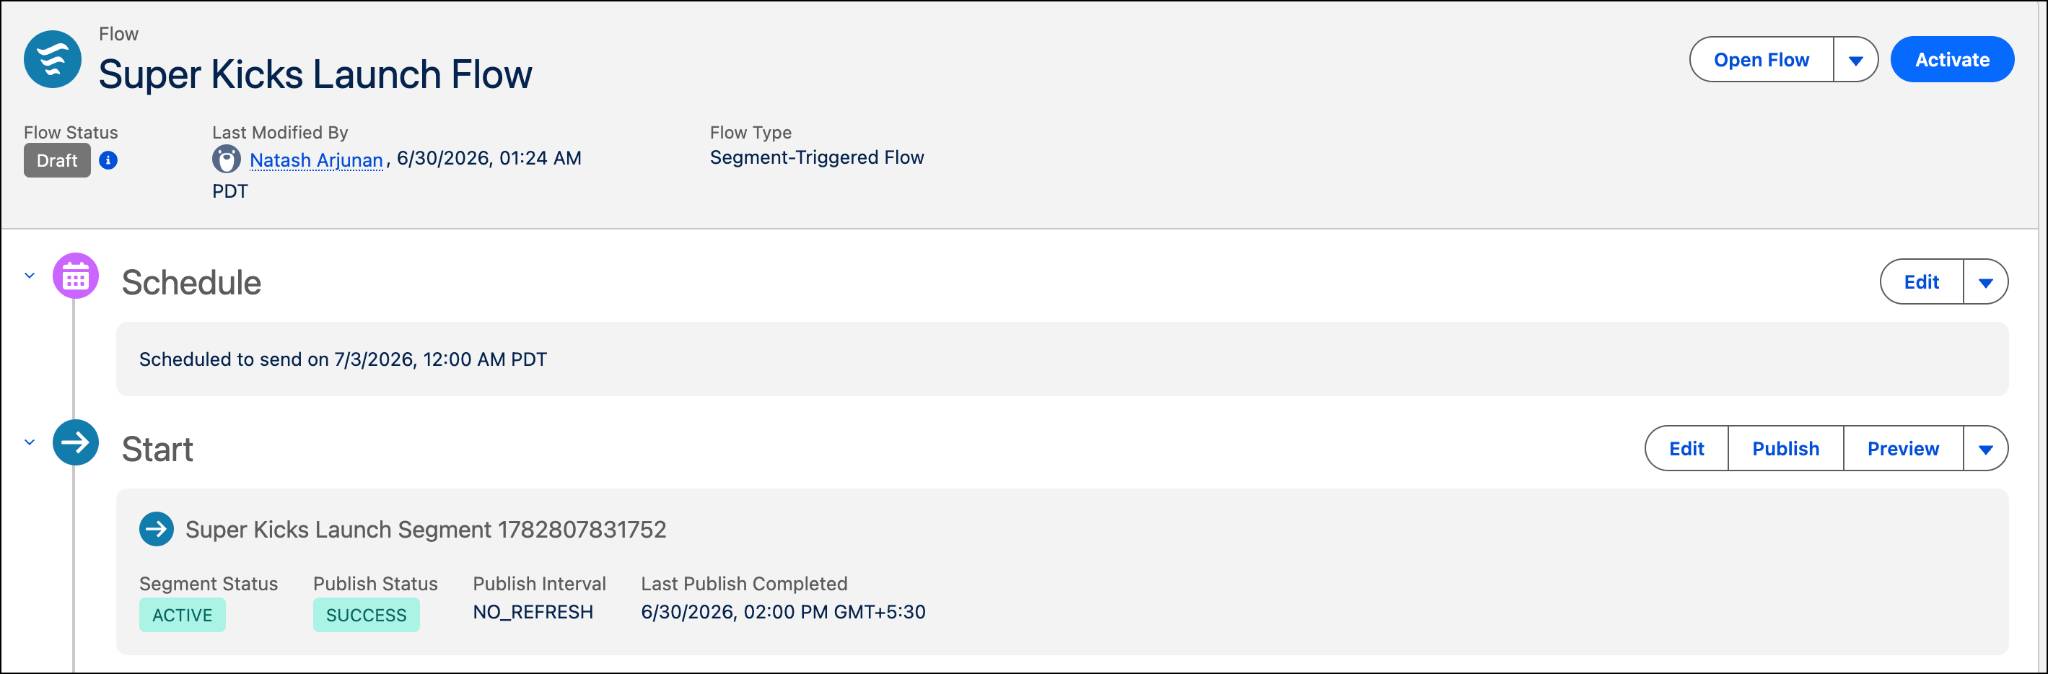
The segment takes a few minutes to publish. Refresh the page to check the status. When complete, the Publish Status updates to Success.
In this unit, you set up the foundation of a campaign. You created a data graph and defined your audience. Now that you’ve completed the steps in this unit, select Check Challenge to Earn 500 points.
In the next unit, you build the decision logic that routes each contact to the most relevant path.