Understand Queue-Based Routing
Learning Objectives
After completing this unit, you’ll be able to:
- Describe how queue-based routing works.
- Explain how Omni-Channel determines the priority of work items.
- Set up queue-based routing for Omni-Channel.
Follow Along with Trail Together
Want to follow along with an expert as you work through this step? Take a look at this video, part of the Trail Together series.
(This clip starts at the 3:40 minute mark, in case you want to rewind and watch the beginning of the step again.)
How Does Queue-Based Routing Work
Maria Jimenez, Ursa Major Solar’s fearless systems admin, gets ready to try out queue-based routing in Omni-Channel. Before she starts, she wants to know how queue-based routing pushes work to reps.
Get the Most Important Work to Reps First
Prioritizing work by importance and quickly resolving the highest priority work is, well, a high priority for contact centers.
Maria learns that Omni-Channel always prioritizes work in the same way regardless of which routing method you use.
Omni-Channel uses three factors to prioritize a work item.
- First, it considers the priority of the queue from which the work item came.
- Next, it considers the amount of time the work item has been waiting in the queue.
- Finally, it considers the members of the queue who are available to receive new work items.
Organize Work and Reps into Queues
When you set up queue-based routing, you create a queue, then set the queue priority, and then assign reps to it. You can think of queues as different buckets that Omni-Channel drops work into. A queue can represent a skill, such as Spanish; or expertise, such as technical troubleshooting; or a company department, such as Billing.
Define Routing Configurations
Next, you create a routing configuration to set the size and priority of different objects and to select the routing model that Omni-Channel uses. The routing configuration determines how Omni-Channel routes work to reps.
For example, a real-time web chat can have a higher priority than a case, because you’ve got a customer on the other side of the chat who wants to talk with a rep right now. A case can have a larger size than a chat, because working on a case can take up more of a rep’s time and energy than responding to a web chat.
In the routing model, you choose whether to push work to reps who are Least Active or Most Available. If you select Least Active, then Omni-Channel routes incoming work items to the rep with the least amount of open work. If you select Most Available, then Omni-Channel routes incoming work items to the rep with the greatest difference between work item capacity and open work items.
Manage Rep Workload
When Omni-Channel routes work items, it considers a rep’s capacity to take on more work and their current availability. So one rep doesn’t get overloaded while others wait for something to do.
Manage Rep Capacity
Rep capacity looks at the number and types of work items that are assigned to a rep, and at the rep’s overall bandwidth. You give each type of work—a case, a chat, and so on—a unit of capacity that represents how much rep bandwidth it takes up. And you give the rep a total capacity that indicates when the rep is working at 100% of capacity.
For example, suppose that cases each take 5 capacity and that chats each take 2 capacity. Let’s say that a rep has a maximum capacity of 10. In this situation, a rep can work on two cases (5+5=10) at a time. Or the rep can work on one case and two chats (5+2+2=9) at the same time. Omni-Channel won’t assign more work than the rep’s total capacity. Rep capacity enables reps to deliver high-quality customer service without getting overloaded.
Know When Reps Are Available for Work
Rep availability looks at the rep’s presence status in the Omni-Channel utility. The presence status indicates whether the rep is able to take on more work on a given service channel. Presence status is like your availability indicator on a messaging app or web chat app. If you’re busy, away at lunch, or offline, then Omni-Channel won’t assign work to you. Omni-Channel assigns work only to reps whose presence status is Available for a given service channel.
With Omni-Channel, reps no longer have to choose work assignments manually from a queue, which saves everyone time, effort, and brainpower. Because it’s easier for reps to work on their assignments, they can assist customers faster and more effectively and close assignments more quickly.
Set Up Queue-Based Routing
Now that Maria knows more about queue-based routing, she’s ready to try it out for Ursa Major Solar. Maria logs in to Salesforce Lightning Experience and navigates to Service Setup. She discovers that there’s an Omni-Channel guided setup flow that walks her through setting up queue-based routing. Sweet! First Maria enables Omni-Channel in Setup, and then she runs the setup flow.
- From Setup, enter
Omni-Channel Settingsin the Quick Find box, then select Omni-Channel Settings.
- Select Enable Omni-Channel.
- Click Save.
- From Setup, enter
Service Setupin the Quick Find box, then select Service Setup Assistant.
- If you see a Join the Serviceblazer Community on Slack modal, you can close it.
- If Service Setup Assistant isn’t turned on, complete these steps.
- Leave the Add sample service data option checked.
- Turn on Service Setup Assistant.
- Click Check Status until you see the Ready status.
- When it’s ready, click Get Started.
- In the Can we create digital service experiences for you, click No, Skip This Step.
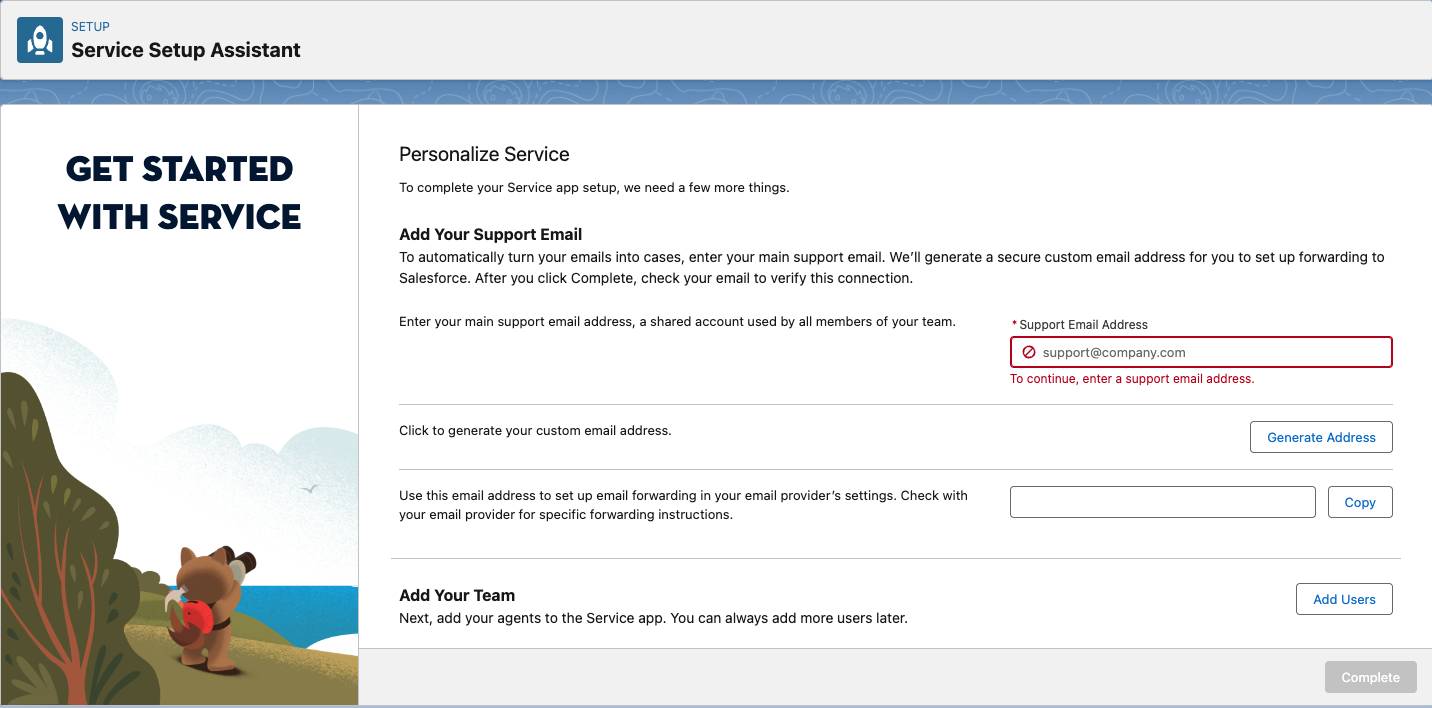
- In the Get Started with Service page, enter your support email address, enter or generate a forwarding email address, and skip adding users to the service app.
- Click Complete
- Close the Congratulations window.
- Leave the Add sample service data option checked.
- In Recommended Setup, click View All.
- Scroll to select Omni Channel Setup, or you can enter
Omni-Channelin the Quick Find box.
- Click Start.
- Create a queue.
- For Queue Name, enter
High-Priority Cases.
- For Name These Agents, enter a name for the permission set. Maria enters
Tier1 Agents.
- Add reps to the queue. You can check the box next to a rep’s name, or search for the rep. Be sure to add your name to the list of reps in the queue.
- For Queue Name, enter
- Click Next.
- If you don’t have an existing routing configuration set up, the Prioritize work for your reps screen appears. To create a routing configuration for the queue, set the priority to 1 and click Next.
- The priority determines which work records are assigned to reps and in which order. For example, enter
1for this routing configuration to have the highest priority. When you set up the first queue, Salesforce automatically assigns it a priority of 1 because it’s the only queue. You can change this priority as you add more queues. Note: If you don’t see this screen, we create a routing configuration for you. You're automatically skipped to the next step.
- Adjust your reps’ workload.
- In Work Item Size, set the amount of a rep’s capacity that one work item consumes. Maria enters
5.
- In Agent Capacity, set the rep’s total capacity. Maria enters
20.
- In Work Item Size, set the amount of a rep’s capacity that one work item consumes. Maria enters
- Click Next.
- Click Finish.
Resources
- Salesforce Help: Set Up Omni-Channel with a Guided Setup Flow
- Salesforce Help: How Does Omni-Channel Queue-Based Routing Work?