Add Branding and Components to the Site
The Category 1 Biking site is in great shape, but it needs some customizations.
Update the Headline
- With the Category 1 Biking site open in Builder, click the Headline component.

- Update the headline in the menu on the right as follows.
- Title:
Category 1 Biking - Banner Text:
Welcome to the community!
- Title:
- Click X to close the Headline editor.
Update the Theme
The theme menu adjusts colors and images for the site. Use the same zip file you previously downloaded to access the images. Be sure to unzip the file.
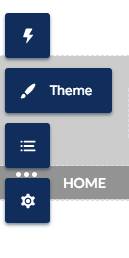
- Click the Theme icon.
- Click Colors to expand the menu.
- Adjust the colors as you see fit.
- Click the left-facing arrow next to Colors to collapse the menu.
- Click Images to expand the menu.
- Click Upload Image icon under Header Image.
- Click Upload Image and choose header.jpg from the folder you downloaded earlier.
- Click X to close the Theme editor.
Update the Navigation Menu
- Click the gray bar across the top to reveal the Navigation Menu component.

- Click Edit Default Navigation from the menu on the right.
- Click + Add Menu Item.
- Enter these details.
- Name:
Cases - Type: Salesforce Object
- Object Type: Case
- Default List View: My Open Cases
- Name:
- Click Save Menu.
- Click X to close the Navigation Menu.
Publish Your Site
- Click Publish.
- On the Publish Your Site confirmation screen, click Publish, then Got It.
Once your site is published, you receive an email confirmation. Click the link in your email to see your site live.
Try Out Your New Site
Kick the tires on the new site. Click the link in your confirmation email to view your published site and try it out. If you didn’t get the email, just click the URL from Digital Experiences > All Sites > Category 1 Biking.
Start a Chat
- Click the Builder icon
 and select Salesforce Setup.
- Click the App Launcher
 , then search for and select Service Console.
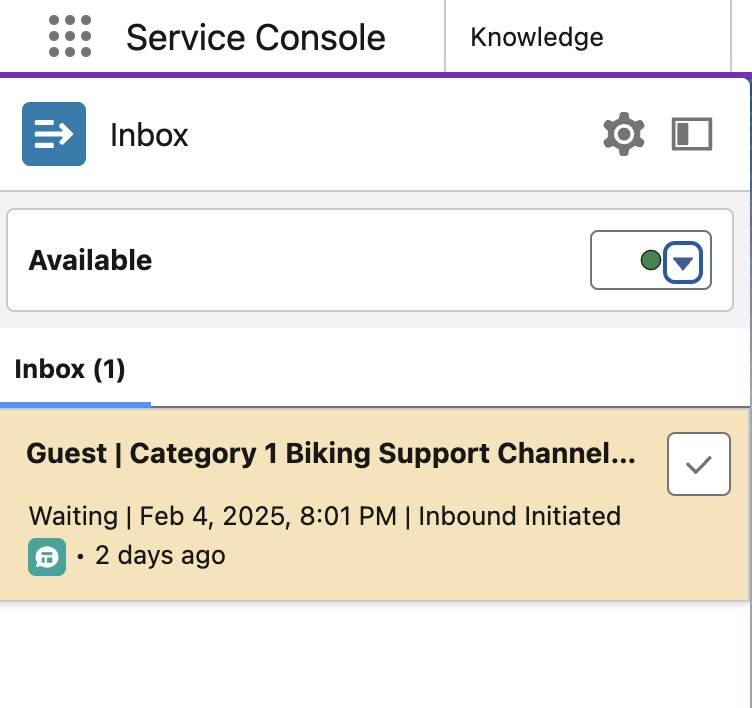
- Click Omni-Channel from the sidebar (the open circle).

- Click the dropdown next to Offline and select Available Messaging.
- Click the setup gear
 and select Setup. (Note: This should open a new tab. Keep the Service Console tab open, you return to the Service Console later.)
- Enter
All Sitesin Quick Find, then select All Sites.
- Click the URL link next to Category 1 Biking to open the site.
Try It Out
- Click the Chat button
 in the lower right-hand corner of the page .
- Go back to the Service Console.
- Click the check to accept the chat.
- Click the Messaging browser tab. Say hello from the site side and toggle back to the Service Console to see it from the Service Console side.
- Chat session engaged! Try chatting from the agent side, and the site side. Click the three dots in the upper left corner of the site side chat window and hit End Conversation when done.
Ask a Question
- From the site, click Ask a Question.
- Select New Products from the Post To dropdown.
- In the Question section, enter a question regarding a new product. For example, “
When will this year’s new bike be available to buy?”
- Click Ask.
Now, view how an asked question is displayed.
- From the site, click New Products from the Topics dropdown on the navigation menu.
- The new question should be listed.
- Click Articles to see related knowledge articles.
- Click an article to open it. Give the article a thumbs-up rating!
Create a Case
- Click Home on the site.
- At the bottom of the page, click Contact Support.
- Click in the Contact Name textbox and select + New Contact.
- Create yourself as a contact.
- Enter any information in the First Name and Last Name fields.
- Enter and select Pyramid Construction Inc. under Account Name.
- Click Save.
- Enter any subject and description that you want.
- Click Submit.
- Now, click Cases on the site navigation menu.
- Ensure the list view is set to My Open Cases and see that the case you just submitted has been added.
The new site includes knowledge articles organized by topic, a chat button, a button to ask a question, customized branding, and more. Category 1 Biking fans can now engage with the company and with each other in a whole new way.
Nice work. See you on the road!