Design a Simple Order Orchestration
Learning Objectives
After completing this unit, you’ll be able to:
- Design a basic orchestration plan for a basic bundled product.
- Sign up for a special Developer Edition org for Agentforce Revenue Management.
- Explain the steps to create an orchestration plan.
Before You Start
Before you start this module, make sure you complete this content. The work you do here builds on the concepts and work you do in that content.
-
Agentforce Revenue Management Foundations
-
Agentforce Revenue Management Design
-
Dynamic Revenue Orchestrator Foundations
Also, consider completing the following recommended content.
-
Efficient Sales with Agentforce Revenue Management
-
Product Catalog Management with Agentforce Revenue Management
A Quick Recap
In the Dynamic Revenue Orchestrator Foundations module, you learned how Dynamic Revenue Orchestration (DRO) breaks down complex orders into smaller parts using decomposition rules, fulfillment plans, and orchestration flows. These core building blocks automate order processing and fulfillment, making even complex revenue processes more manageable.
In this module, you put those concepts into action.
A Business Scenario
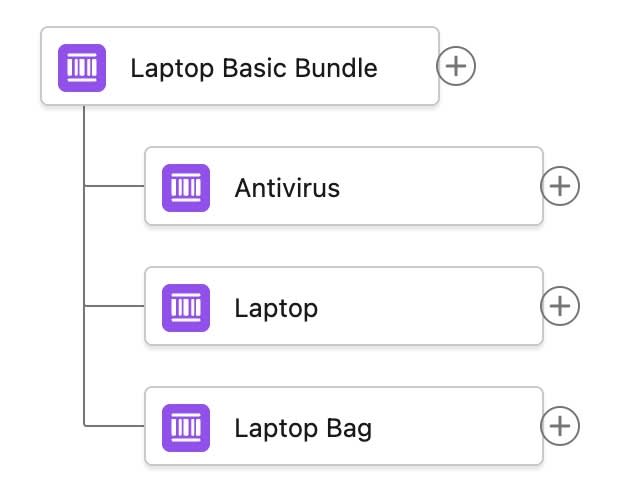
At InfinitraBytes, a tech solutions provider, sales reps often sell a product bundle named Laptop Basic Bundle to corporate customers. This bundle includes a laptop, a laptop bag, and an antivirus subscription, all delivered together as a standard offering.
While external systems handle physical inventory management and software license provisioning, DRO smoothly integrates with these systems to orchestrate the overall fulfillment process.
Julian Wang, a fulfillment designer at InfinitraBytes, uses DRO to simplify fulfillment flows.

The Laptop Basic Bundle’s fulfillment process involves simple back-office tasks such as pick, pack, and ship, regardless of the bundle’s specific configuration. Therefore, Julian designs a straightforward orchestration plan for it.
In this module, follow Julian and learn how to configure a simple orchestration plan for Laptop Basic Bundle. But first, set up your own Salesforce org.
Sign Up for a Developer Edition Org with Agentforce Revenue Management
To complete this module, you need a special Developer Edition org that contains Agentforce Revenue Management and our sample data. Get the free Developer Edition org and connect it to Trailhead now so you can complete the challenges in this module. Note that this Developer Edition org is designed to work with the challenges in this badge, and might not work for other badges. Always check that you’re using the Trailhead Playground or the special Developer Edition org that we recommend.
- Sign up for a free Agentforce Revenue Management Developer Edition org.
- Fill out the form.
- For Email, enter an active email address.
- For Username, enter a username that looks like an email address and is unique, but it doesn’t need to be a valid email account (for example, yourname@example.com).
- After you fill out the form, click Sign me up. A confirmation message appears.
- When you receive the activation email (this might take a few minutes), open it and click Verify Account.
- Complete your registration by setting your password and answering the challenge question. Tip: Save your username, password, and login URL in a secure place—such as a password manager—for easy access later.
- You’re logged in to your Developer Edition org.
In the next unit, you connect this org to Trailhead.
Build the Index
Before you can use your org, make sure it’s ready to use by building the index.
- From the App Launcher, find and select Product Catalog Management.
- On the Product Catalog Management home page, click the Index and Search Configuration tile.
Note that an error message sometimes appears because the system is trying to fetch the latest index snapshot details. An index build doesn’t exist yet though, because your Developer Edition org is brand new. In a real-world implementation, your system has a snapshot details to gather. So for the purposes of this challenge, just close the banner and go to the next step.
- Click Create Full Index. If you don’t see this button, click Rebuild Index.
- Select Full Index Rebuild, then click Rebuild.
Sometimes, the index build takes a few minutes to complete. Refresh the page and confirm that the status shows Completed before proceeding.
Sync the Pricing Data
Now sync the pricing data.
- From Setup, in the Quick Find box, find and select Salesforce Pricing Setup.
- In the Sync Pricing Data section, click Sync.

- Confirm that you want to sync your org.
The pricing data sync takes a few minutes to complete, but you don't have to wait. Proceed to the next step.
Refresh the Decision Tables
Next, refresh the Product Qualification and Product Disqualification decision tables in your org.
- From Setup, in the Quick Find box, find and select Decision Tables.
- From the available decision tables list, select Product Disqualification.
- Click Refresh.
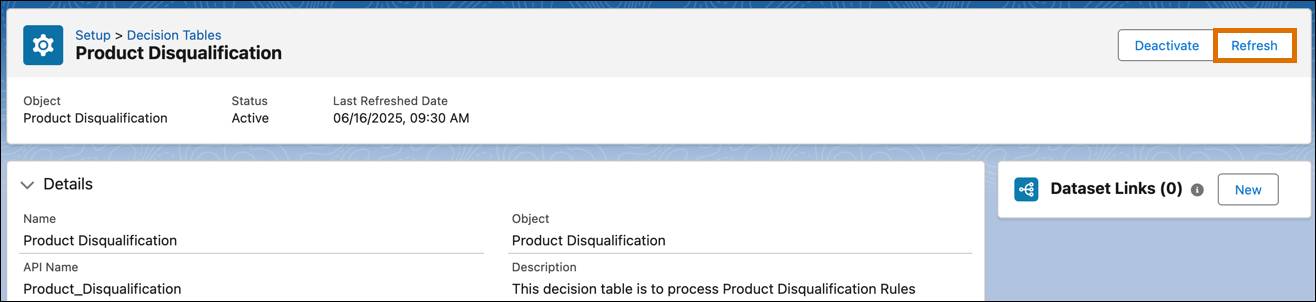
- Similarly, refresh the Product Qualification decision table.
You’re all set to start using your Developer Edition org.

Orchestrate a Simple Bundle
Before Julian configures the orchestration plan, review the key steps involved.

Step |
Description |
|---|---|
Create Fulfillment Workspace |
Set up a workspace where your orchestration logic exists. This is the foundation to organize your steps and control the flow. |
Create Step Groups |
Organize related fulfillment actions, such as invoicing or shipping into step groups. Each step group acts as a phase or swimlane in your orchestration plan. This makes your plan easier to manage and reuse. In DRO, swimlanes are represented by Fulfillment Step Definition Groups. |
Define Fulfillment Steps |
Create individual steps your plan needs to execute, such as generating an invoice or activating a service within each group. Specify the step type, such as manual or callout, and define the scope such as plan or line item. |
Set Step Dependencies |
Link steps to control the sequence of execution by defining which steps run first and which depend on others. This makes sure that each step executes at the appropriate time. |
Define Fulfillment Scenario |
Connect the orchestration plan to specific products using product fulfillment scenarios. This step makes sure the plan runs when a customer orders the product. |
Next Up
Now that you understand the basics of how to orchestrate a bundle and your Developer Edition Org is ready to use, put your work into action. In the next unit, follow along with Julian to learn how to configure a simple orchestration plan.
Resources
- Salesforce Help: Get Started with Dynamic Revenue Orchestrator
- Salesforce Help: Design Your Order Orchestration