Explore the Service Components
Learning Objectives
After completing this unit, you’ll be able to:
- List the high-level steps to set up Record Alerts.
- Describe how to set up Action Launcher.
- Outline the steps for setting up Einstein Summary.
- Describe how Audit Trail works.
Notify with Record Alerts
When a caller calls into the contact center at Rayler Parts, service agents are expected to answer the queries and act on pending items. But they’re also expected to offer proactive service with relevant information for the caller. For example, the agent can inform a caller about the upcoming agreement renewals or warranty expirations so they can take action.
Rayler Parts can also integrate external systems with the Salesforce org to display data, such as asset malfunctions, in real time. The Flexcard component in the console shows record alerts to help agents provide a seamless engagement interaction.
Here are the high-level steps involved in setting up record alerts.
- Assign users permissions to create and manage Flexcards and Integration Procedures. Cindy has already assigned the Omnistudio Admin permission set to Najma so that she can use the Omnistudio tools to design record alerts.
- Add or edit picklist values for Severity. The default values are Info, Error, and Warning. Cindy has added a Severity type called Important.

- Categorize record alerts based on required criteria. Cindy has created two alert categories called Informational Alerts (for Info alerts) and Urgent Alerts (for Error alerts).

- Configure alerts from an external data source. Cindy has configured an Apex Class that brings in telematics data from an external source for all installed assets at partner locations.
- Customize record alert cards with Integration Procedures that can read and write data from Salesforce and external systems (using REST calls) and can call Apex code. Cindy has customized the recordAlerts/get procedure to define logic for retrieving alerts for the alert card and how to display them.
- Customize record alert cards with Flexcard Designer. Cindy used the ServiceExcellenceGenericAlertCard component to display and organize the information in a meaningful way.
- Add the Record Alerts component to page layouts. Cindy added the Flexcard component to the Contact page layout that’s used for the console. She also limited the number of record alerts that can display to 5.
Here’s a sample record alert that gives agents key details about an upcoming asset servicing and maintenance.

Field |
Value |
|---|---|
Subject |
Ready for servicing in 2 months |
Parent Record |
An Asset record |
Record Alert Category |
Informational Alerts |
Severity |
Info
|
What Record |
Contact record of the partner calling in |
Service agents can snooze or dismiss the alerts as required. In fact, agents can also manually create record alerts during an interaction so that the next time a different agent interacts with the same caller, they see that information. For example, if a caller says that they plan to buy a subscription in 6 months, the agent can create a record alert to remind them to upsell a subscription to the partner at that time.
Take Decisive Actions
The Service Innovations console comes with the Action Launcher component. During customer interactions, agents can use the component to launch actions for quickly addressing customer requests.

Action Launcher supports various types of actions.
- Active screen flows, field service mobile flows, and autolaunched flows
- Aura components
- Button- and link-based actions or WebLinks
- Flow orchestrations
- Omniscripts
- Quick actions
Cindy can create a deployment that determines the actions to launch through the Action Launcher component. Before Cindy configures the deployment, she must set up the flows and quick actions that she wants to show in the component.
Here are the high-level steps involved in creating a deployment.
- Create screen flows, quick actions, autolaunched flows, and so on, as required for actions, such as Request Service Appointment, Create a Case, Take Notes, Calculate Rebate Payout, Add a Warranty, and more.
- Create a deployment on the Action Launcher Deployments page in Setup.
- Select one or more action types. Cindy selects both Flows and Quick Actions. Alternatively, she can choose to use an appropriate standard deployment if it’s available on the page and modify the deployment by completing these steps.
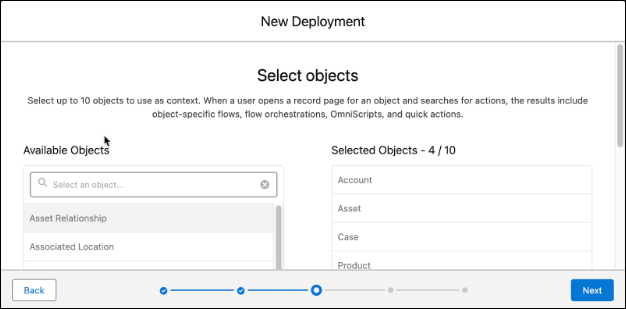
- Select up to 10 objects to use as context for the quick actions. Cindy selects Case, Product, Asset, Account, and Rebate Claim.
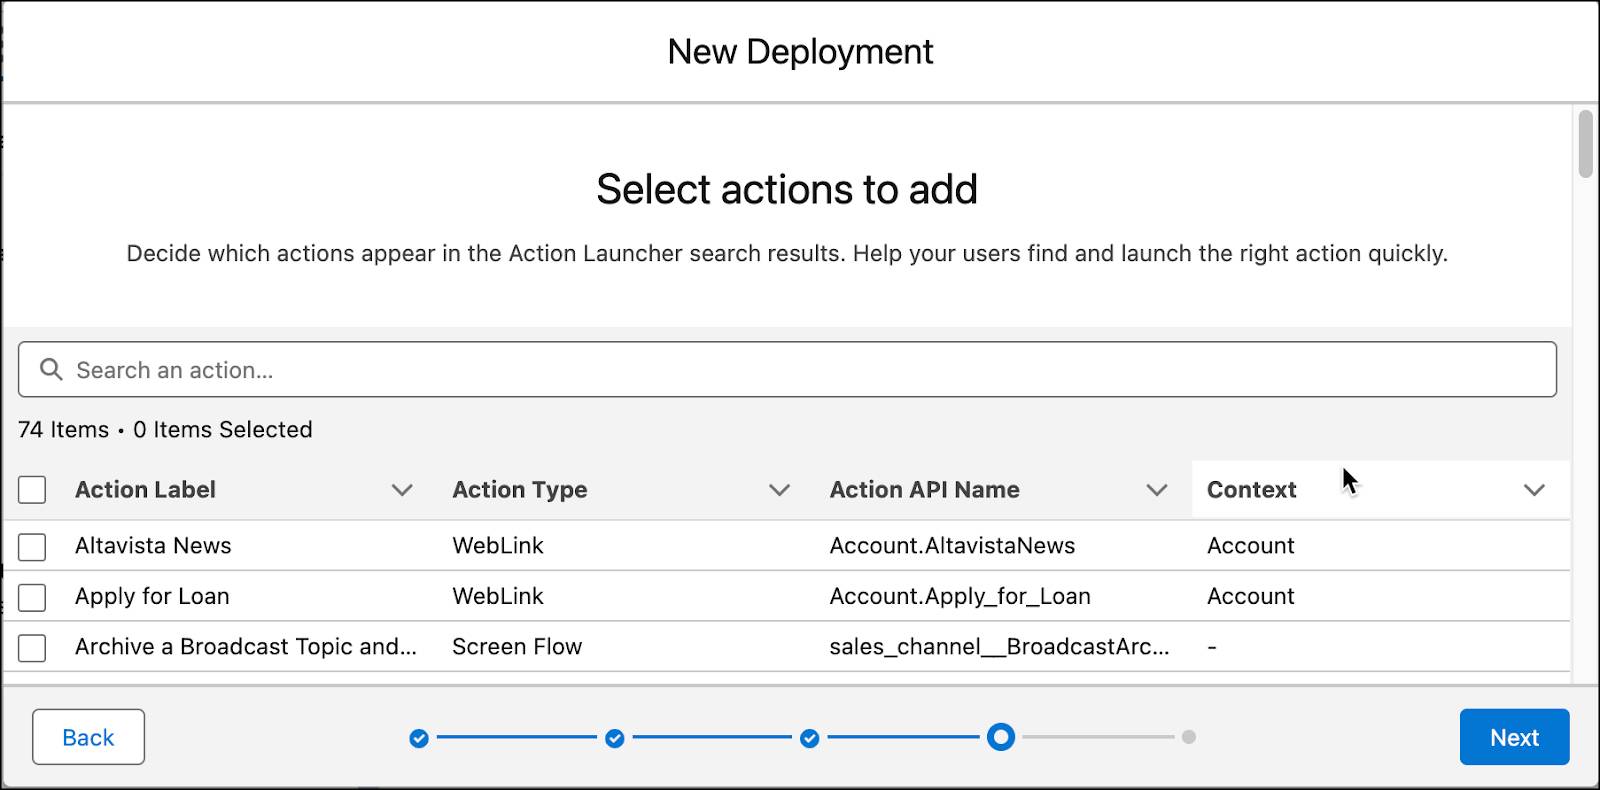
- Select the list of actions to show.
- Specify the actions that agents frequently use. The actions appear on Action Launcher. Agents can click the actions to quickly launch them instead of searching for them in Action Launcher. Cindy specifies a few actions that agents frequently use and saves the changes.
- Add Action Launcher to a record page. Cindy adds Action Launcher to the Contact page layout and selects the deployment she created. She can also select a service catalog instead of a deployment. Action Launcher configured with a service catalog allows agents to launch service processes.
- To personalize Action Launcher, specify a custom title. Cindy prefers to display the title Action Hub.
Note It Down
Service Innovations simplifies the note-taking process of agents. After each customer interaction, agents can use the Einstein Summary feature to generate a summary of the interaction within seconds and save it for future reference.

Cindy sees the value in this feature and includes Einstein Summary in the Service Innovations console through Lightning App Builder. For Einstein Summary to work, Cindy creates a prompt template and a customized flow by using the Service Innovations Einstein: Get Engagement Interaction Details flow template. You can learn about creating a prompt template in the Prompt Builder Basics module here on Trailhead.
Here are the high-level steps for creating a flow from a template:
- Click the App Launcher (
 ).
).
- In the Search apps and items box, enter
autoand then select Automation.
- In the Flows panel, click New.
- In the Search automations box, search for the Service Innovations Einstein: Get Engagement Interaction Details flow template and select it.
- Click Save. Enter a new flow label and API name, and save the flow.
- Activate the flow.
Agents can select the prompt template in Einstein Summary and click Summarize. Before saving, agents can edit the summary, which can be shown in the Timeline feature to provide a quick overview of events.
Cindy has set up all the required components. She now wants to understand how admins can use Audit Trail to analyze the identity verification records.
Monitor Records
When the Verify Caller Identity flow is run, the Save Member Verification invocable action saves the customer identity verification data for auditing purposes. Records are created when a verification passes or fails. The information readily available for monitoring purposes includes:
- Engagement interaction record name
- Engagement interaction record ID
- Initiating attendee ID
- Verification status
- Verification details
- Initiating attendee type—who the call is about
- Engagement topic

The target audience of the Audit Trail feature is the admin persona. So, Cindy enables the Audit Trail tab in the tab settings of the user profile that’s assigned to her. This enables Cindy to find Audit Trail from the App Launcher and search for records based on date and time filters. Cindy can also add the Audit Trail tab to the navigation menu in the Service Innovations console.
Audit Trail allows Cindy to export the interaction records to a CSV file and download it from the Audit Trail Export Dashboard. Cindy can access Audit Trail Export Dashboard through the Quick Find box in Setup.

Cindy is delighted with the progress she’s made. In the next unit, she turns her focus on the custom requirements that came from Najma’s team. For now, she schedules a call with Najma to demonstrate the capabilities of the components she configured.
Resources
- Salesforce Help: Record Alerts
- Salesforce Help: Action Launcher
- Salesforce Help: Einstein Summary
- Salesforce Help: Audit Trail