Configure Shipping Address, Data Source, and Omniscript Action
Build the Shipping Address Element
In the previous unit, you created the CustomerOrderInformation Flexcard and added order details.
Now, add a text element to display shipping address information.
- Drag a Text element from the Display category and drop it to the right of the Block element.
- In the Properties panel, under the Element Details tab, for Element Name, enter
ShippingAddress.
- In the edit text area, remove Edit Me! and enter
Shipping Address.
- Select the Shipping Address text and click
 .
.
- Select
 and
and  .
.
- While the text is selected, click Font Size and select 18pt.
- Place your cursor after the Shipping Address text and press Enter or Return twice.
Next, add the display field names and their corresponding merge fields.
- Enter
Shipping Street: {ShippingStreet}.
The ‘Shipping Street:’ text is the field name shown on the Flexcard. The ‘{ShippingStreet}’ text is a merge field that gets the shipping street value from the Order record.
- Select the entire text and deselect
 .
.
- While the text is selected, click Font Size and select 14pt.
- Select only the {ShippingStreet} text and deselect
 .
.
- Click after the {ShippingStreet} text and press Enter or Return.
- Enter
Shipping City: {ShippingCity}.
- Select only the Shipping City: text and select
 .
.
- Similarly, add these display field names and merge fields. Make sure the text formatting for the display field names and merge fields is the same as done previously.
Shipping State: {ShippingState}Shipping Postal Code: {ShippingPostalCode}Shipping Country: {ShippingCountry}
Here’s what the configuration in the Element Details tab looks like.

And how can we forget to style the ShippingAddress text element? Here’s how you do it.
- Select the ShippingAddress element.
- In the Properties panel, click the Style tab.
- Under the Appearance section, enter these details.
- Background Color:
#FBF3E0
- Border Type: Top, Right, Bottom, and Left
- Border Width:
1
- Border Color:
#CA8501
- Background Color:
- Under the Alignment section, enter these details.
- Padding Type: Around
- Padding Size: x-Small
- Click
 to add the padding details.
- Padding Type: Around
Add a Flexcard Data Source
As the Flexcard element configuration is complete, add a data source to the Flexcard.
- In the Flexcard designer, click
 to open the Setup panel. The changes you make in the Setup panel are saved only when you click Save & Fetch in step 8.
- Under the Datasource section, for Data Source Types, select Integration Procedures from the dropdown.
- For Integration Procedure Name, find and select Order_ProcessOrder.
- Under the Input Map section, click + Add and enter these details.
- Key:
OrderId
- Value:
{recordId}
- Key:
- Under the Input Map section, click + Add again and enter these details.
- Key:
actionType
- Value:
'fetch'
- Key:
- Under Test Parameters, for Key, enter
recordId.
- Under Test Parameters, for Value: Enter the record Id of the order with Order Number 00000101. To get the record Id, perform these steps.
- Switch to the tab where the Omnistudio app is open or open it in a new tab.
- Click
 , then find and select Orders.
- In the Orders list view page, click
 beside Recently Viewed and select All Orders.
- Click 00000101.
- Copy the record Id from the URL. For example, 801ak00001RLKGiAAP is the record Id in this sample URL. The record Id in your Developer Edition org will be different.
- Switch to the tab where the Omnistudio app is open or open it in a new tab.

8. You can test whether your Flexcard is fetching the data. Click Save & Fetch. The Test Results window opens.
9. In the Test Results window, click the JSON tab. The Flexcard is fetching all the data from the order record.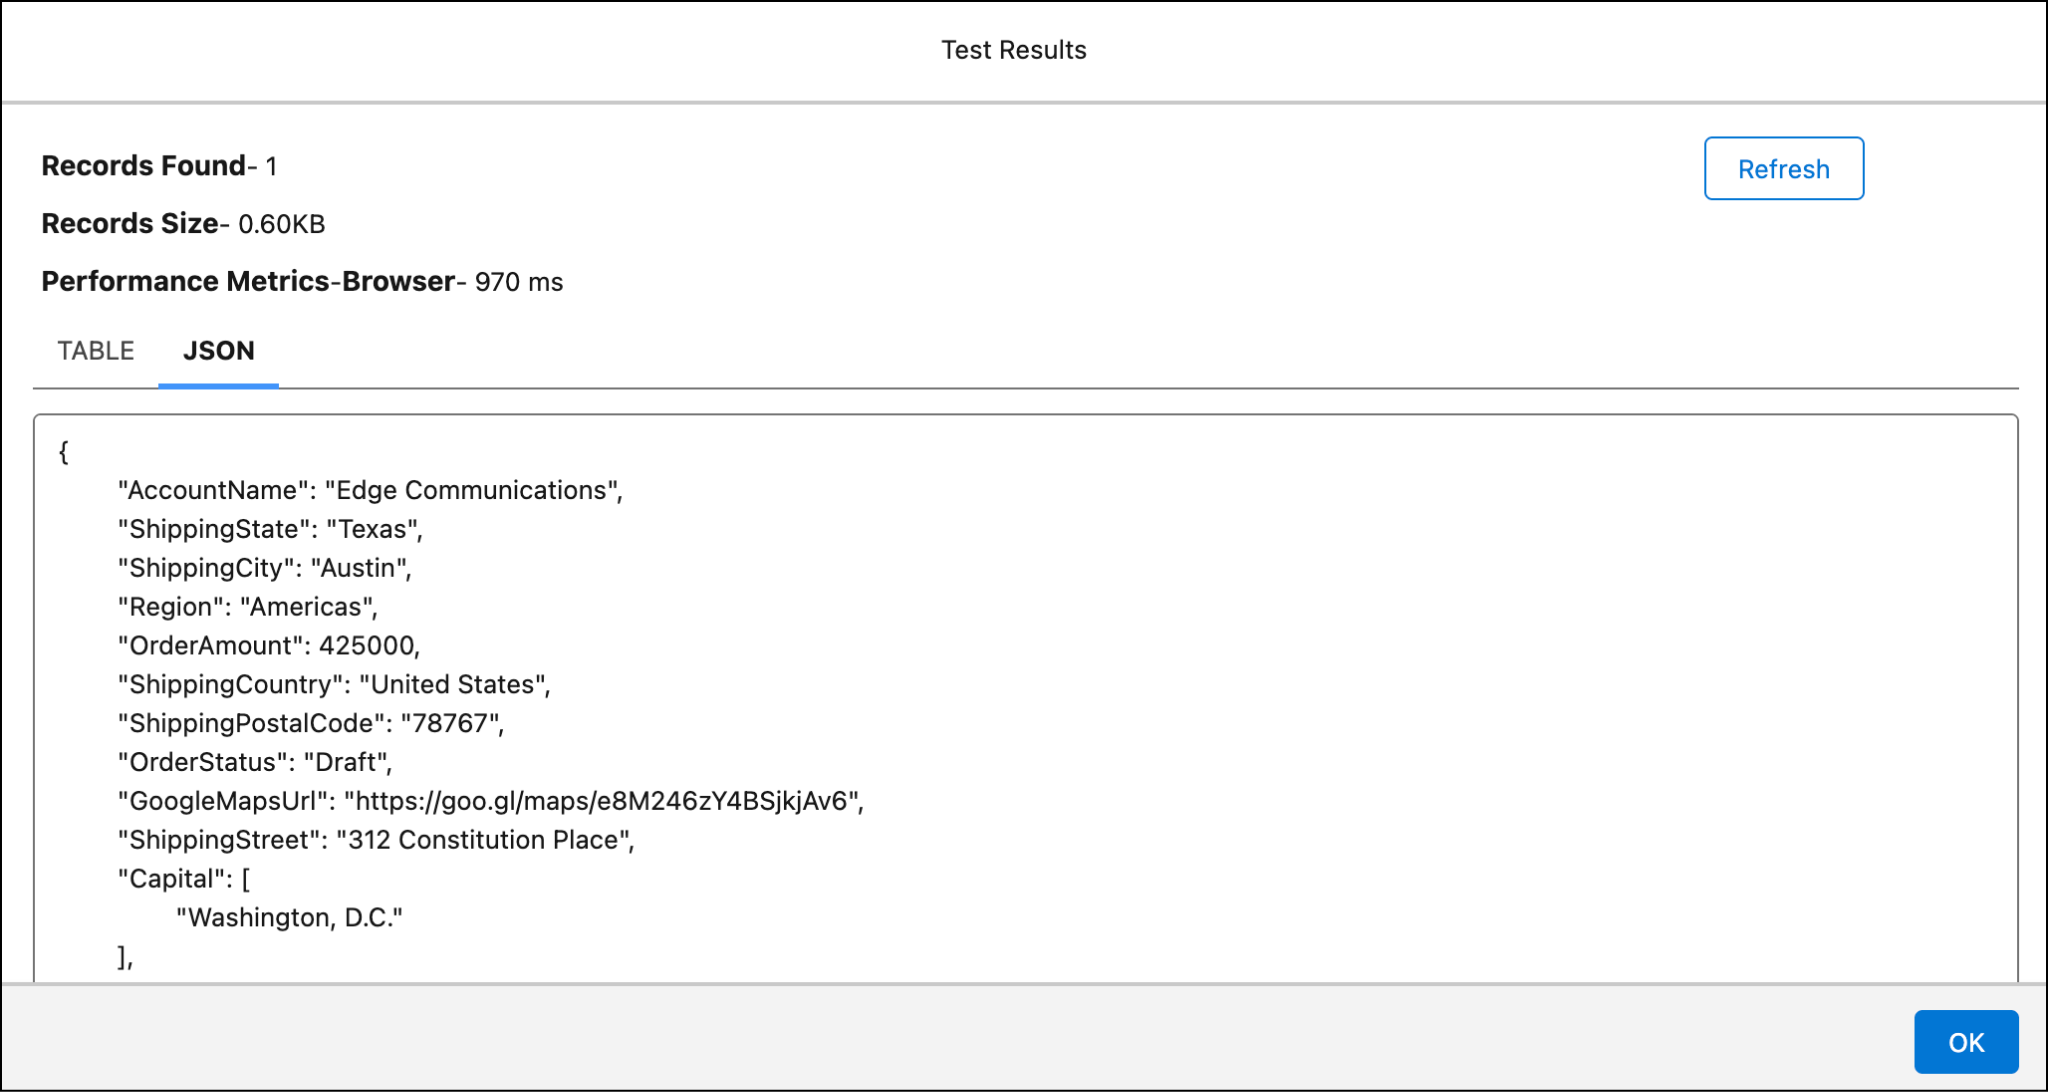
10. Click OK to close the Test Results window.
Configure the Omniscript Action
It’s time to add an action button on the Flexcard that launches an Omniscript and updates the shipping details.
- Drag a Block element and drop it after the ShippingAddress element so that it appears in the next line (we won’t check this).
- Drag an Action element and drop it after the Block element.
- In the Properties panel, under the Element Details tab, for Element Name, enter
OmniscriptAction.
- For Element Label, enter
Edit Order.
- For Icon, click
 to change the icon.
- In the Select an icon window, for Icon, enter
order.
- Click the work_order_item icon.
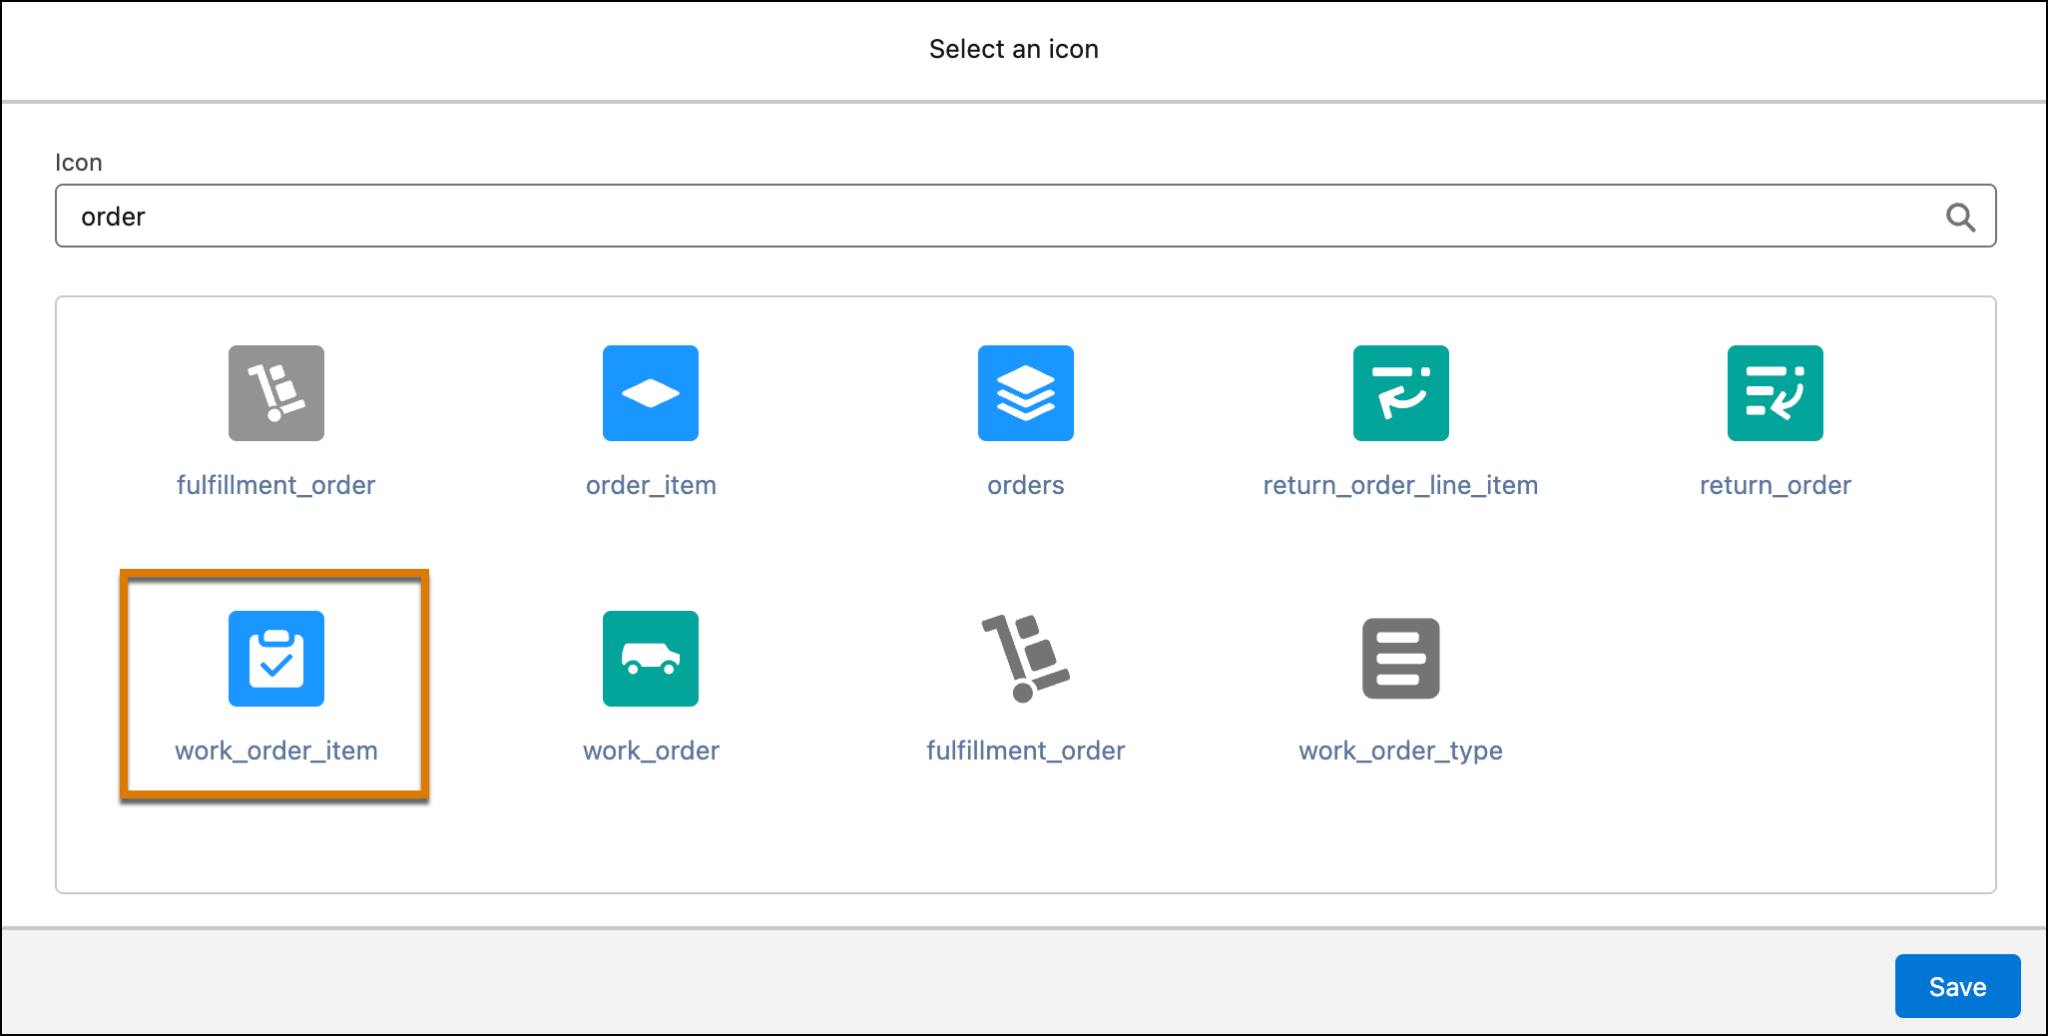
- Click Save.
- Select the Display as a button checkbox.
- For Select a button variant, select Outline Brand from the dropdown.
You’ve added the action button. Now, set up the Action section to add Omniscript details.
- Click
 beside Action.
- Under the Action section, specify these details.
- Action Type: Flyout
- Flyout Type: Open OmniScript
- Flyout: UpdateOrder/UpdateOrder/English
This is the Omniscript you configured in the previous badge. When you call an Omniscript from a Flexcard action, it’s listed in the Type/Sub Type/Language format.
- Action Type: Flyout
- Under the Target App Attributes section, click + Add New.
- Add a Key and Value pair.
- Key:
ContextId
- Value:
{recordId}
- Key:
- Similarly, add these Key and Value pairs.
Key |
Value |
|---|---|
OrderId |
{recordId} |
AccountName |
{AccountName} |
OrderNumber |
{OrderNumber} |
OrderStatus |
{OrderStatus} |
ShippingMethod |
{ShippingMethod} |
ShippingStreet |
{ShippingStreet} |
ShippingCity |
{ShippingCity} |
ShippingCountry |
{ShippingCountry} |
ShippingPostalCode |
{ShippingPostalCode} |
ShippingState |
{ShippingState} |
6. For Flyout Container, select Modal from the dropdown.
7. Select Reset component when flyout is closed.
8. Click Activate.
Remember, you added merge fields such as %ShippingState% for each element in the steps of the Update Customer Order Omniscript in the previous badge. The Omniscript uses the ContextId and shipping data you configured in the Target App Attributes section earlier to replace the merge fields with the shipping details of an order.

You’ve completed setting up the Customer Order Information Flexcard.
What’s Next
In this unit, you learned how to configure the shipping address element, data source, and Omniscript action in the Customer Order Information Flexcard.
In the next unit, you build the other Flexcard to show country information.