Customize Appointment Booking Flows
Learning Objectives
After completing this unit, you’ll be able to:
- Configure an appointment topic so that it’s preselected in a flow.
- Remove the appointment type screen from a flow.
- Set the distance unit to km for service territory locations.
Preselected Topic
Most customer appointments scheduled by advisors at Cumulus Bank are centered on Wealth Management, so it makes sense to have it preselected in the appointment booking flow.
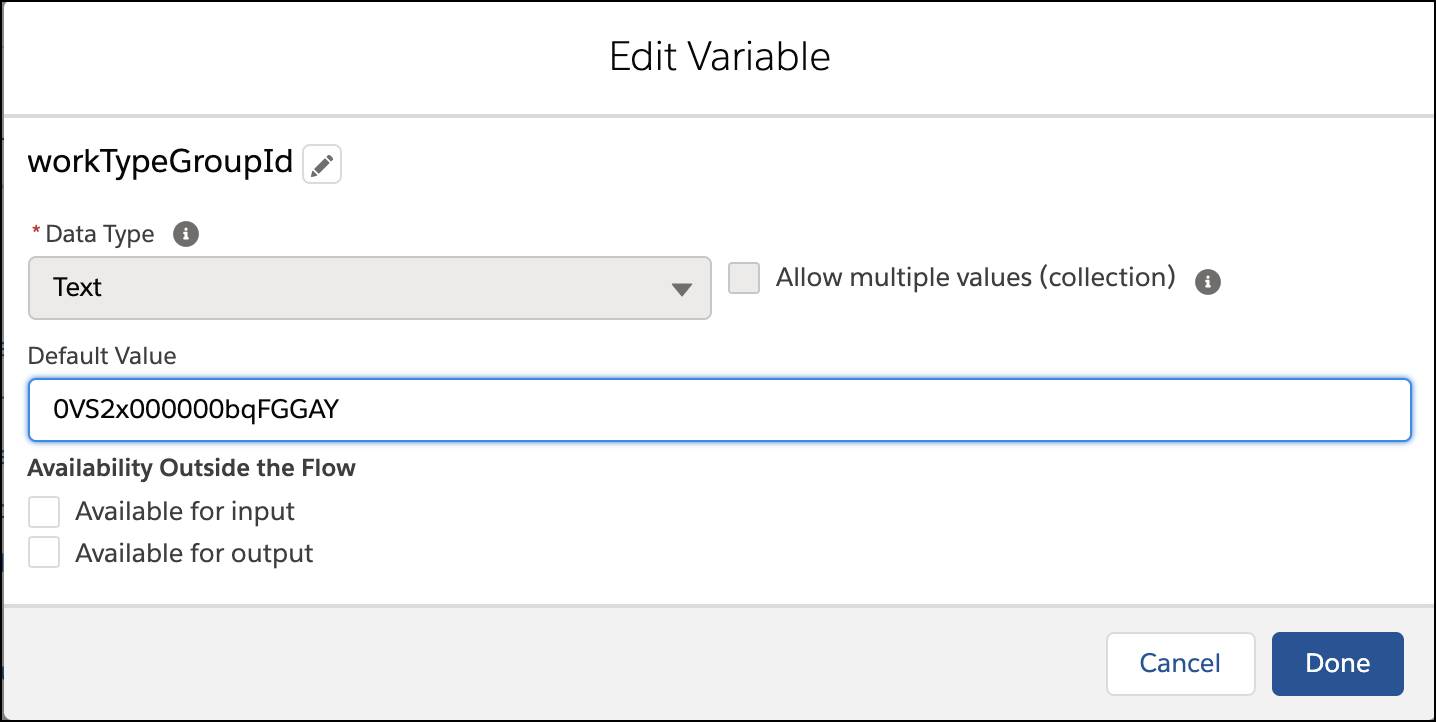
Since this flow relates to advisors scheduling appointments with customers, Matt tweaks the settings for the Outbound flow. Before making the actual change, Matt goes into the Work Type Groups tab, selects the Wealth Management topic, and copies the ID code from its record page URL.

Matt uses this ID code to make the change.
- From Setup, in the Quick Find box, enter
Flowsand then select Flows.
- Select the desired flow, such as Outbound New Appointment.
- Under Toolbox, select Manager.
- Under Variables, click workTypeGroupId.
- In the Default Value field, Matt enters the work type group ID for the Wealth Management work type group.
- Click Done.
- Save and activate the flow.

We’re Not Meeting… In-Person
As a result of the COVID-19 pandemic, Cumulus Bank is doing most customer appointments via video in San Francisco. Matt thinks, Wouldn’t it be nice if we could do away with the option to select the appointment type in the first place, at least temporarily?
To get this going, Matt simply removes the appointment type screen using Flows and ensures that the default is always Video.
- From Setup, in the Quick Find box, enter
Flowsand then select Flows.
- Select the desired flow, such as Outbound New Appointment.
- Under Toolbox, select Manager.
- Delete the screen Appointment Topic.
- Double-click the component Assignment Set Initial Values.
- For variable Service Appointment Type, select Video in the Value field.
- Click Done.
- Save and activate the flow.
From Miles to Kilometers
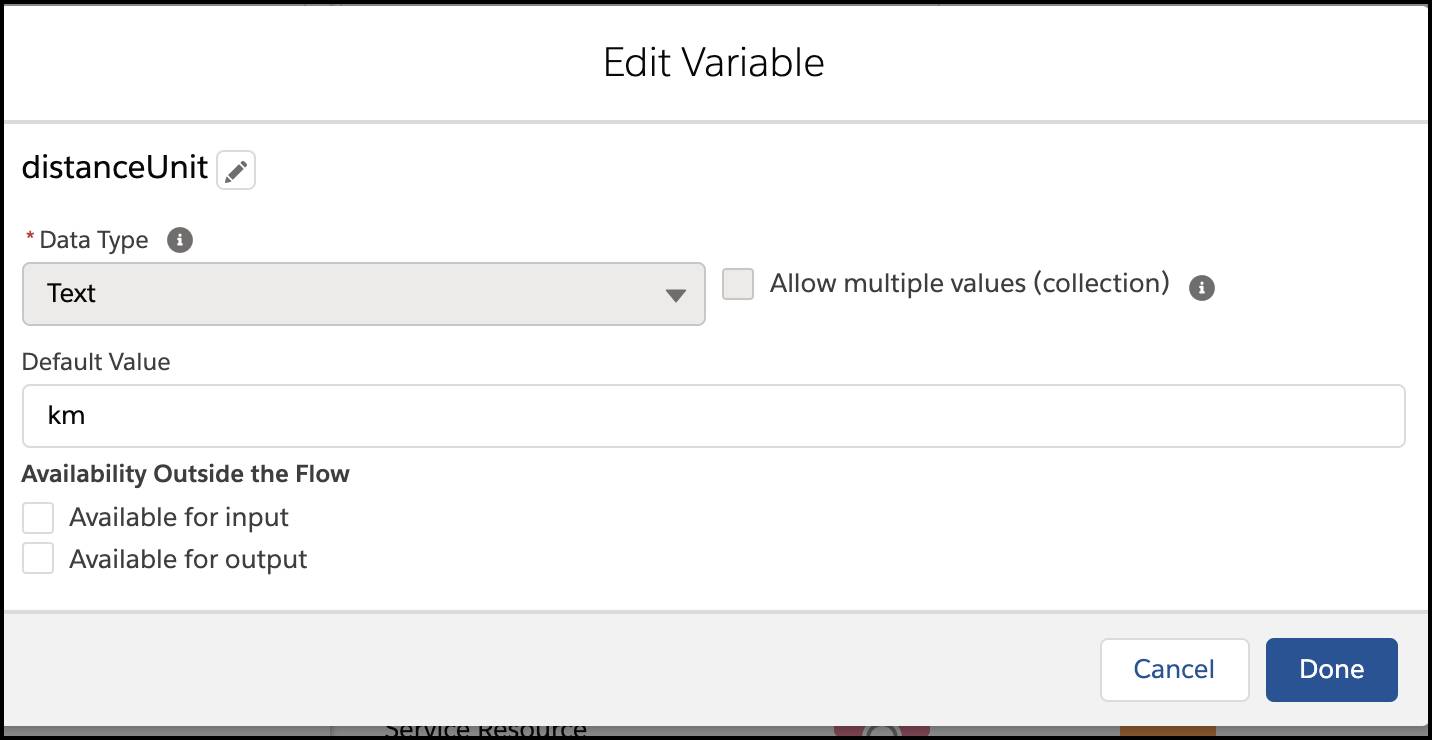
When advisors or customers choose a service territory, the booking flow shows the distance from the appointment booking location in miles. The team wants to change this to the international standard, kilometers. Here’s what Matt does.
- From Setup, in the Quick Find box, enter
Flowsand then select Flows.
- Select the desired flow (Inbound or Outbound).
- Under Toolbox, select Manager.
- Search for and select distanceUnit.
- In the Default Value field, change mi to
km.
- Click Done.
- Save and activate the flow.

Hide Time Zone Selection
Advisor Ryan routinely books appointments with customers in San Francisco. Since he primarily works out of the HQ branch location, choosing from and selecting a time zone is a redundant step. Matt tweaks the related flow variable again to hide the time zone dropdown on the Appointment slots screen.
- From Setup, in the Quick Find box, enter
Flowsand then select Flows.
- Select the desired flow, such as Outbound New Appointment.
- Under Toolbox, select Manager.
- Search for and select showTimeZonePicklist.
- In the Default Value field, change True to the global constant False.
- Click Done.
- Save and activate the flow.
Resources
- Salesforce Help: Lightning Scheduler Standard Flow Templates
- Salesforce Help: Set Up an Assignment Block and the Screen Variables for a Custom Appointment Scheduling Flow
