Prepare the Org
Learning Objectives
After completing this unit, you’ll be able to:
- Assign permissions to admins and users.
- Enable CRM Analytics.
- Enable field-level security to extract data from Salesforce objects and fields.
Templates are prebuilt analytics apps for common use cases and can be customized for each use case. You must create the CRM Analytics app from the Analytics for Loyalty template to use the app. But before that, you need to prepare the org.
To prepare the org for CRM Analytics, Jenny must set up permissions, enable CRM Analytics, ensure the org has sufficient data, and set field-level security permissions to extract this data. Let’s follow along.
Assign Permissions
The admin permission set includes a broad range of permissions required to build a CRM Analytics solution. Here’s what Jenny does to assign admin permissions to herself.
- Click
 , and select Setup.
- Enter
Usersin the Quick Find box, and select Users.
- Click the name of a user with the System Administrator profile.
- Click Permission Set Assignments.
- Click Edit Assignments.

- Add the CRM Analytics Plus Admin and Loyalty Analytics Admin permission sets.
- Click Save.
Similarly, Jenny assigns user permissions to Linda, Issac, and Shelli so they can view the Analytics for Loyalty app. She selects each user and assigns them the CRM Analytics Plus User and Loyalty Analytics User permission sets.
Enable CRM Analytics
Jenny enables CRM Analytics so she can create an app from the Analytics for Loyalty template.
- Click
 , and select Setup.
- Enter
Getting Startedin the Quick Find box, and select Getting Started under Analytics. Refresh the page if you don’t find this option.
- Click Enable CRM Analytics. This may take a few minutes.
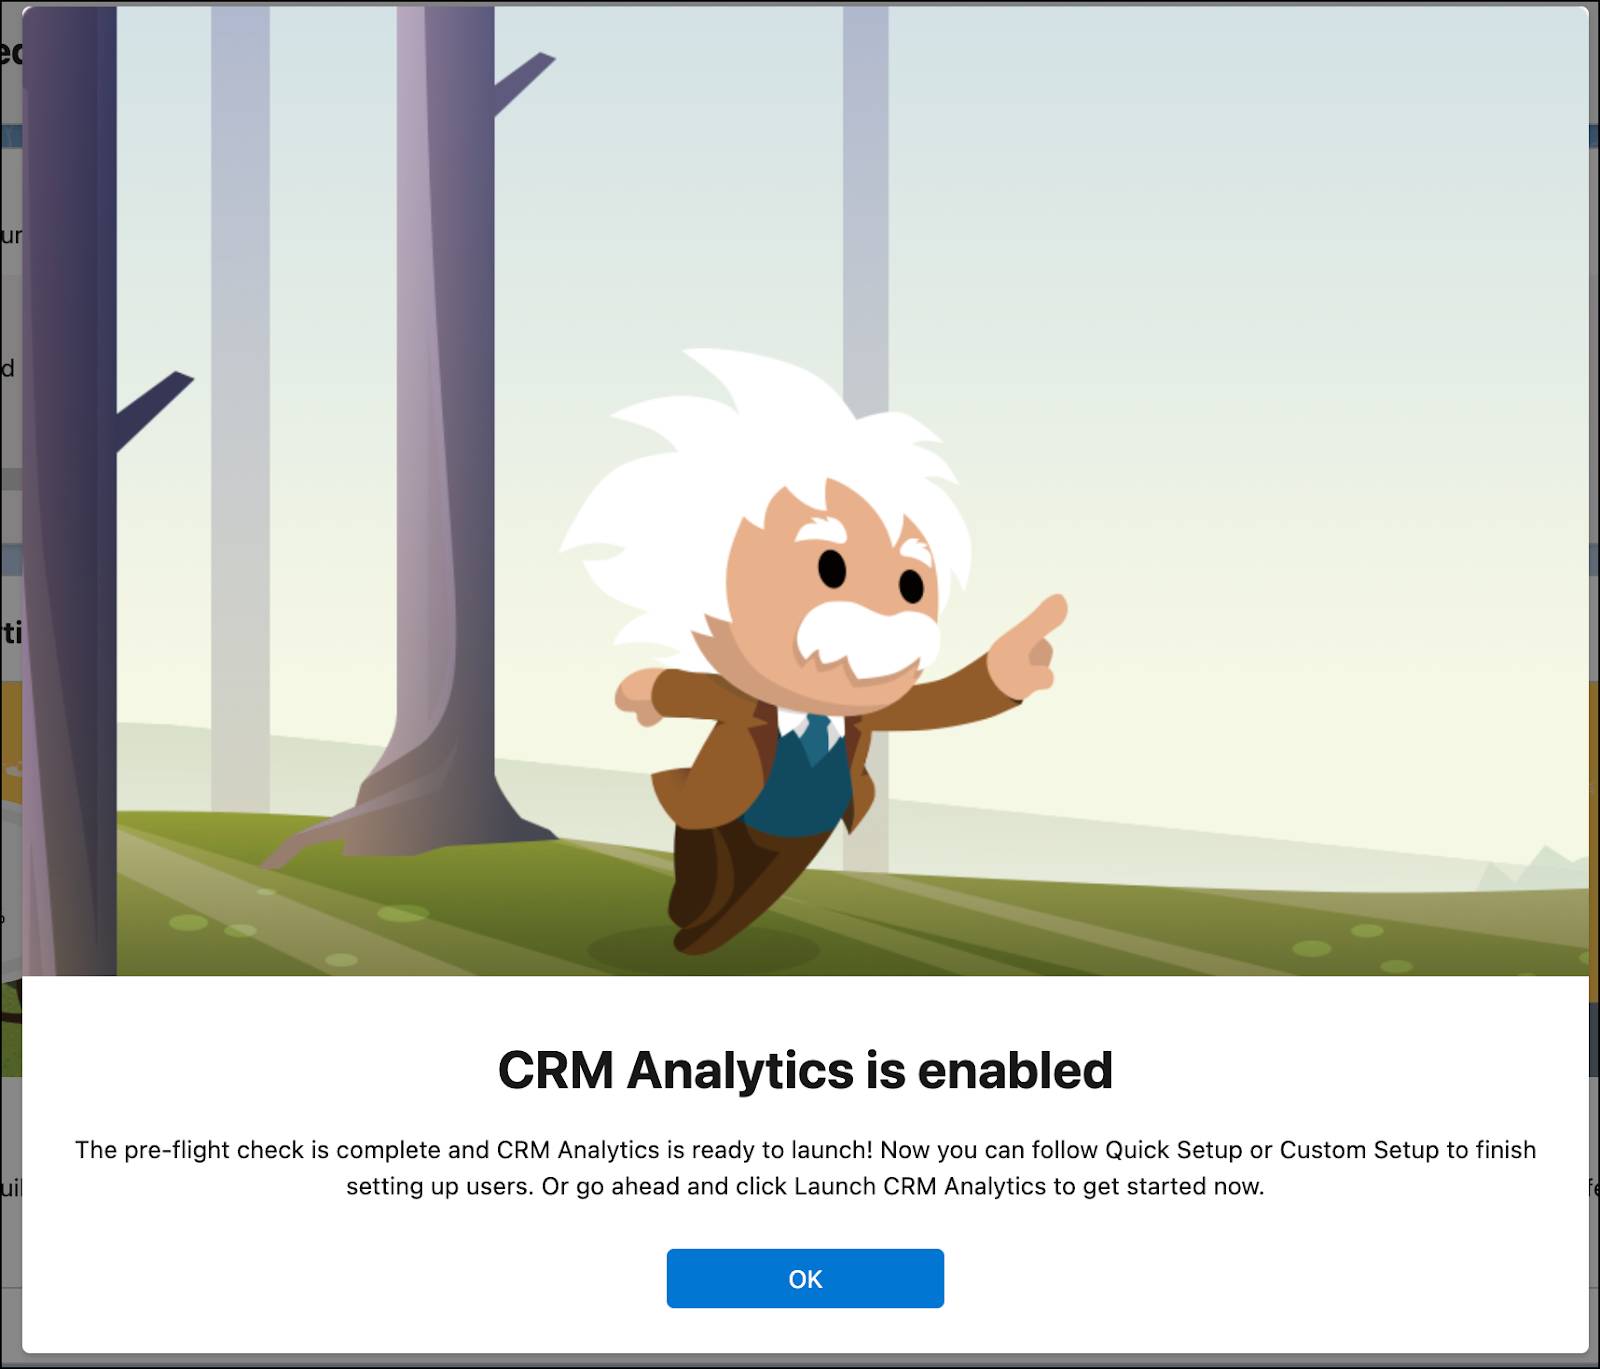
- Click OK.
That’s it! It’s that simple to enable CRM Analytics in the org. Jenny can now view the number of datasets in the org, which is helpful in managing the limitations of Analytics for Loyalty. For instance, if the data volume exceeds the permissible limit, you must make modifications.
To create visualizations of data, the app gets data from objects within the org. So Jenny must ensure the org has the minimum required data.
Data Requirements to Create the Analytics for Loyalty App
Jenny checks to make sure the org has at least one record in each of these objects.
- LoyaltyLedger
- LoyaltyMemberCurrency
- LoyaltyMemberTier
- LoyaltyProgram
- LoyaltyProgramCurrency
- LoyaltyProgramMember
- LoyaltyTier
- LoyaltyTierGroup
- TransactionJournal
She’s happy to see that the org has all the records. If the org doesn’t meet the minimum data requirements, you will see a message describing what to fix when you create the app. Because the Analytics for Loyalty app accesses data from within the org, more specifically from the objects, Jenny must set security permissions for all fields in the objects.
Set Field-Level Security
Analytics generates an Integration User along with associated licenses and profiles. The Analytics for Loyalty app uses the permissions of the Analytics Cloud Integration User profile to extract data from Salesforce objects and fields when a dataflow job runs. Some of these fields may have added field-level security. To successfully run a dataflow, the Analytics Integration User needs field-level security permissions. In other words, the Analytics Integration User must be able to access all the object fields used in the Analytics for Loyalty app.

Here’s how Jenny enables field-level security for the Analytics Integration User.
- Click
 , and select Setup.
- Click the Object Manager tab.
- Enter the name of the object in the Quick Find box. For example, enter
Transaction Journal.
- Select the object, then select Fields & Relationships.
- Select the field that you want to edit. For example, select Product Category.
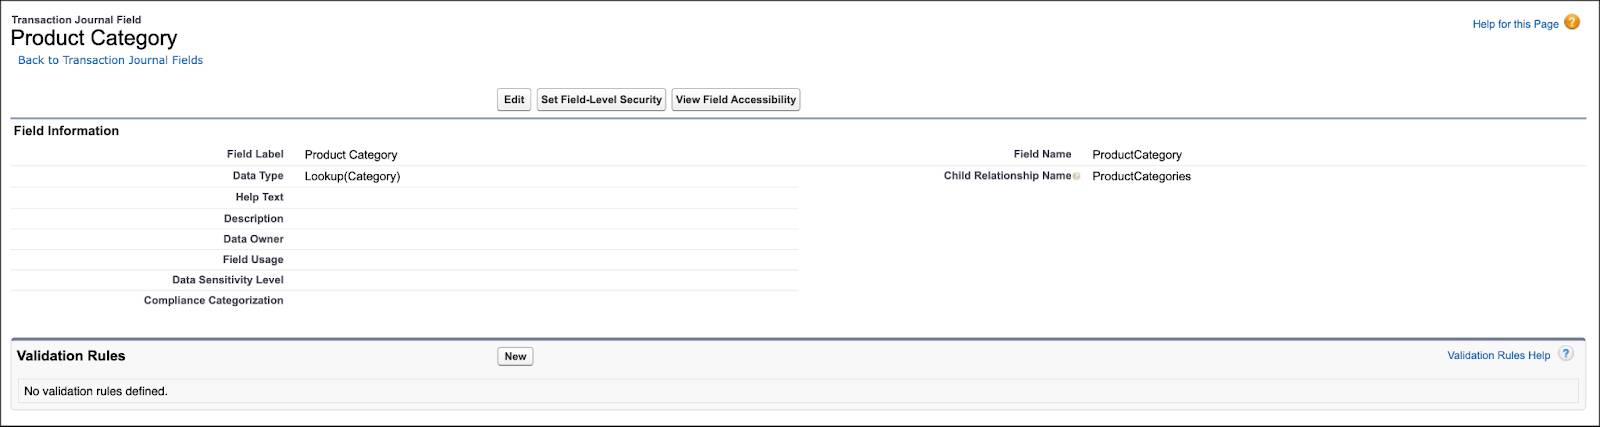
- Click Set Field-Level Security.

- For the Analytics Cloud Integration User profile, select Visible.
- Click Save.
- Repeat steps 4–7 for the fields that you want to use.
- Refresh your browser cache.
The Analytics for Loyalty app will now be able to see all the required data and run the dataflow without errors.
With the org setup done, Jenny’s ready to create the app. In the next unit, you see how she creates and shares an app from the Analytics for Loyalty template.
Resources