Connect Quip with Salesforce
Learning Objectives
After completing this unit, you’ll be able to:
- Understand the permissions and settings necessary to connect Quip and Salesforce.
- Connect Quip and Salesforce.
Integrate Quip for Sales with Salesforce Lightning
Quip for Sales brings all the functionality of Quip into Salesforce so your team can collaborate within your Salesforce instance. You no longer have to manually update each record since account executives (AEs) can connect documents directly to contact records. Plus, standardized templates and process workflows ensure everyone on your team uses the same resources. Your customers now get the same high-touch sales experience across your organization.
Ready to get started syncing up your Quip and Salesforce via Quip for Sales? Follow the steps below.


Part 1: What You Need
Before getting started, make sure you have verified the following.
- You are a Salesforce admin for your instance.
- You have a Quip Advanced license or are on a Quip for Sales Trial.
- You are a Quip admin (if your Quip Site already exists). If you can see the Quip Admin Console, you are a Quip Admin.
Part 2: Connect Quip and Salesforce
Once you’ve verified the previous, congratulations! You are ready to make the connection between Quip and your Salesforce instance.
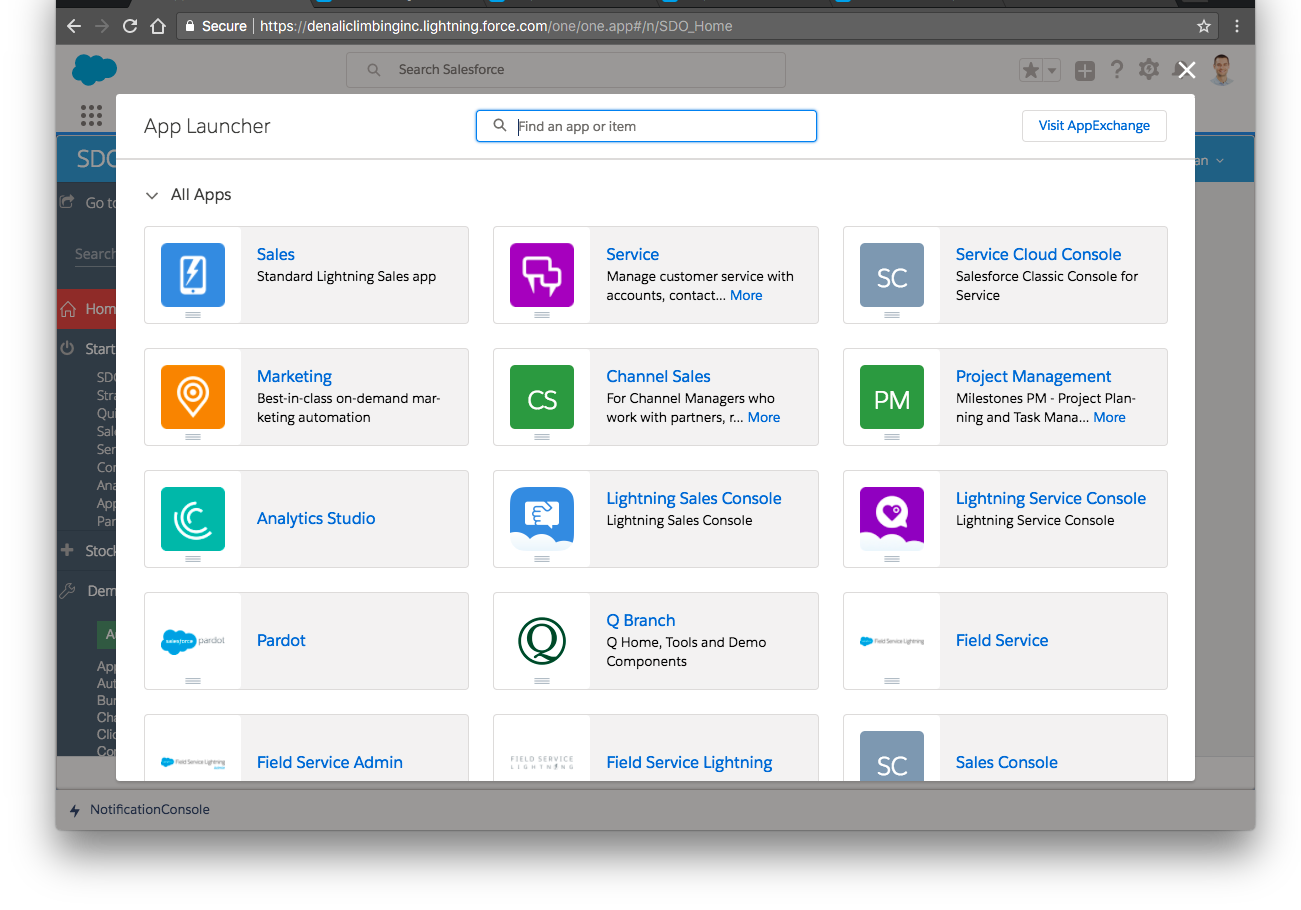
1. Navigate to  . Then, click Sales or Service as appropriate.
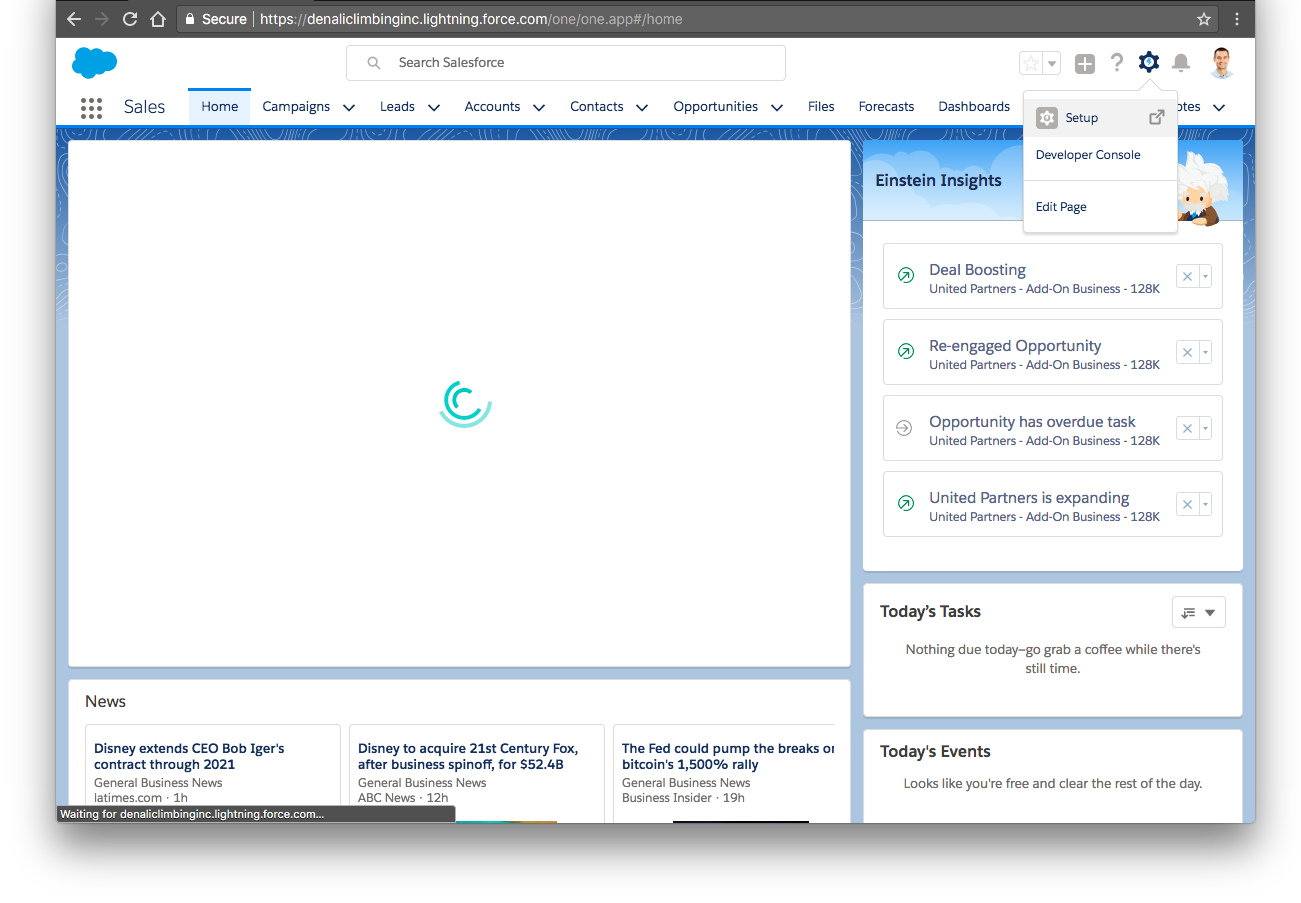
2. Click  then select Setup.
3. Enter Quip in the search bar and select it from the dropdown.
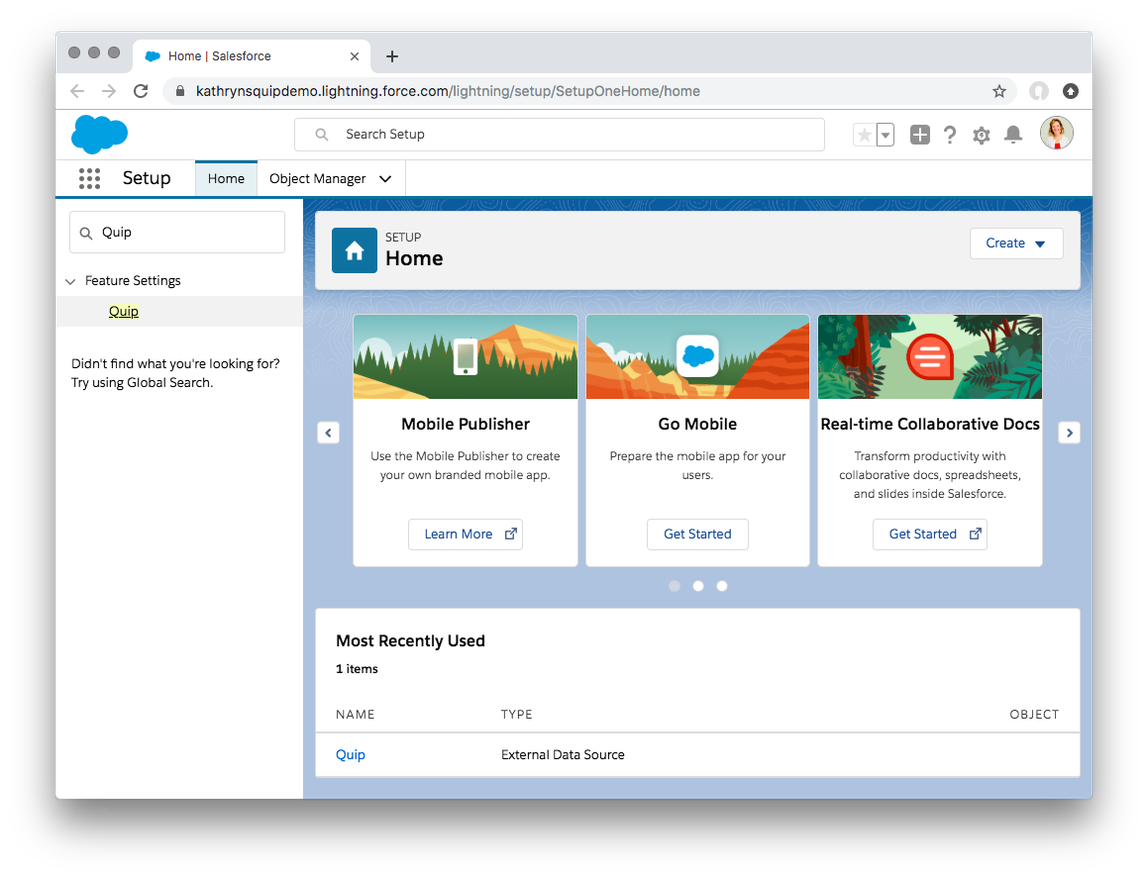
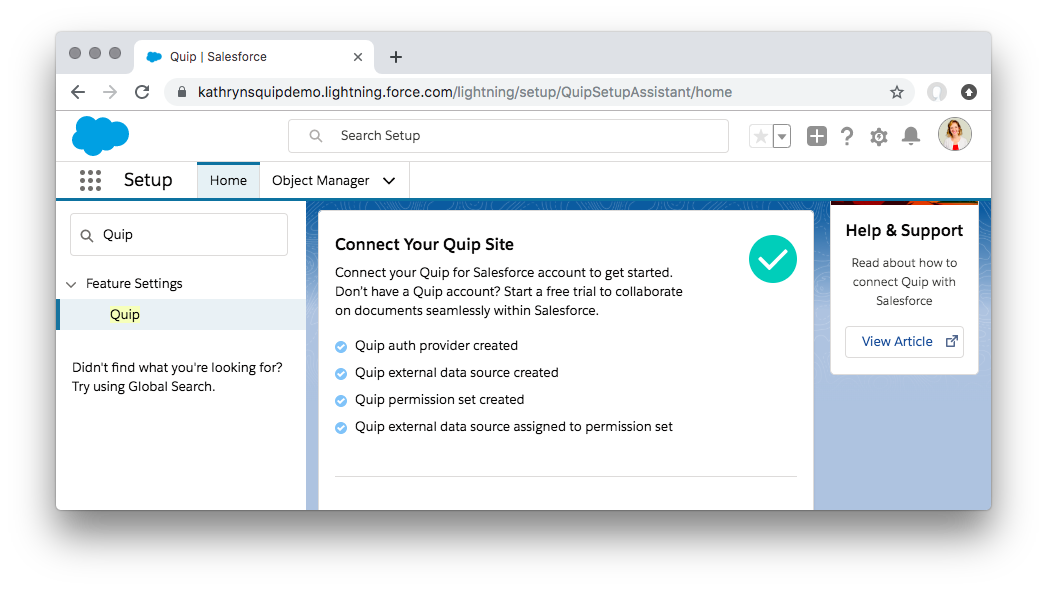
4. Complete the steps outlined in the Setup menu. 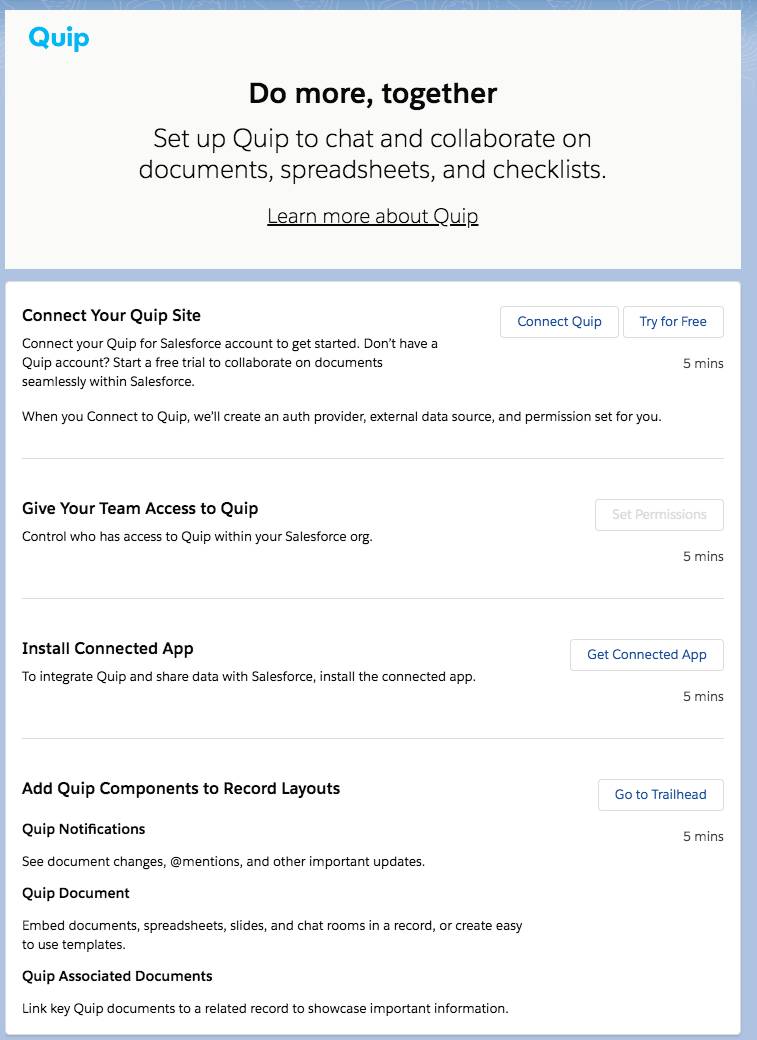
Before moving on to the next step, make sure you have a green checkmark for this section, showing you’ve completed all the steps. ✅
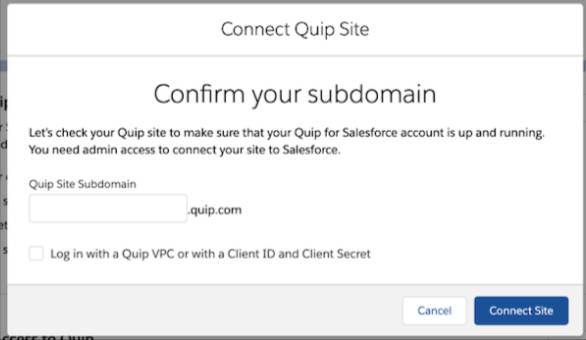
4a. Click Connect Quip.
Enter your Quip site subdomain, or use your Quip Client ID and Client Secret. (Only someone who is both a Quip and Salesforce admin can complete the connection.)
Tip: You can find your Quip Client ID and Client Secret in the Quip Admin Console. Go to Settings | Integrations to view your Salesforce API Key.
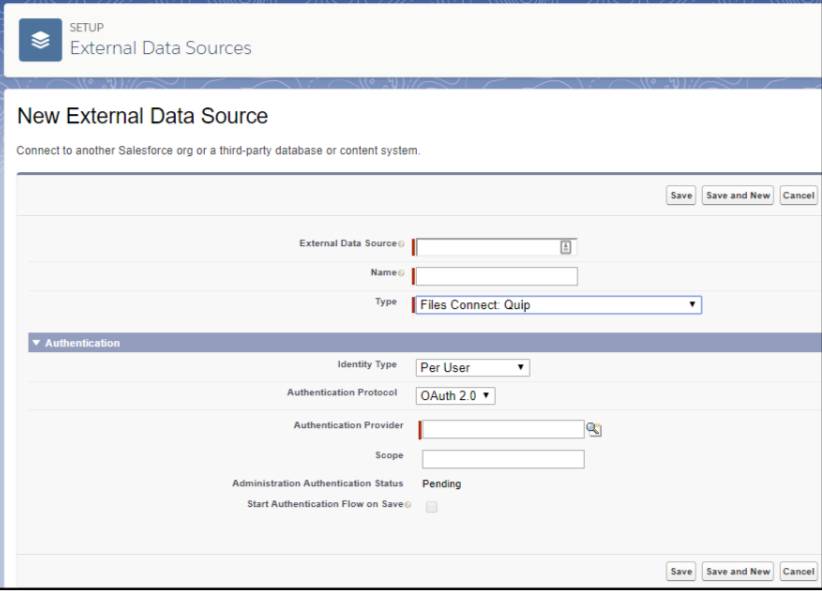
4b. Create an external data source to connect your Quip content to Salesforce. This also turns on global search.

To save setup time, a Quip external data source is automatically created for you. You can also manually create an external data source in Setup if you prefer.
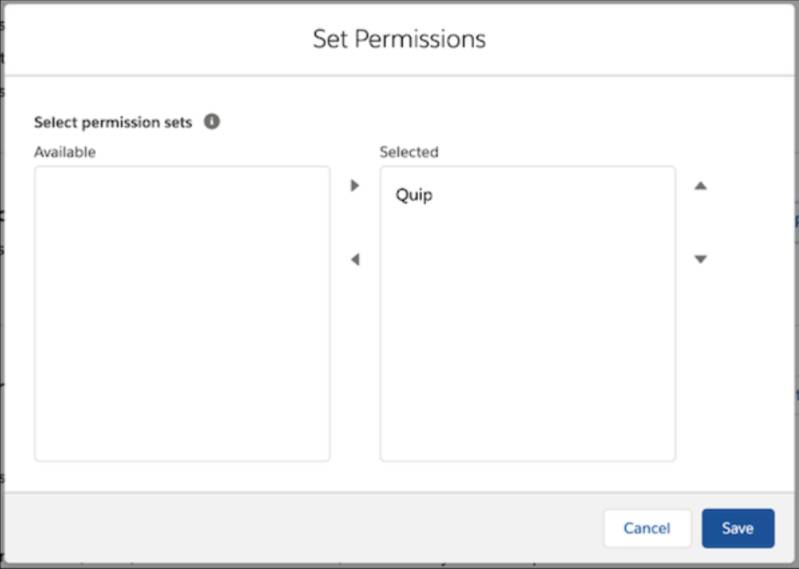
4c. Give your team access to Quip by assigning permissions.
Click Set Permissions then move the permission sets you want Quip to access to the right. Click Save.
4d. Assign an external data source to your permission set. Install the Connected App to let Quip share data with Salesforce. Click Get Connected App and follow the guided installation steps.
Next, configure the External Data Source to turn on Global Search. Click Go To External Data Source and click Validate and Sync on the External Data Source page.
Great work!
You’ve set up the framework for Quip and Salesforce to share data. All you need to do now is add the components or the different tools and mini “modules” to use inside Quip for Sales to streamline your team’s processes. You’re so close!