Create a Data Model Using Clicks
Follow Along with Trail Together
Want to follow along with an expert as you work through this step? Take a look at this video, part of the Trail Together series.
(This clip starts at the 16:44 minute mark, in case you want to rewind and watch the beginning of the step again.)
Introduction
Salesforce abstracts away the underlying database features. In Salesforce, we refer to database tables as objects, columns as fields, and rows as records. You can create database tables (objects) in Salesforce declaratively using point and click built within the platform.
Create a House Custom Object
DreamHouse agents already use some Salesforce standard functionality, like contacts and leads, to track home buyers. But when it comes to selling houses, there is more information to track. This is where you can use the platform's custom object feature.

In this step, you create an object named “House” to store details about the house like the house name, address, cost, number of rooms, and other information. Later, you explore how to version the changes you made and deploy the changes to other Salesforce orgs.
We've planned our object model for the House entity in a spreadsheet and some sample data for this app. Let's see how Salesforce allows you to turn this into your real data model.
- Download and open this spreadsheet and save it as House.csv.
- In your Trailhead Playground, click
 , then select Setup.
- Click the Object Manager tab.
- Click Create.
- Select Custom Object from Spreadsheet.

- Click Login With Salesforce.
- Enter your Trailhead Playground username and password. (You can find your username in the email you received when you reset your password.)
- Click Log In.
- Click Allow.
- Click Upload.
- Navigate to the House.csv file you downloaded and upload it. Salesforce automatically detects the fields and populates all its record data. Choose House Name as the Record Name field and leave the other field mappings and settings as they are.

- Click Next and enter the following settings.
- Label:
House - Plural Label:
Houses - API Name:
House
- Click Finish. The House object is successfully created and data imported, all within minutes.
Take a moment to celebrate!
Out-of-the-Box Features with Salesforce Platform
Creating a custom object was easy enough. But modern applications require:
- An intuitive user interface to interact with the records efficiently
- APIs to integrate with other systems and processes
- A mobile application
- Security
- User management with identity and authentication services for the end users of the app
These features often need complex code. The good news is, Salesforce has built-in features to achieve these requirements without requiring you to write and maintain a lot of code.
We don't have enough time to explore all of the features in this project, but here are a few that are built in.
- Customizable list views that let you quickly view records in a table and provide the ability to sort and filter.
- Click
 , then search for and select Houses to navigate to the Houses tab.
- Click Recently Viewed, then select All Records to view all of the records in the House object.

- The CRED User Interface to create and edit records.
- Click one of the records from a list view to get to the record Details view.
- Click Edit to make changes to the record, then click Save.
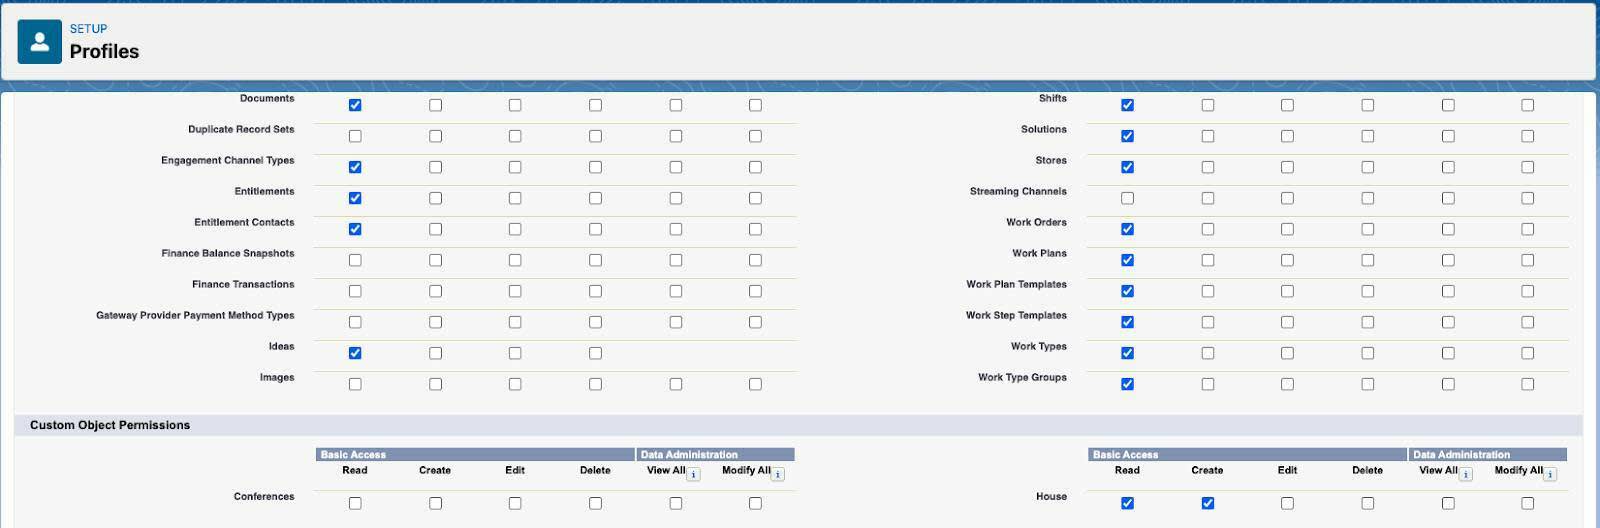
- Application Data Security with record-level sharing, and entity-level and field-level security. You can read more about this in the Data Security Trailhead module.
- The ability to access data and schema of custom objects via API. The object schema and all of the records you've created can be accessed using an automatically generated REST API.
-
Note: Using Postman? Check out the Salesforce APIs Postman collection.
-
Note: Using Postman? Check out the Salesforce APIs Postman collection.
- The out-of-the-box Salesforce Mobile app customized with point-and-click tools provided by the Salesforce Platform.
- An authentication and authorization-enabled User object to manage identity and access for the end users of your app.
These are only a few hand-picked features. You can learn about many more by simply visiting the links in the Resources section.
You might wonder, with all this automatically generated stuff, where does the code come in? Don't worry, we're getting to that soon. We have one last detail to take care of first.
Create an App
To work with the House object you just created, you need to create an app to allow easy navigation. You do this from the Setup menu.
- In your Trailhead Playground, click
 and then select Setup.
- In the Quick Find box, type
App Manager, then select App Manager.
- Click New Lightning App.

- In the App Details & Branding window, enter these details.
- For App Name, type
Dreamhouse.
- For the Image, open dreamhouse-logo.png. Right-click the image, select Save Image As and name it dreamhouse-logo.png. Then, in the App Details & Branding window, click Upload and select dreamhouse-logo.png.
- Click Next.
- On the App Options screen, select Standard navigation, then click Next.
- On the Utility Items screen, click Next.
- On the Navigation Items screen, select Home, Houses, Reports, and Dashboards from the Available Items list, and move them to the Selected Items list using the arrow. Ensure you choose the Home tab with an icon that resembles a house. Then click Next.

- On the User Profiles screen, select System Administrator, add it to Selected Profiles, and then click Save & Finish.
- Now navigate to your new Dreamhouse application to see what it looks like so far.
- Click
 , then search for and select Dreamhouse.
Retrieve Metadata from Salesforce to the Local Project
Any configuration done in the admin UI can be retrieved as XML formatted data (also known as metadata) and checked into version control.
The Salesforce Platform provides the Metadata API to help retrieve and deploy metadata of various types between dev, test, and prod environments. The Metadata API is what the Salesforce CLI and Salesforce Extensions use under the hood.
To retrieve the org metadata for the configuration you set up in this section, follow these steps.
- In VS Code, in the Activity Bar, click
 .
.

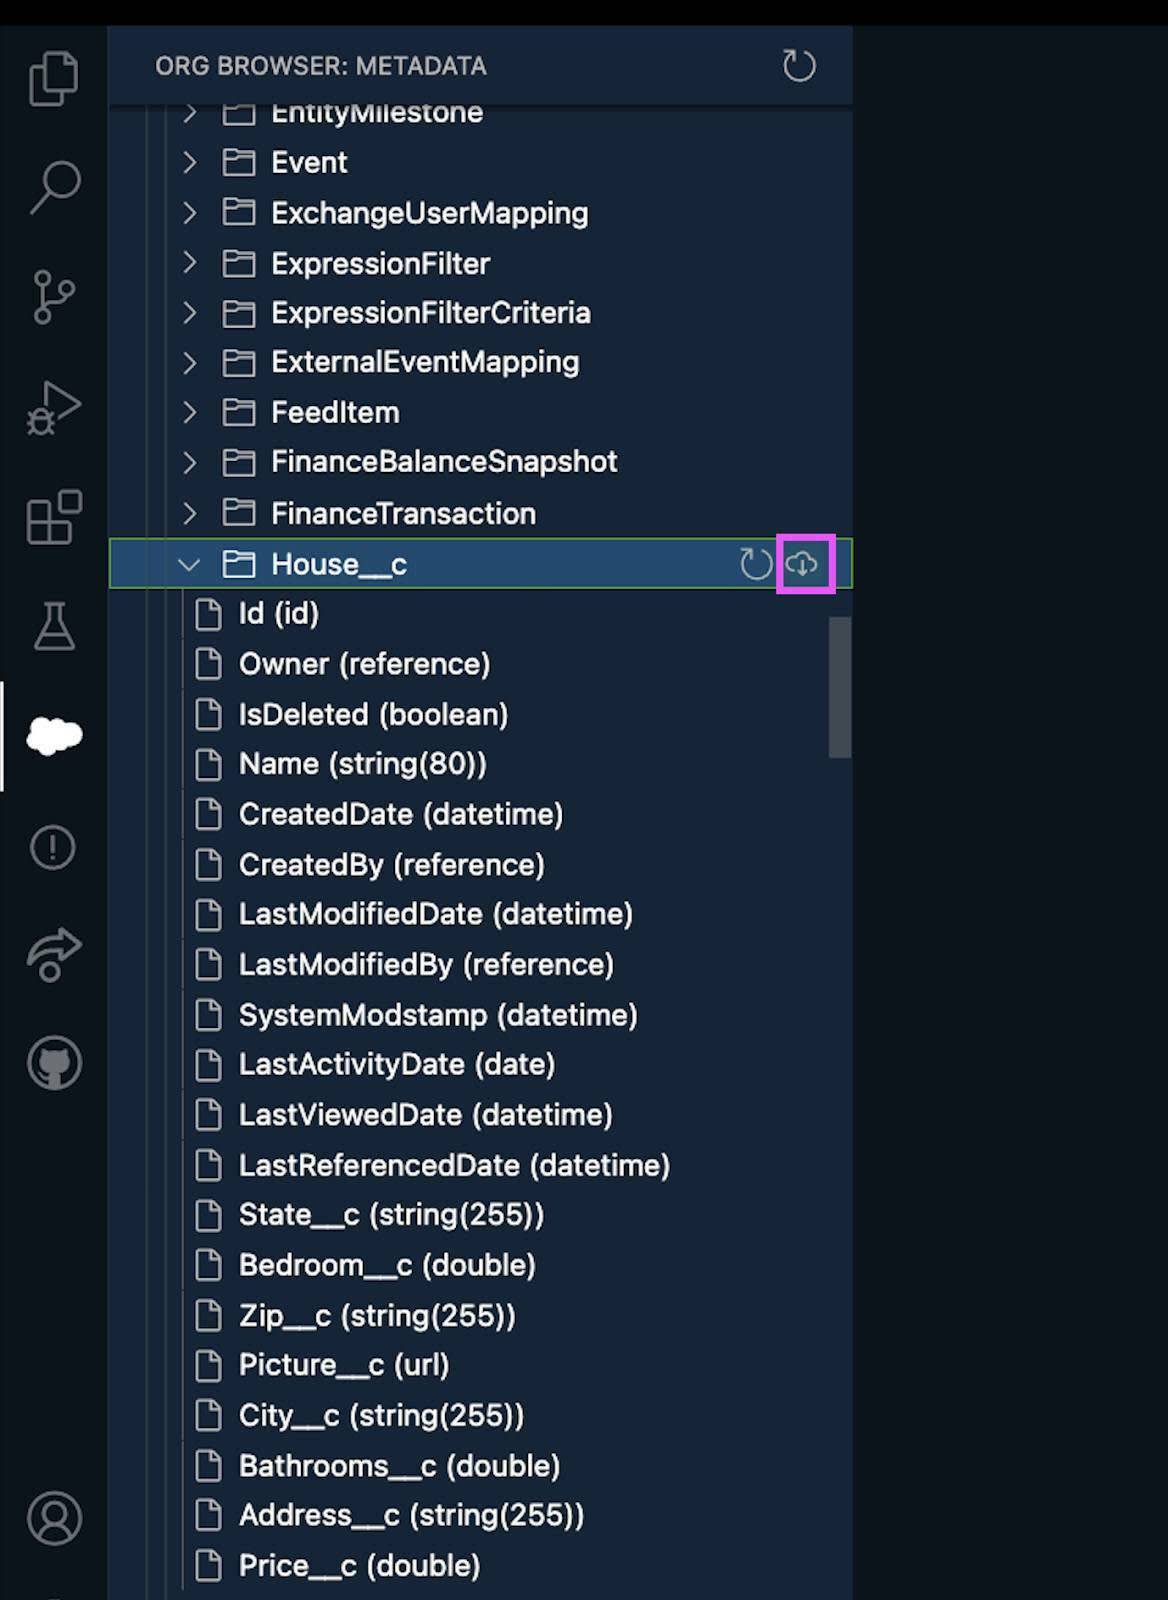
- Locate the Custom Objects folder and expand it. Then select the House__c folder.
- Click
 to retrieve the org metadata for the House__c object. Notice that the XML files are under the force-app/main/default/objects folder.
- You can also retrieve metadata using the CLI. For example, execute the command below in the terminal to retrieve all other metadata items listed below.
sf project retrieve start --metadata CustomApplication:Dreamhouse CustomTab:House__c "Layout:House__c-House Layout"
|
Metadata Type
|
Component Name
|
|---|---|
Custom Applications |
Dreamhouse |
Custom Tabs |
House__c |
Layouts |
House__c-House Layout |
Resources
- Trailhead: Large Data Volumes
- Trailhead: Data Modeling
- Salesforce Developers Video: Introduction to Salesforce and Data Modeling
- GitHub: Postman Collection for Exploring Salesforce APIs