Create a Templated Dashboard
Get a head start on your dashboard development by using one of the CRM Analytics templated dashboards. Once you’re done, you add some widgets and code changes to make it your own.
Build the Dashboard
Head to the Analytics Studio home page.
- Click Create and select Dashboard.
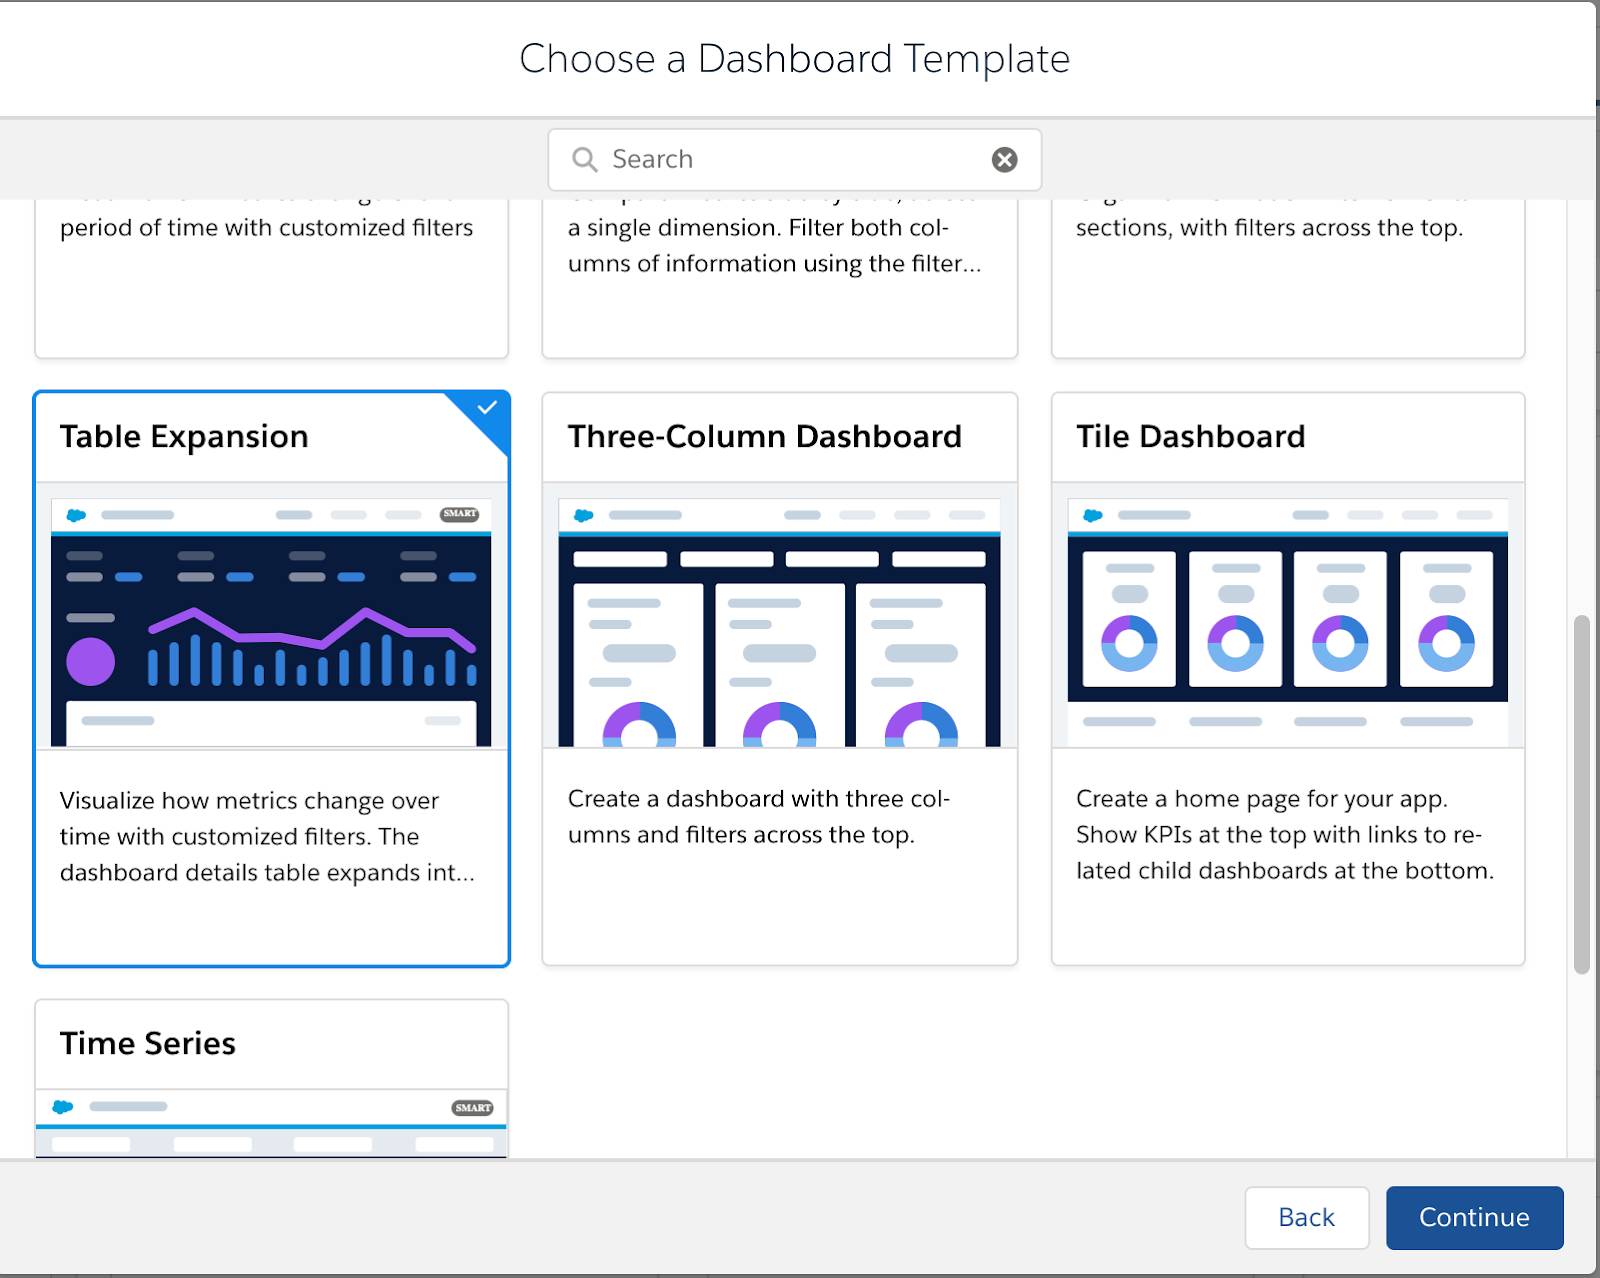
- Click the Create Dashboard from Template button.
- Click the Table Expansion template.

- Click Continue.
- Under Choose a dataset, click OlympusOpportunities (Olympus) from the dropdown menu.
- Choose the dimensions dropdown menu. Select the following fields as listed below. Dashboard widgets are defined by field order.
-
Opportunity Type
-
Account Type
-
Opportunity Name
-
Stage
-
Billing Country
-
Account Name
- Under Choose measures, click Amount from the dropdown menu.
- Under Choose a date, click Close Date from the dropdown menu.

- Then, click Looks good, next.
- Enter
Olympus Opportunitiesin the name field.
- Click Create. If you did steps 1 through 10 with the Olympus app closed, select Olympus in the app dropdown, then click Create.

You’re taken straight to the dashboard designer for Olympus Opportunities.
Add Dashboard Filters
Start by adding and updating a date widget.
- Add a date widget to the top right corner of the dashboard.

- Click inside the date widget and select Close Date.
- Then, click Create.
Update the Revenue Number Widget
- Click once on the number widget below Revenue, then click the Query tab.
- Under Faceting, select Exclude from the dropdown menu.

Update a Few More Widgets
- Click on the Revenue text widget.
- Replace the text with
Revenue YTD - Add a List widget to the left of the Close Date date widget.

- Click inside the widget and click Opportunity Owner, then Create.
- Update the list widget’s title to
Opportunity Owner.
- Save the dashboard.
Summary
You saved yourself a lot of work by creating a templated dashboard! In the next step, you use SOQL to make a live query.
Resources
