Design a Promotion
Learning Objectives
After completing this unit, you’ll be able to:
- List the design considerations for a promotion.
- Identify the three main steps of building a promotion.
- Explain the data needed for each step.
Before You Start
Before you start this module, make sure you complete the following content. The work you do here builds on the concepts and work you do in that content.
Also, consider completing the following recommended content.
Setting the Stage
Infiwave, a communications service provider, uses Industries CPQ for all its promotional activities. Ada Wilson, the pricing manager at Infiwave, wants to create a promotion to attract new subscribers.

[alt text: Ada Wilson, Pricing Manager at Infiwave.]
She has noticed that a basic internet product bundle, Back to School Student Offer, is popular around the time students are returning to college. She wants to use this bundle to create a promotion that will be offered during the months of fall and spring semester enrollment. In this module, you join Ada as she designs, builds, and modifies a promotion with Industries CPQ. Let’s get started.
Sign Up for a Training Playground
In this module, we show you the steps to work with promotions in Industries CPQ. We don’t have any hands-on challenges in this module, but if you want to practice and try out the steps, you need a special training org that contains Industries CPQ and our sample data. A regular Trailhead playground doesn’t have Industries CPQ or our sample data.
Here’s how to get the training org now.
- Sign up for an Industries Training Playground.
- Fill out the form.
- Enter your first name and last name.
- Enter an active email address.
- Enter your company name.
- Click Sign me up. A confirmation message appears.
- Enter your first name and last name.
- When you receive the confirmation email (sometimes this takes a few minutes), log in to your training playground using the credentials in the email.
For practice exercises, check the Practice guide(s) in the Resources section of units 2, 3, and 4.
Identify Design Considerations
When you design your living room, you could just push the couch against a wall facing the TV and be done with it. But if you take the time to consider other factors in the room—how the sunlight lands on the TV screen during the day, the best position for your plants, and how to easily grab the remote—you’ll save yourself (and your friends and family) headaches later on.
The same goes for promotions. By taking some time to think through the promotion definition, products, pricing, and other considerations, you’ll design a promotion that’s set up for success.

Here are the design considerations Ada must review for the promotion. Click each design consideration to learn more.
Put Things Together
Next, let’s look at the main steps Ada must take to build the promotion.
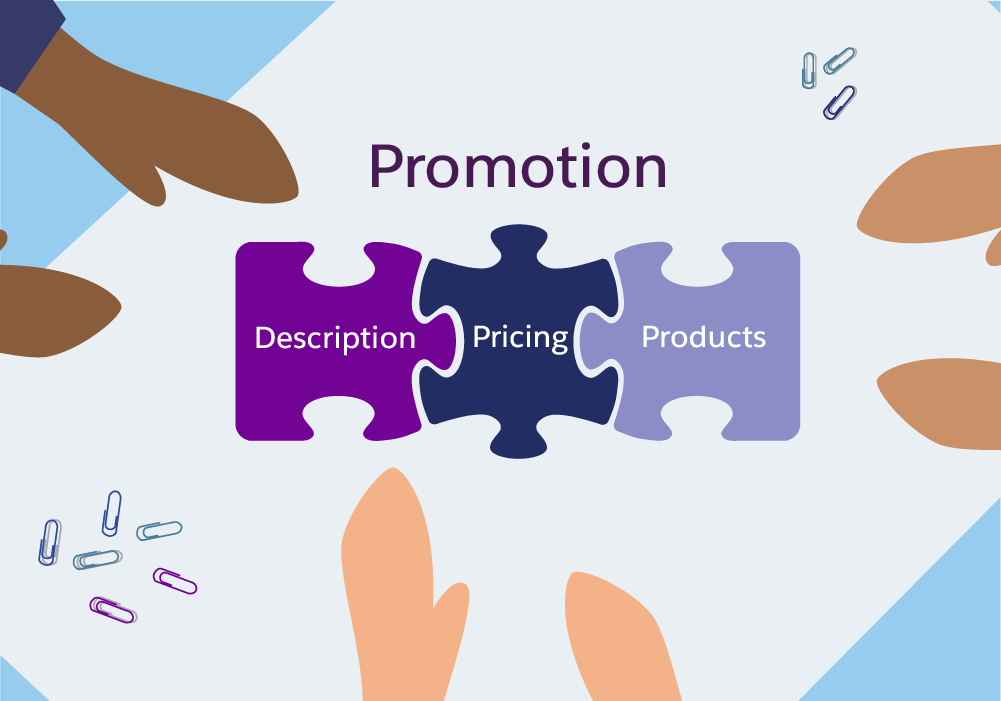
- Define the promotion.
- Set the promotion products.
- Set the promotion pricing.
Before Ada builds the promotion, she must design it. How? She must gather the data required for each step. Let’s follow along as Ada designs the promotion. Remember those design considerations you looked at earlier? Keep them in mind as you dig deeper into the data you need for each step.

[alt text: To build a promotion, you set the promotion description, products, and pricing.]
Step #1: Define the Promotion
Ada uses the following questions to define the promotion.
Questions |
Responses |
|---|---|
How do you describe the promotion? |
Back to School Student Offer includes 20% off on monthly internet service for 3 months, plus free installation with a 1-year subscription. |
How long is the subscription commitment? |
The subscription commitment is for 1 year. |
When does the subscription start and end? |
The subscription starts from the date of purchase and ends 12 months later. |
How will the subscription end? |
The customer must opt out of the subscription to cancel it. Otherwise, the subscription continues. |
What is the time frame for child product price reductions? |
The price of the internet service is reduced by 20% for the first 3 months only. After that, the monthly charge returns to its original price. In addition, subscribers are given free installation. |
Step #2: Set the Promotion Products
The second step in building a promotion is to decide which products you want to include. Let’s check in again with Ada and see how she answers the following questions.
Questions |
Responses |
|---|---|
Do you want to use one or more offer bundles? |
Ada selects Back to School Student Offer, a popular product bundle that already consists of the child products she needs. |
What are the bundle’s cardinality (quantity) settings for minimum, default, and maximum? |
Ada chooses 1/1/1 for the cardinality settings, ensuring only one promotion can be applied per customer. |
What are the cardinality settings for each child product? |
The child product settings are set to 1/1/1 by default. But Ada can override these settings while creating the promotion. |
Step #3: Set the Promotion Pricing
The final step is to price the child products. Ada uses the following questions to set the promotion pricing.
Questions |
Responses |
|---|---|
Which individual products do you want to adjust pricing for? |
Ada wants to adjust the pricing for the internet service and installation fee. |
Do you want to use an adjustment or override the price? |
Ada chooses a 20% off monthly adjustment for the internet service and overrides the installation price, offering it for free during the promotion period. |
How long do you want the lower price to be in effect? |
Ada assigns an additional time plan to the internet service child product, reducing the price by 20% for the first 3 months only. After that, the service reverts to its original price. |
Fill Out a Worksheet
While designing a promotion, using a worksheet can be helpful. A worksheet lays out all the details of your promotion so that you don’t miss any. Plus, you can share the worksheet with other team members for feedback. Make sure you include the following items in your worksheet.
- Name of the promotion
- Description (as you want it to appear in the cart)
- Length of commitment
- Start/end dates
- Subscription ends when customer opts in or out
- Bundle to use
- Min/Default/Max cardinality of bundle
- Effective from date
- Effective to date
Here’s the worksheet for Ada’s promotion.
Name |
Student Internet Promotion |
Description |
Get 20% off internet service for 3 months plus free installation with a 1-year subscription |
Length |
1 year |
Start/End |
Day of purchase, cycle end-date |
Subscription ends when |
Customer asks for cancellation |
Bundle to use |
Back to School Student Offer |
Min/Default/Max of bundle |
1/1/1 |
Effective from |
July 1 |
Effective to |
January 31 |
For your child products, create another small table that lists the price adjustment and time frame. Check out this example from Ada’s promotion.
Individual Product |
Price Adjustment |
Time Frame |
|---|---|---|
Internet Service |
20% off monthly |
3 months |
Installation |
Free override |
N/A |
Modem |
None |
N/A |
Backpack |
None |
N/A |
Looking Ahead
Ada feels happy looking at the completed worksheet for her promotion. She now understands why laying out the promotion details from the get-go is essential to building a successful promotion. In the next unit, Ada gets hands-on with building her promotion. (And so do you!)
Resources
- Salesforce Help: Promotion Design Considerations
- Salesforce Help: Time Plans for Products in Promotions
