Send Email to Individuals
Learning Objectives
After completing this unit, you’ll be able to:
- Send emails to individuals from contact records in Nonprofit Success Pack (NPSP).
- See the email history of a contact in Salesforce.
- Use quick text to write an email.
- Send emails on behalf of someone else.
Send Email from a Contact Record
Let’s start sending an email in the simplest scenario: sending an email to one contact from Salesforce using their contact record. For example, imagine that the contact is a donor you want to thank.
In this module, we assume you’re an NPSP user or admin with the proper permissions to take these actions. If you’re not a user or admin of NPSP, that’s OK. Read along to learn how you take the steps in a production org. Don't try to follow these steps in your Trailhead Playground. NPSP and the required data isn't available in the Trailhead Playground.
- Enter a contact’s name in the global search to find and select their contact record.
- In the Activity panel, click


- Enter a Subject and compose a message. Optionally, you can:
- Add other recipients using the To and Cc fields.
- Select Insert, create, or update template (
 ) to insert and customize a template.
- Connect the message to other records (like opportunities or accounts) by finding and selecting records in the Related To field.
- Attach files using the Attach file (
 ) button.
- Add merge fields to insert data from the contact record using Insert merge field (
 ). If there are merge fields in your message—added as part of a template or manually—don’t touch the curly brackets (
{}) or anything in inside of them. That is code that populates information automatically from the contact record, without manually entering the data again or cutting-and-pasting.
- Check your email by clicking Preview email (
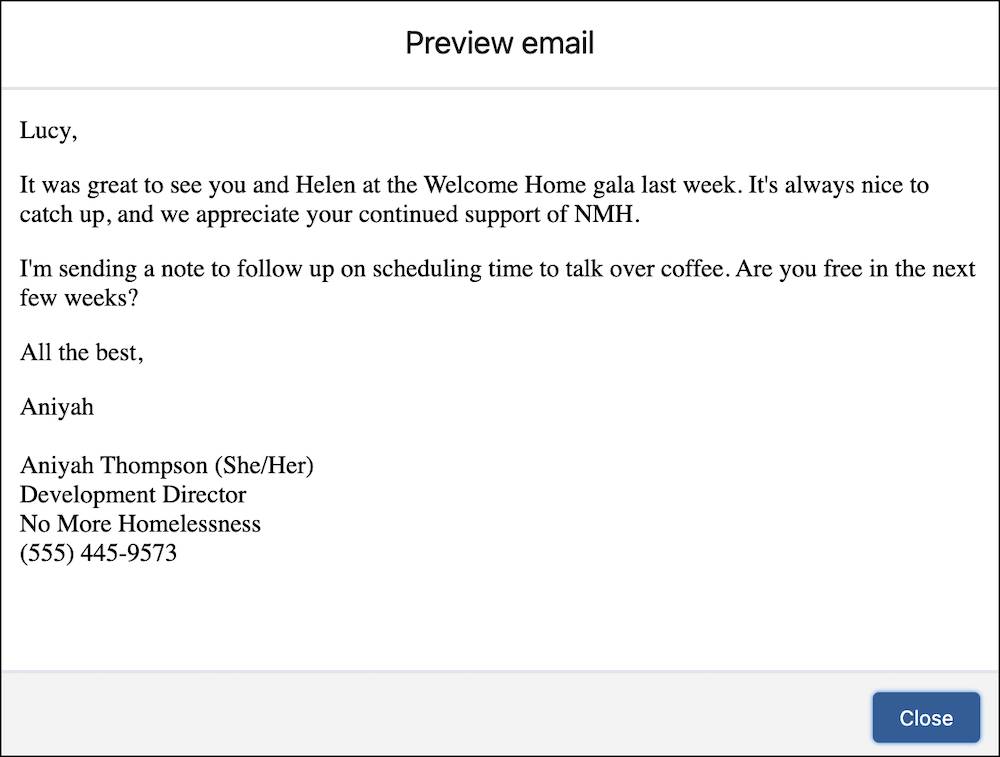
 ) to review all merge fields and other elements.
- Click Send.
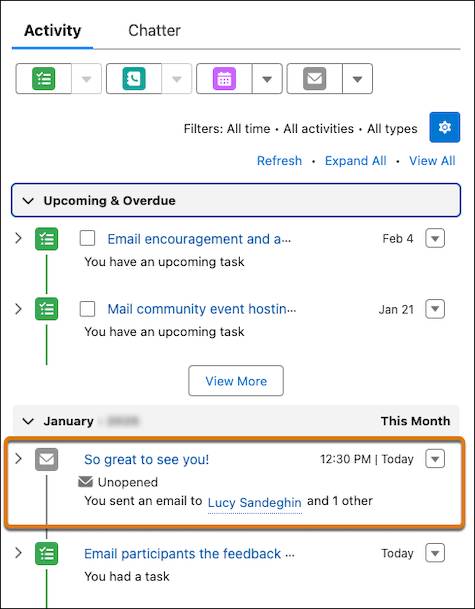
After clicking send, the message automatically appears in the Activity timeline on the contact record, and also any records you added to the Related To field before you sent the email.

Anyone with access can view the subject line, send time, if a message bounced, and when recipients opened the message. If they click the subject line, they can read the entire email.
Quick Text for Fast Follow-Ups
If you find yourself sending the same short message repeatedly—like, “Thank you so much!” or “Of course we accept your $3 million unrestricted gift!”—you have a good candidate for quick text.
Quick text are saved phrases you can insert into your emails with a few clicks.
Let’s create a quick text—and include a merge field, too, for fun.
- Select Insert quick text (
 ) on the Email tab.
- If you have quick text already set up, select the text you want to insert. Instead, click Create Quick Text (
 ) to make a new one now.
- In the New Quick Text interface, enter your details. Set up a simple thank-you message with these settings:
- Quick Text Name:
Thank You (With First Name) - Message:
- Enter
Thank you,and leave a space after the comma.
- Insert a merge field for the contact’s name. Find and select Contact in Related To and First Name in Field, then click Insert.
- Enter an exclamation mark (
!) after the end bracket for the merge field (}). Or, you can use a period (.) if you’re less excited.
- Category: Greetings
- Channel: Leave only Email in the Selected Channel list, but note that you can use the same quick text for tasks, events, and other channels.

- Click Save.
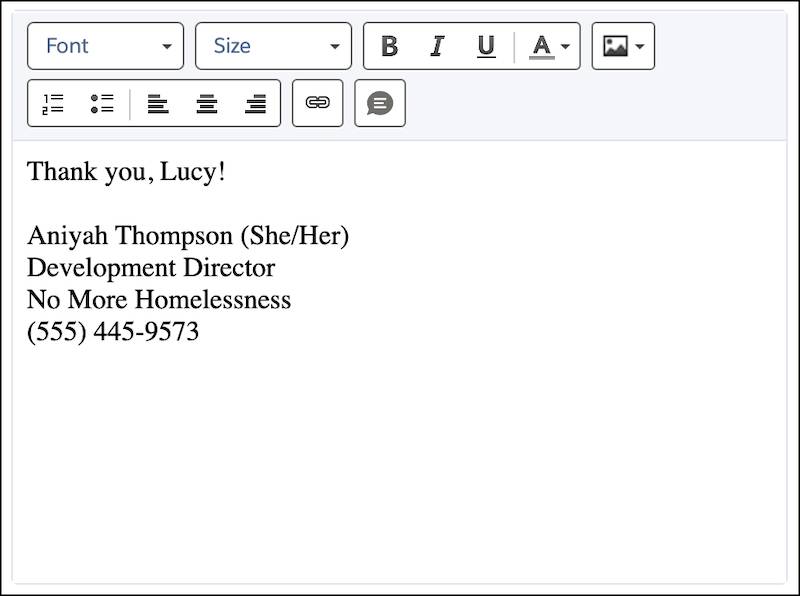
Navigate back to a contact record and the Email tab, click the Insert quick text ( ) again, and select the Thank You (With First Name) quick text to see it in action. Notice that the merge field automatically adds the contact’s first name.

If you’re sending a longer message repeatedly—like donation receipts or a standard reminder—you can instead use an email template. Read more about email templates using the link in Resources.
Send Email as Someone Else
Sometimes you want to send an email on behalf of someone else in your organization. For example, your executive director wants to thank a donor for their gift, but you’re the one who sends the message. Or perhaps you want to send a reminder from a general email address.
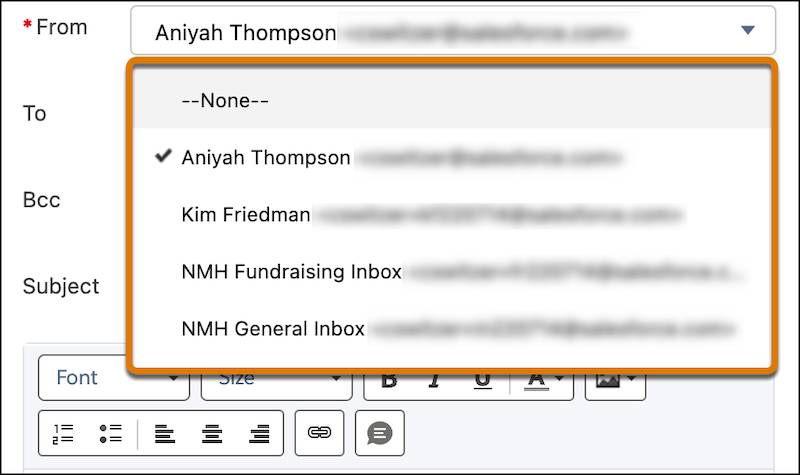
Your Salesforce admin can set up email addresses for others to use, then set permissions for access to those addresses. After all, not everyone should be able to send emails as your executive director.
To send a message as someone else, select another address in the From field when composing a message.

Sending messages from Salesforce to individual supporters is convenient, and the transparency it offers can save everyone time. But you often send messages to groups of people, not just an individual. In the next unit, you learn how to send an email to a small group of donors or other supporters.
Resources
- Salesforce Help: Send Email from a Record in Lightning Experience
- Salesforce Help: Merge Fields and Templates in Emails
- Salesforce Help: Email Templates in Lightning Experience