Get to Know the E-Bikes Sample App
Now that the app is deployed, let’s tour it. Start by exploring the E-Bikes Lightning app with the product explorer and reseller orders then take a look at the Experience Cloud site.
Discover the Product Explorer
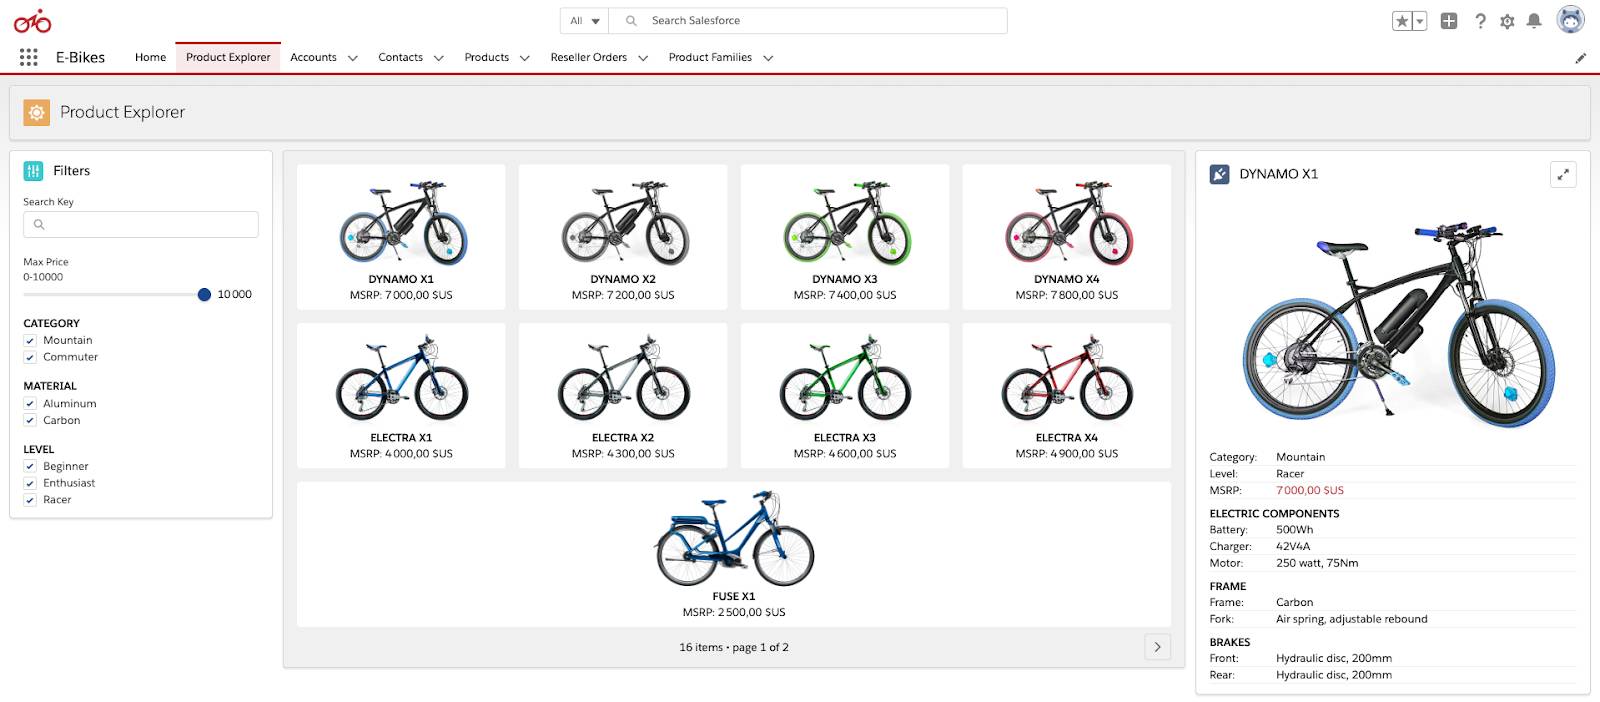
E-Bikes account executives can use the product explorer to browse the list of products and access technical specifications. The product explorer is a Lightning page built with custom Lightning web components that let you browse through the bike models (product records).
- From the App Launcher, find and select the E-Bikes card with the red bike logo. This card opens the Lightning app. The other E-Bikes card opens the Experience Cloud site (we explore it later).
- Click the Product Explorer tab.
The page contains three top-level custom components: a set of filters, a paginated list of products, and product details.
- Try out the different filters and see how the product list is dynamically updated.
- Select a bike to see its detailed description.

The information displayed on this page comes from product records. Let’s take a closer look.
With a bike model selected, click ![]() on the detailed product view to open the record page.
on the detailed product view to open the record page.
![]()
This record page includes a custom component that displays a list of similar products. These products are retrieved from the records belonging to the same product family.
Now that you’re more familiar with the E-Bikes products, let’s create a reseller order.
Create a Reseller Order
E-Bikes account representatives can create reseller orders for their retailers.
Let’s create a new order.
- Click the Reseller Orders tab.
- Click New.
- Select the Northern Trail Cycling account then click Save.
A reseller order is like a shopping basket. Let’s add a few products to it.
- Drag the Dynamo X4 bike from the right, and drop it on the grey placeholder with the E-Bike logo.
- Drag the Electra X4 bike into the same space as the previous step (where Dynamo X4 is now displayed with editable fields).
Feel free to modify those fields. You can adjust the price and quantity for specific sizes for each order item. Make sure to save your changes by clicking the grey check icon that appears on the top right of the product tile.
If you would like to remove an item from the order, click the ![]() icon that appears when you hover over the product with your cursor.
icon that appears when you hover over the product with your cursor.

Now that you know how to create a reseller order, let’s move on to the E-Bikes site.
Explore the Site
Bike enthusiasts can browse the E-Bikes product line from a dedicated Experience Cloud site. Sites are great to create rich customer-facing experiences.
From the App Launcher, find and select the E-Bikes card without the red bike logo.

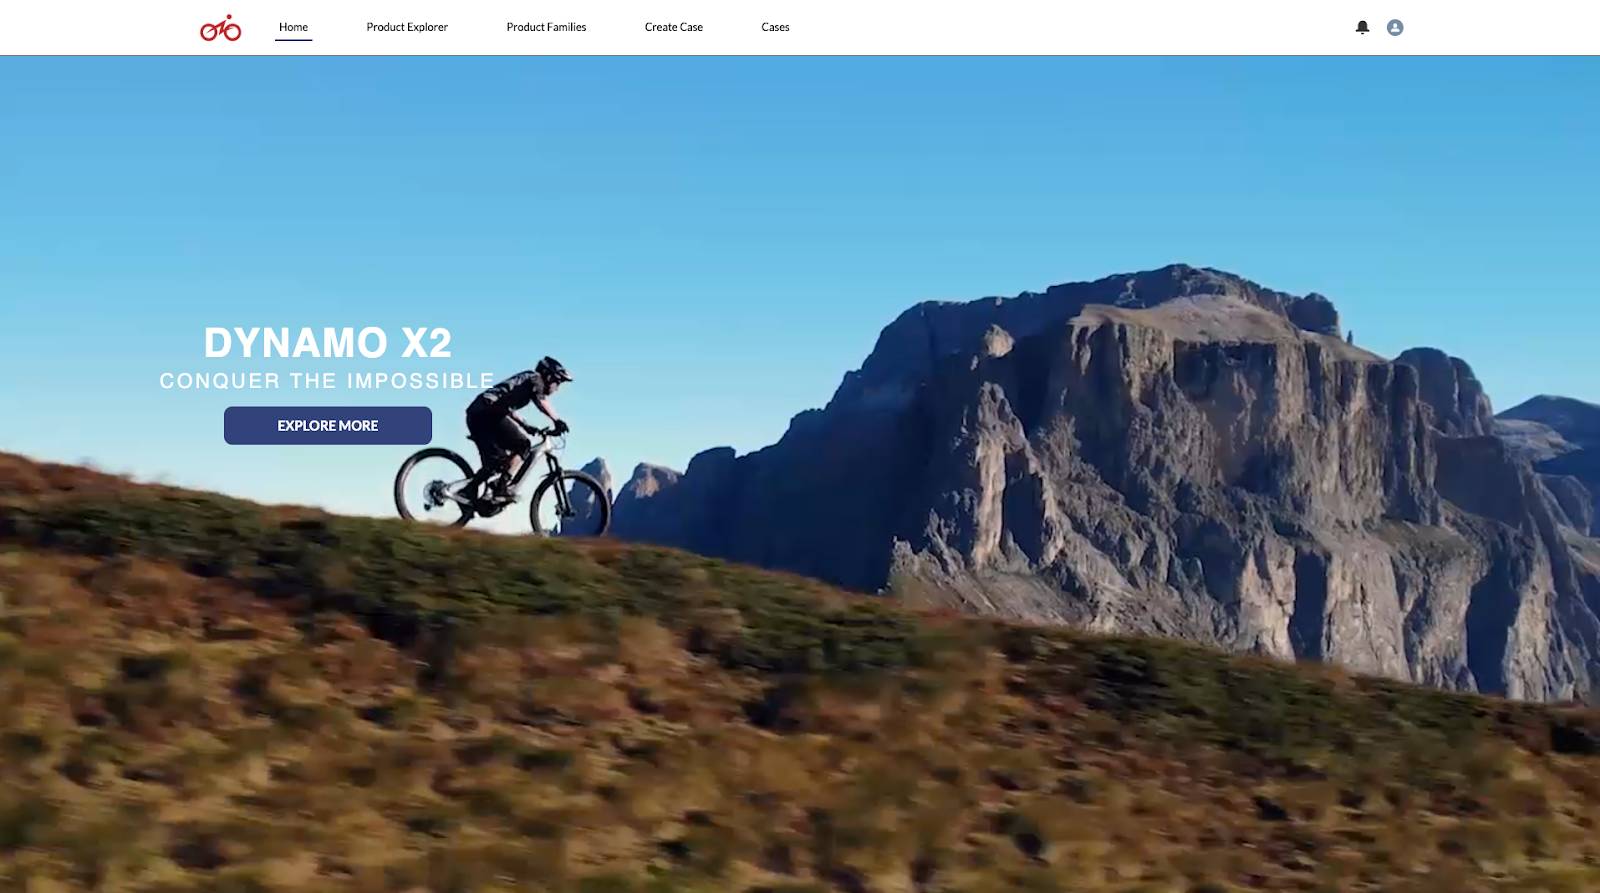
Notice the media-rich site with a custom layout that includes videos. This was created with a combination of code with custom Lightning web components and declarative features like the Experience Builder.

The E-Bikes site lets customers browse through its products and create cases when they require assistance.
Explore the different tabs and notice how some Lightning web components are reused. For instance, the Product Explorer in the Lightning app uses the same components as the site.
Now that you’re familiar with the E-Bikes Lightning app and site, let’s take a look at how to implement to implement them.