Load Data Using the Data Import Wizard
Learning Objectives
After completing this project, you’ll be able to:
- Use the drag-and-drop report builder to create new Travel Approval reports.
- Create a new dashboard and add your reports as visual components.
Introduction
How great would it be to get a report in your inbox every morning that shows the number of open travel requests waiting on your approval? Or access a report that provides all the key information of your travel approvals across your departments and their status? And see that information displayed as a graphical chart via a dashboard from your desktop or a mobile device? Good news because that is all possible.
The Travel Approval app you created earlier includes Reports and Dashboard tabs, where you can begin to create, edit, run, and schedule reports or dashboards.

Launch Your Trailhead Playground
You complete this hands-on project in your own personal Salesforce environment, called a Trailhead Playground. Get your Trailhead Playground now by first logging in to Trailhead, and then clicking Launch at the bottom of this page. Your playground opens in a new browser tab or window. Keep the playground window open while you do this project. After you complete the project steps in your playground, come back to this window and click Verify step at the bottom of this page.
Load Data
Let’s first load sample Travel Approval records so our reports and dashboards have more data.
- Click
 and select Setup.
- In the Quick Find search box, enter
Data Import - Select Data Import Wizard.

- Select Launch Wizard!
- Select the Custom Objects tab and select the Travel Approval object.

- Select Add new records.

- On the Add new record screen, enter the following values.
Parameter
Value
Match By
None
Which User field in your file designates record owners?
None
Which Department field in your file do you want to match against to set the Department lookup field?
Department Name
Trigger workflow rules and processes for new and updated records.
Checked
- Drag the TravelApprovals.csv file (from the folder you downloaded in the Build a Data Model for a Travel Approval App project) to the Drag CSV file here to upload section..
- Select Next.
- Ensure the names in the CSV file are the same as your object (these are automatically mapped).
- Click Next.
- Click Start Import.
- Click OK.
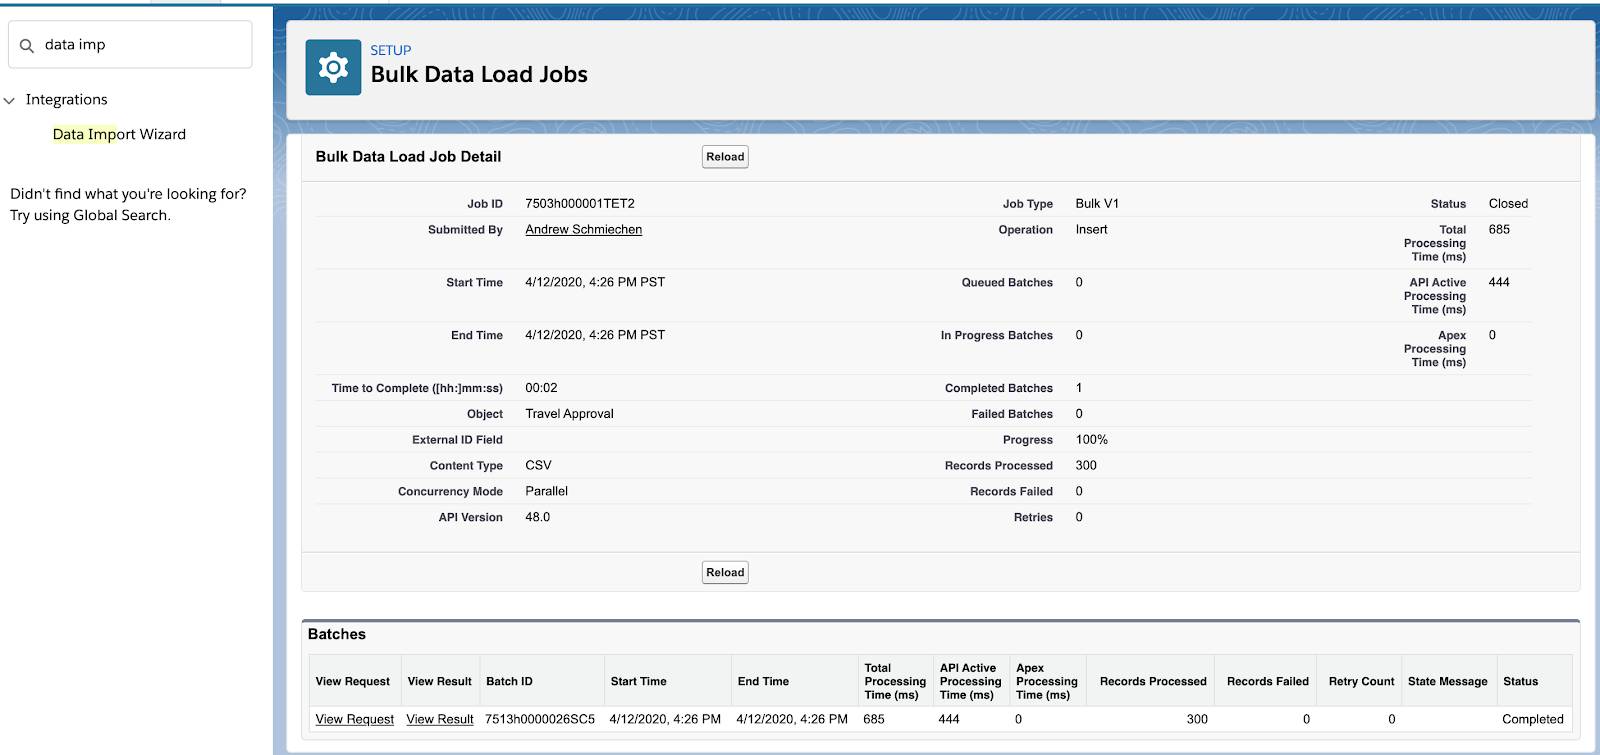
You are taken to the bulk import summary window. This shows the process has completed (that is, Closed) and that 300 records have been successfully imported or processed.
Great job! Your Travel Approval object is now populated with hundreds of records. In the next step, you display this data in a Salesforce report.