Create a Self-Registration Page
Learning Objectives
After completing this module, you’ll be able to:
- Set up a self-registration page.
- Describe how to gather additional information when users register.
- Describe what happens behind the scenes when users register.
Set Up Self-Registration
In the previous unit, you created a login page so that your customers can log in to your Salesforce Customer Identity site. But how do they get in the first time? How do you add a Register option to your login page? Good news: You’ve already done most of the work.
- If you closed Experience Workspaces or you're still in the Partners workspace, navigate to the Customers workspace. From Setup, enter Sites in the Quick Find box, select All Sites, and then click Workspaces next to customers.
- Select Administration, then select Login & Registration.
- Under Registration Page Configuration, select Allow customers and partners to self-register. Notice that the page expands to display the Registration settings populated by the Customer Service template.
- For Profile, select Customers.
- For Account, click
 and enter Customers in the search box.
- Click Go! to execute the search and then choose the Customers account.
- Click Save.

It’s as simple as that. You’ve got yourself a registration page. Now you can invite a customer to join your site.
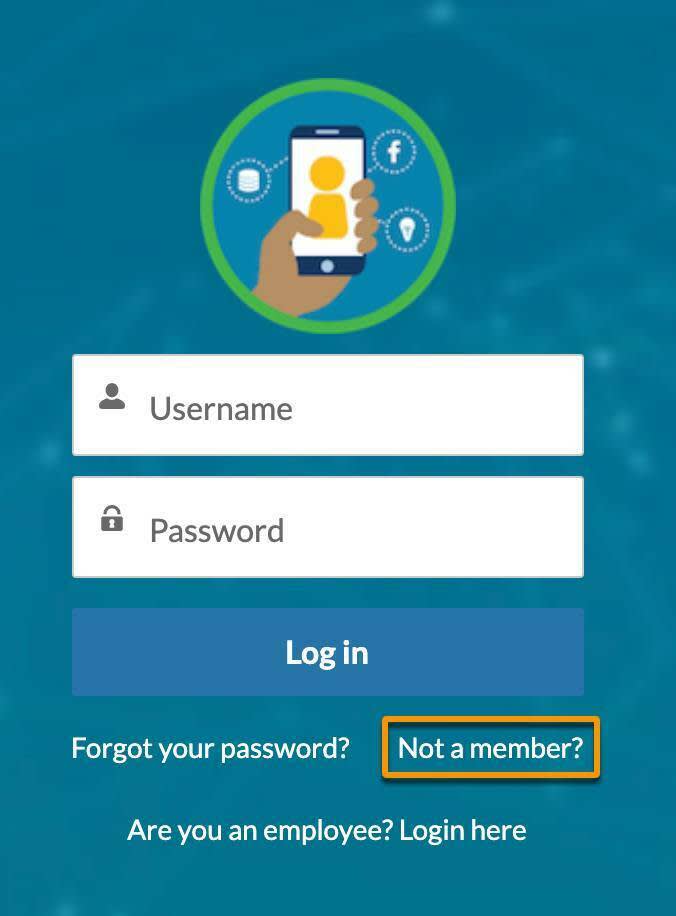
Return to your private (incognito) browser and reload the login page. Notice that the login page now has a “Not a member?” link, which folks can use to self-register.

Register a New Customer
Let’s see what happens when we try to register a new customer.
- From your login page in the private (incognito) browser, click Not a member? and make up a name for your new customer. Use your own email address so that you receive the welcome email.

- From your Salesforce org, click Accounts and then click the Customers account. Your new customer appears under Contacts.
- From Setup, enter Users and select Users. Your new customer appears under Users. Your customer is now a user in your org with access determined by the Customers profile and External Identity user license.

Customize the Login Page with Visualforce Pages
You’ve created a login page and added self-registration using default Experience Builder pages. Simple, right? Experience Builder pages give you a quick, general-purpose solution to creating login pages. But it’s not the only option. You can have complete control over your login experience (including login, forgot password, and registration pages) by building Visualforce pages.
With Visualforce, you can
- Control how the page looks, right down to the pixel level
- Include custom CSS and JavaScript
After you build your own Visualforce page to customize your users’ login experience, you assign the Visualforce page from Login & Registration. Here we assign a Visualforce page called “SiteLogin,” which builds a custom login page.

Several Visualforce pages come out of the box with Salesforce. Plus, developers familiar with Visualforce can create them for you. If you’re curious, you can check out the Visualforce pages that are already in your org—but not now. Let’s finish what we started.
What Happens When a Customer Self-Registers to Join Your Site?
When a customer self-registers to join a site, Salesforce does a couple of things behind the scenes.
- Salesforce creates a User record and Contact with the information that the registrant provides on the self-registration page.
- Salesforce associates the Contact with an Account, in our case, Customers. You created the account earlier as part of setting up your org.
- The User record is assigned the Customers profile, that you cloned from the External Identity User profile earlier in this module.
Congratulations! Identity is up and running in your site.
What’s next? Let’s give your customers the option to sign in from their social account.
Resources
- Salesforce Help: Set Up Self-Registration for Your Experience Cloud Site
- Trailhead Module: Get Started with Visualforce
- Salesforce Help: Set Up and Manage Experience Cloud Sites
