打开您的新潜在客户培养智能体
学习目标
完成本单元后,您将能够:
- 启用潜在客户培养。
- 通过指导设置体验设置智能体。

简介
在上一步中,您已激活 Agentforce。现在,让我们设置访问权限并配置数据库。

启用潜在客户培养
首先,设置潜在客户培养智能体。
- 在 Agentforce for Sales(适用于销售的 Agentforce)页面中,在 Start with an Agent Template(从智能体模板开始)部分,切换 Lead Nurturing(潜在客户培养)。
- 当系统提示时,在对话框中单击 Confirm(确认)。启用智能体可能需要几分钟时间。启用后,卡片依次显示设置步骤,并提供链接指导您完成每个步骤。这样,您就能条理清晰地完成整个设置过程,无需在不同部分之间来回跳转。这是由 Salesforce Go 提供技术支持的流畅的设置体验。

智能体模板现已启用,可进行设置。
借助 Salesforce Go 指导设置,您可以一次打开所有必需的支持功能,而无需逐个打开每个功能。打开这些功能为您的智能体完成任务做好了准备。如果列表中的任何功能已启用,您将在功能旁边看到一个勾选标记。
打开 Agentforce 潜在客户培养后,您即可创建智能体用户记录、分配其权限,并在 Agentforce 生成器中配置该智能体。
对管理人员和用户访问权限进行管理
现在智能体已激活,下一步是分配权限集,以便销售用户能够使用该智能体。在这个项目中,您将访问权限分配给自己。
- 在潜在客户培养设置区域,在 Manage Access for Managers and Users(对管理人员和用户访问权限进行管理)旁边,单击 Manage(管理)。

- 在 Use Lead Nurturing Agent(使用潜在客户培养智能体)选项卡上,单击 Recently Viewed(最近查看)下拉菜单并将其更改为 All Users(所有用户)。
- 找到姓名,并在其旁边的方框内打勾。
- 单击分配。

- 单击完成。
管理智能体的用户记录和电子邮件
此过程的下一步是设置智能体的用户记录和电子邮件。此步骤非常重要,因为智能体用户作为 Salesforce 用户运行,具备安全执行任务所需的所有权限。请按照以下步骤直接在 Salesforce Go 中完成设置。
- 在潜在客户培养设置区域,在 Manage Agent’s User Record and Email(管理智能体的用户记录和电子邮件)旁边,单击 Manage(管理)。

- 单击 Agent’s User Record(智能体的用户记录)下拉菜单,选择 + New User(+ 新用户)。注意:若无法选择新用户,请刷新页面。
- 输入如下信息:
- First Name(名字):
sales(销售人员) - Last Name(姓氏):
agent(智能体)
- First Name(名字):
- 单击 Create(创建)。智能体用户已创建,所有必要配置均已自动应用。
- 单击下一步。过几分钟,会弹出一个窗口。. 此窗口将指导您完成 Inbox 和 Einstein 活动捕获功能的设置。
- 单击 Connect Account(连接帐户)。
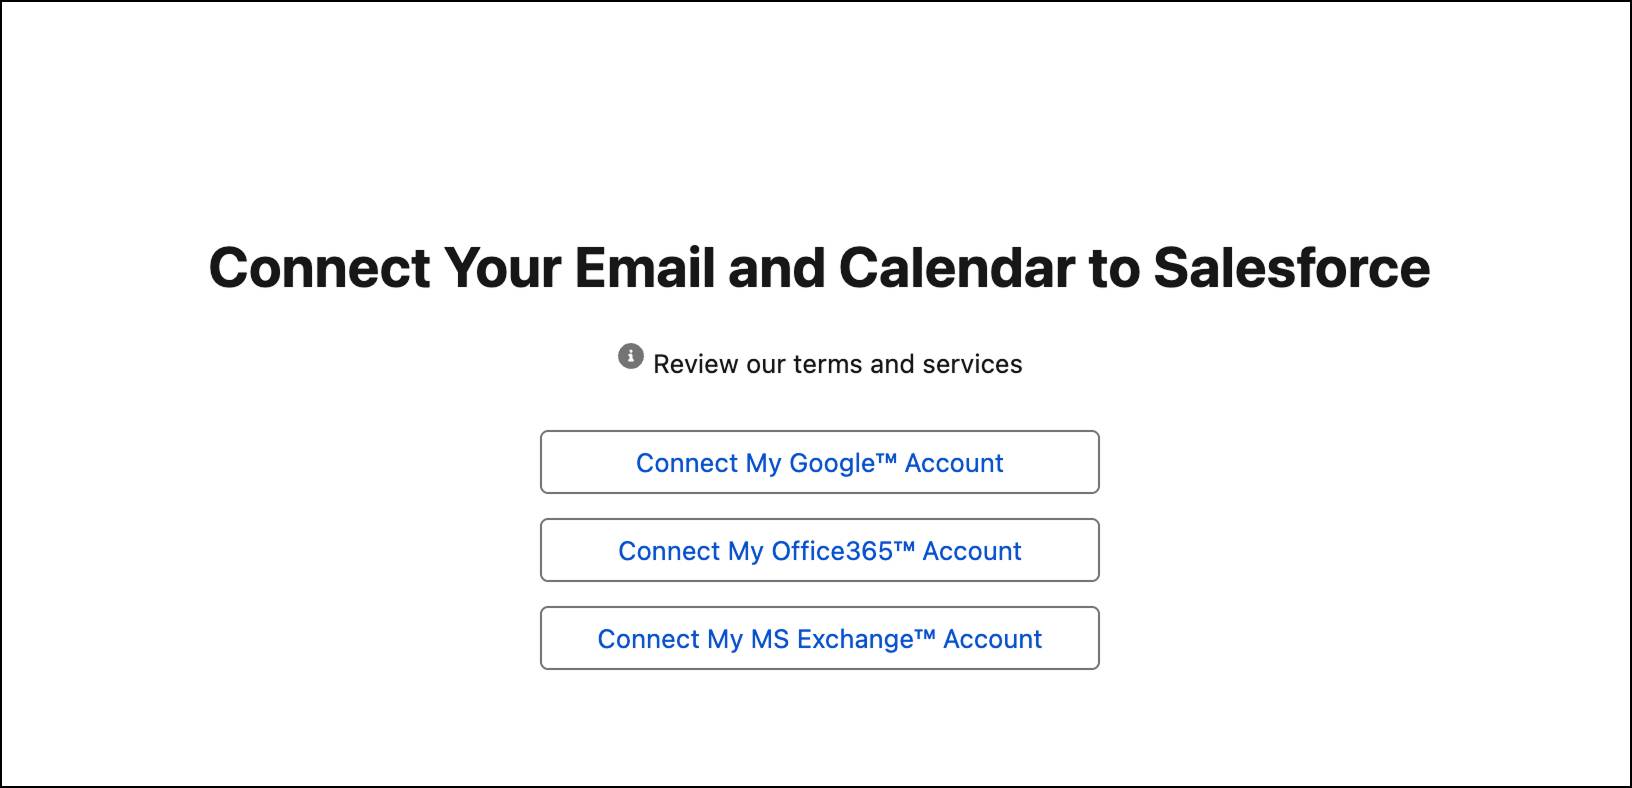
- 选择复选框以确认您已阅读并理解条款。
- 单击下一步。
- 单击其中一个“连接”选项,将您的电子邮件账户和日历链接到 Salesforce,然后完成设置。
完成此步骤后,您将被重定向到设置体验,并收到一条确认信息:已成功添加一名智能体用户。
为您的智能体配置数据
对于任何智能体而言,数据都至关重要。它为智能体提供了所需的上下文,使其能够按预期回答问题并完成任务。在最后一步中,您将设置数据库。
- 在潜在客户培养设置区域,在 Configure Data for Your Agent(为您的智能体配置数据)旁边,单击 Go to Agentforce Data Library Setup(转到 Agentforce 数据库设置)。这将在新选项卡中打开该页面。

- 单击 New Library +(新建库 +)。
- 在弹出窗口中,输入以下内容:
- Name(名称):
Welo Customer Policies Library(Welo 客户策略库) - API Name(API 名称):自动生成
- Description(描述)部分请粘贴以下内容:
A collection of Welo’s official customer-facing documents, including return policies, warranties, service terms, and support guidelines.(Welo 官方客户文档合集,包含退货政策、保修条款、服务条款及支持指南。)
- Name(名称):
- 单击保存。您的数据库现已设置完成,可开始添加数据源,为您的智能体提供所需信息,使其能够为您的业务提供精准、自定义的响应。
- 对于这个项目,让我们添加一个 Web 来源。此类数据可让您的智能体搜索相关网站,以丰富其知识储备,从而提供更精准的搜索结果。单击 Data Type(数据类型)下拉菜单并选择 Web。

- 切换至 Turn on Web Search(打开 Web 搜索)按钮,启用该功能。

- 单击保存。
您的数据库已经准备就绪!您的智能体现在可以开始利用您添加的数据源进行操作。