Create a Permission Set and Add It to Your Package
Create the Sales Unlocked Package
In this step, you create an unlocked package and put the new permission set in the package.
- To create a new unlocked package named salesApps, run this command:
sf package create --name salesApps --description "My Package" --package-type Unlocked --path force-app --no-namespace --target-dev-hub DevHub
The terminal window returns the Package Id.
You created a package that contains the metadata in your project’s force-app directory.
- In VS Code, expand the PermSetUnlockedPackage folder, and then open the
sfdx-project.jsonfile. The JSON file opens in the editor window.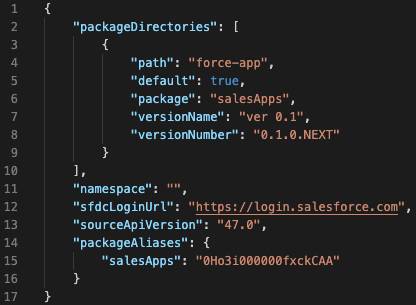
Take note of the package name and Id underpackageAliases. You use them later in this project.
Create a Scratch Org
Scratch orgs are defined by the project-scratch-def.json file, which resides in a project’s config directory. Because we’re working with a new Salesforce DX project (the PermSetUnlockedPackage directory), our project-scratch-def.json file will be pretty basic.
- To create a scratch org, run this command, which typically takes less than a minute:
sf org create scratch --definition-file config/project-scratch-def.json --set-default --target-dev-hub DevHub
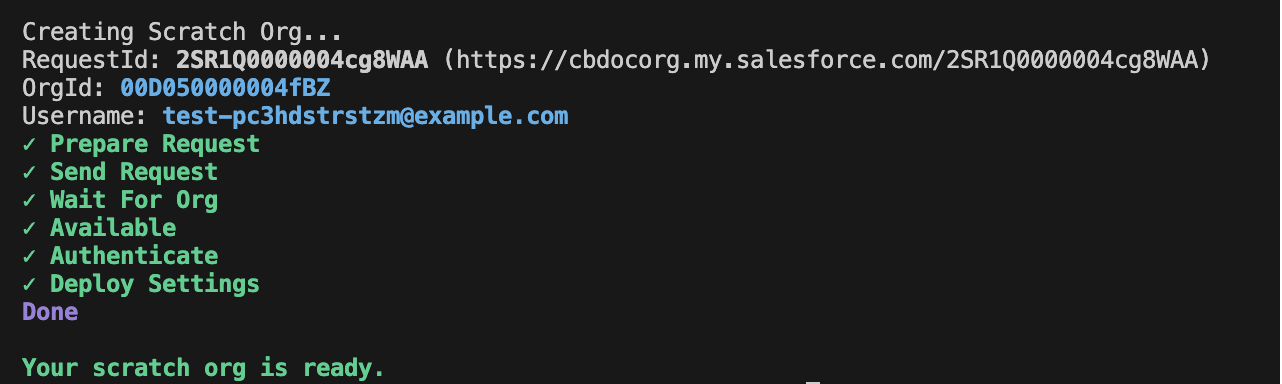
The terminal displays the org ID and username and then "Your scratch org is ready". Notice that no password is provided for the username for the new org. You don’t need a password because Salesforce CLI stores a cached authentication token on your machine for the new scratch org.
Deploy Metadata Into the Scratch Org
Now that you’ve created your scratch org, you’re ready to deploy metadata into the scratch org.
- Deploy the metadata in the project you installed into your scratch org.
sf project deploy start
The terminal displays a list of the metadata components you deployed with each item’s full name, type, and project path. You should seeServices__c,Services__c.All,SKU__c, andServices__clisted.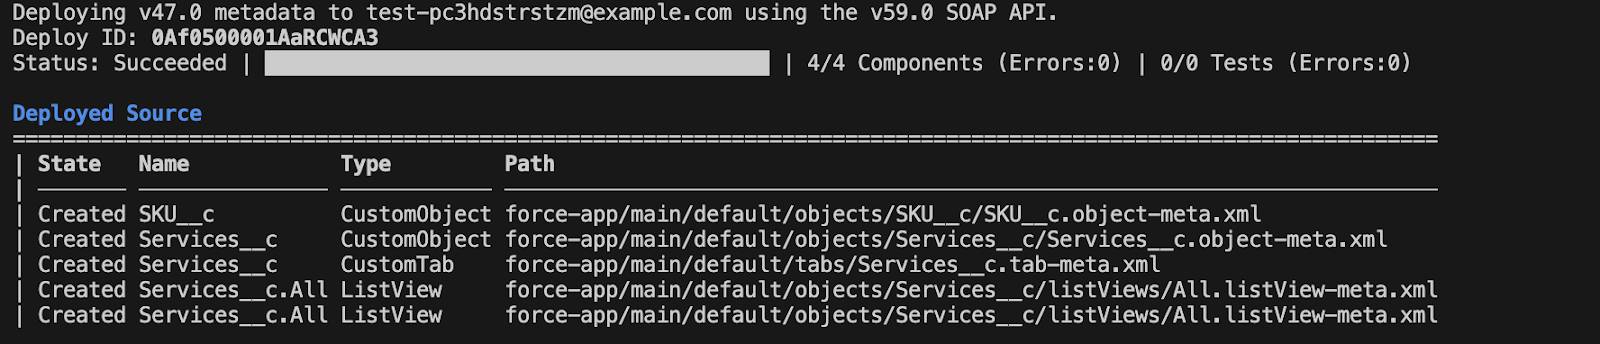
Create the Sales Manager Permission Set
Next, you create the Sales Manager permission set in the scratch org.
- Open your scratch org.
sf org open
While in Setup, in the Quick Find box, enterPermission Setsand then select Permission Sets.
- Click New and define the permission set.
- Label:
Sales Manager - API Name:
Sales_Manager
- Click Save.
Now that you have a new permission set, you need to modify the object permissions you want to associate with this permission set.
First, you add permissions for sales managers to access the Services custom object.
- Click Object Settings.
- Click Services.
- Click Edit.
- For Tab Settings, select Available and Visible.
- For Object Permissions, enable View All Records and View All Fields.
- Click Save.
Sales managers need to view all SKU records too, so you’ll give them access to the SKU custom object.
- Click Object Settings.
- Click SKUs.
- Click Edit.
- For Object Permissions, enable View All Records and View All Fields.
- Click Save.
And with that, our Sales Manager permission set is complete. Now, with this permission set assigned, sales managers can read and view all SKU and Services records.
Add the Permission Set to the Project
Time to retrieve changes from the scratch org into the project.
- Retrieve the changes from your scratch org into your unlocked package.
sf project retrieve start
The terminal window lists the assets that were successfully retrieved, displaying each asset’s state, full name, type, and project path. You should see the Sales_Manager permission set.
You’ve created a custom permission set in a scratch org, and pulled it into the project. Next, you create a new version of your package and then promote the new version to released status. Your development team will use the release version of the package to build other salesApps components.
Resources
- Salesforce Developers: Salesforce DX Project Configuration
- Salesforce Developers: Create a Salesforce DX Project from Existing Source
- Salesforce Developers: sf Commands