Create Your Project with the Slack CLI
Set Up the Slack CLI
To build and host your app, you use the Slack command-line interface (CLI). The Slack CLI enables you to create and manage Slack apps from the command line.
The following are steps to install and authenticate the Slack CLI for MacOS. If you’re running a Windows machine, you can check out the instructions here.
Install the Slack CLI
First, get the Slack CLI onto your machine.
- Open Terminal from Applications or search and select Terminal using command + space.
- Download the Slack CLI with the following command:
curl -fsSL https://downloads.slack-edge.com/slack-cli/install.sh | bash - Terminal will respond that it’s installing the Slack CLI,
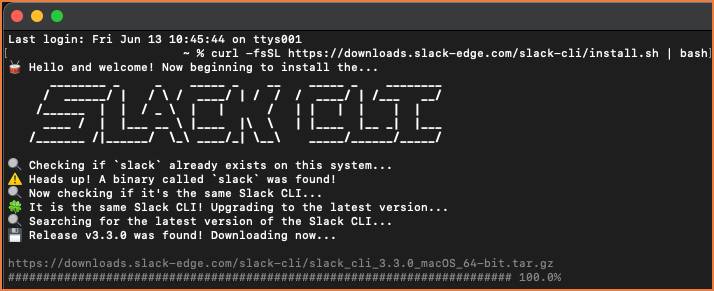
- Confirm the install with the command
slack version.
Terminal responds with the Slack CLI version installed on your machine.

Authenticate the Slack CLI
You then connect the Slack CLI to your Trailhead Slack playground. The authentication ticket you receive in this step is time-sensitive and times out in 5 minutes. Ensure you use it promptly. If it happens to time out and you get an error, follow the below steps from the beginning.
- If you don’t have your Trailhead Slack Playground open, go ahead and launch it.
- Then, head back to Terminal and enter
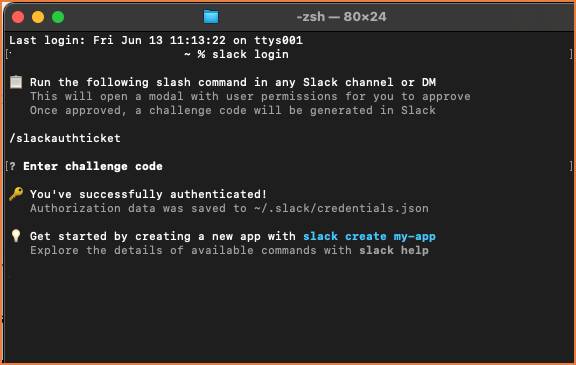
slack loginto retrieve an auth ticket. You’ll get instructions to run a slash command in your Slack environment, /slackauthticket [48 character string]
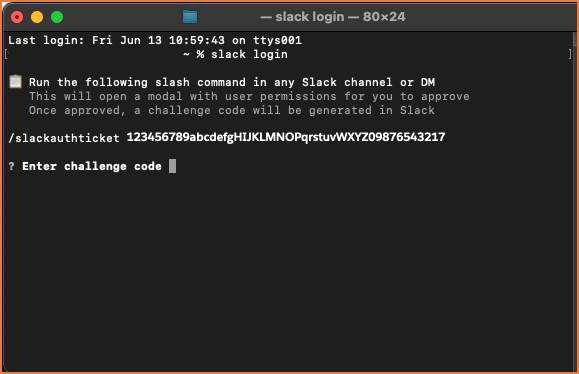
- Copy this slash command and the entire string. Keep your Terminal window open.Head to your Trailhead Slack Playground. Enter the command in any channel or DM. You may also create a private channel, like #the-slack-cli, to keep your workspace tidy. Once the command is entered, a modal pops up listing all the permissions you granted to the Slack CLI.
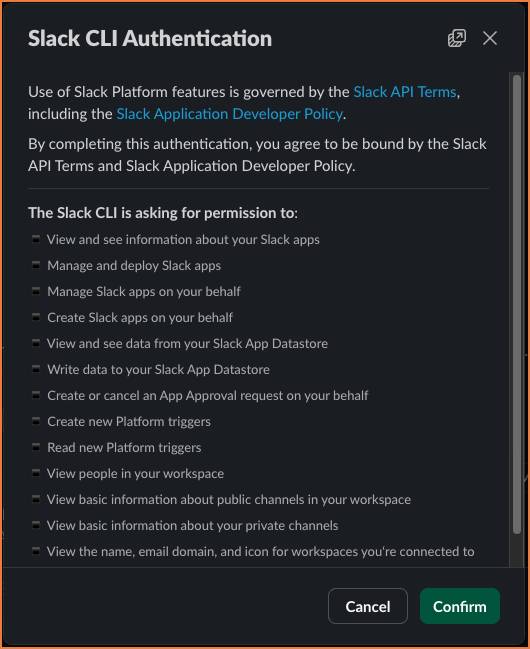
- Click Confirm to retrieve your challenge code.
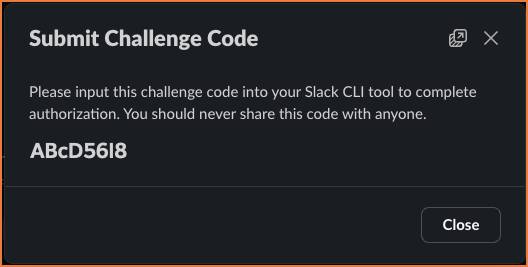
- Copy and paste the challenge code back in your open Terminal window.
Once the challenge code is entered, you receive a message of successful authentication from the Slack CLI.
You’re now ready to build and host your app on your machine!
Create the Project
The Slack CLI create command enables you to set up your project where you’re working.
- In Terminal, enter
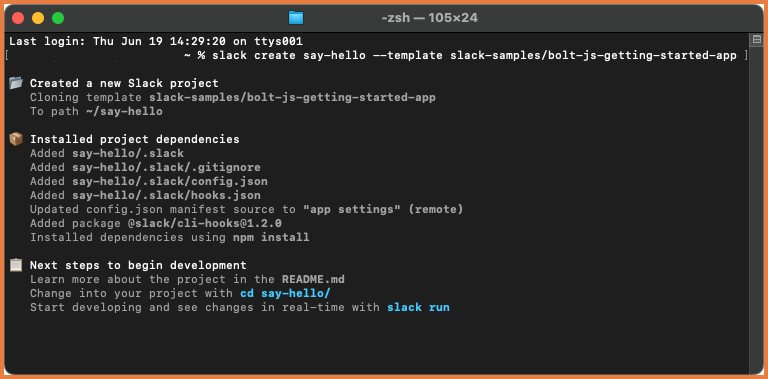
slack create say-hello --template slack-samples/bolt-js-getting-started-app
This creates the say-hello project on your machine, based on the getting started with Bolt template. You’ll see the Slack CLI respond by creating the project to path ~/say-hello and installing project dependencies.- You may be prompted to agree to the download of Slack developer tools. In this case, go ahead and agree.
- You may be prompted to agree to the download of Slack developer tools. In this case, go ahead and agree.
- To confirm the project was set up, search for and open the project folder
say-helloon your computer.
The work you did in this step was on your machine, so we won’t check it. Go ahead and click Verify step to earn 100 points to move forward. In the next step, you use your preferred text editor, like VS Code, to develop the app.