Customize K-12 Architecture Kit Page Layouts
Learning Objectives
After completing this unit, you’ll be able to:
- Describe the importance of page layouts and record types.
- Explain how to review the page layouts provided.
- Define how to customize the highlights panel.
- Identify how to add additional primary affiliations.

Page Layouts and Record Types
So let’s review. You just learned how to create a Student and Household Contact record, and what you see when viewing a student’s Contact record. In particular, we talked about the highlights panel, the details section, and related lists. The entire collection of headings, fields, and visual containers that we see in this type of record is what we call a page layout.
Page layouts are flexible and provide a way to show the right information to the right users. To start customizing page layouts, you can begin by reviewing the page layouts provided in K-12 Architecture Kit. Let’s follow along with Pleasant Trail as it takes a look at the provided page layouts.
Review the Page Layouts Provided
First, Pleasant Trail takes a look at the Contact object. Follow these steps, and you, too, can review the page layouts provided.
- Click the gear icon (
 ), then click Setup.
- Click the Object Manager tab.
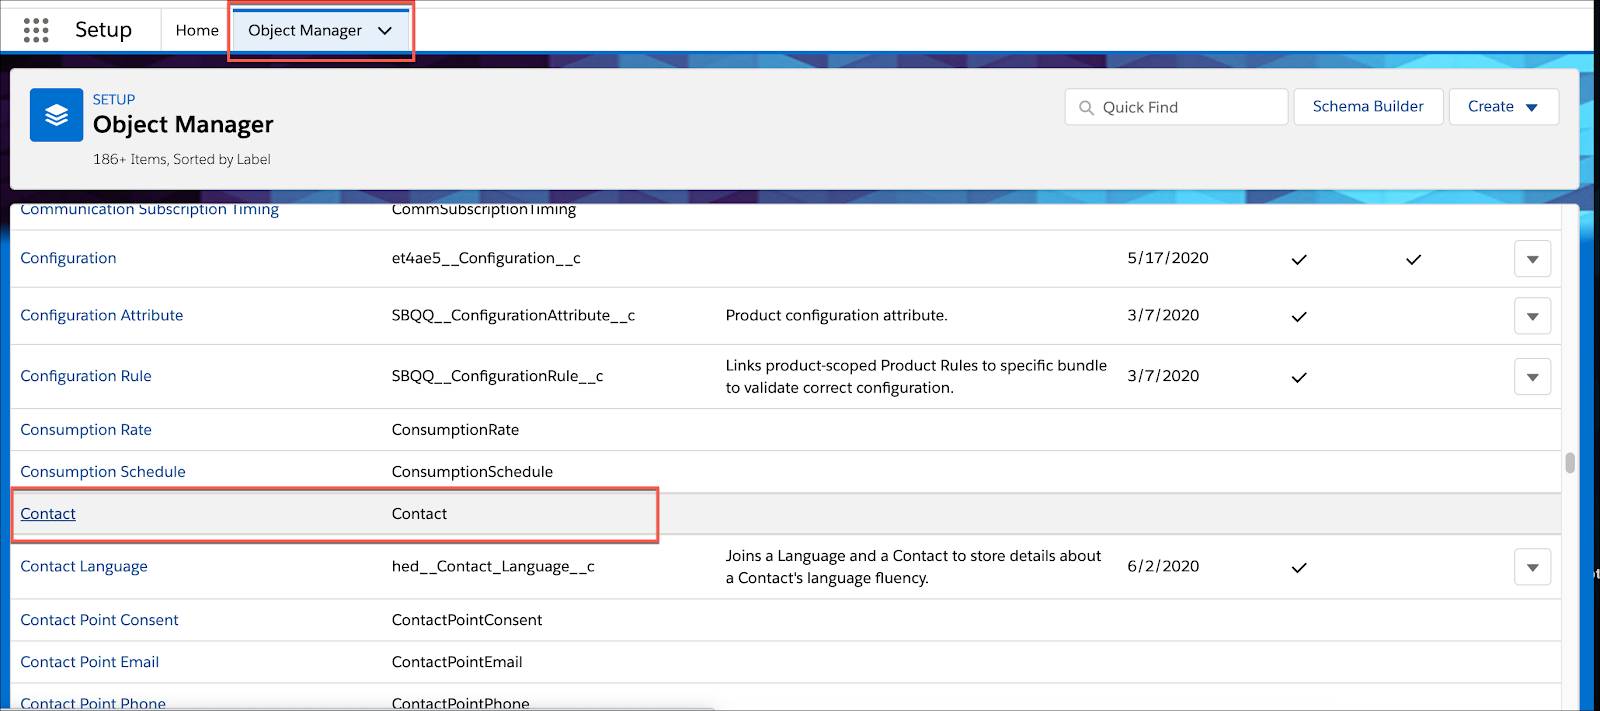
- In the list of objects, click Contact.
- Click Page Layouts.
- Click into the different layouts for student, guardian, and faculty members, and notice the similarities and differences between them.
- Back in the Object Manager tab, switch to the Account object and look at the page layouts there.
There are lots of ways you can customize the look of your page layouts, including:
- Adding, removing, or changing the placement of items on the page
- Changing the order of related lists
- Renaming a section
- Adding a new section
- And more…
Let’s continue our journey with Pleasant Trail as it implements a few helpful customizations for the student Contact page layout.
Customize the Highlights Panel
The Pleasant Trail School District has a student population where a significant percentage of its 25,000 students come from households where two or more languages are actively spoken.
As such, the district wants to customize students' Contact records to display a student's primary languages. To do this, you access the highlights panel (on a student's Contact record) to show the fields specified in a compact layout. From here, you can customize this compact layout. Here are the step-by-step directions the Pleasant Trail admin follows to accomplish this.
- Click the gear icon (
 ), then click Setup.
- Click the Object Manager tab.
- In the list of objects, click Contact.
- Click Compact Layouts.
- From the actions menu for K12 Student Contact Compact Layout, click Edit.
- From the Available Fields list, select Primary Language, then Add it to the Selected Fields list.
- If you don’t want it to be the last field in the highlights panel, move it Up in the list.
- Click Save.
Now, when Pleasant Trail’s staff, teachers, and family members look at a student’s Contact record, the Primary Language field is easy to spot. Let’s explore one more K-12 Architecture Kit page layout customization feature.
Add Additional Primary Affiliations
The Pleasant Trail School District is a sprawling public school system, employing nearly 3,000 people. The district wants all relevant staff and teachers, across its 75 unique schools and programs, to have access to a student’s educational journey. As an example, Darius (our fictional elementary student) attends his home elementary school, but participates in an enrichment program at another elementary school in the district. In this case, the district could customize a student’s Contact page layout to show the Primary Educational Institution field, allowing staff, educators, and family members to see the most up-to-date, pertinent information on Darius’ educational experiences. This is how they can do it.
- Click the gear icon (
 ), then click Setup.
- Click the Object Manager tab.
- In the list of objects, click Contact.
- Click Page Layouts.
- From the actions menu for K12 Kit Student Layout, click Edit.
- Enter
Primaryin the Quick Find box.
- Drag the Primary Educational Institution field to the Primary Affiliations section.
- Click Save.
Now all students’ Contact records show a student’s connection to their main school of record. And, if you ever encounter a blank Primary Educational Institution field, you can edit it by clicking the pencil icon.
We are moving along! Next, we’ll take a look at K-12 Architecture Kit’s reports and dashboards.
Resources