Build a Custom Record Page for Agentforce 360 Platform and Salesforce Mobile App
Learning Objectives
After completing this unit, you’ll be able to:
- Create a customized object record page for Lightning Experience and the Salesforce mobile app.
- Activate the custom record page for your users.
Those Lightning Experience Record Pages? You Can Customize Them, Too!
Use the Lightning App Builder to add, remove, or reorder components on a record page to give users a customized view for each object’s records. Even cooler, you can customize a record page and assign it to specific Lightning apps to give your users access to a record page customized especially for the context of the app they’re working in.

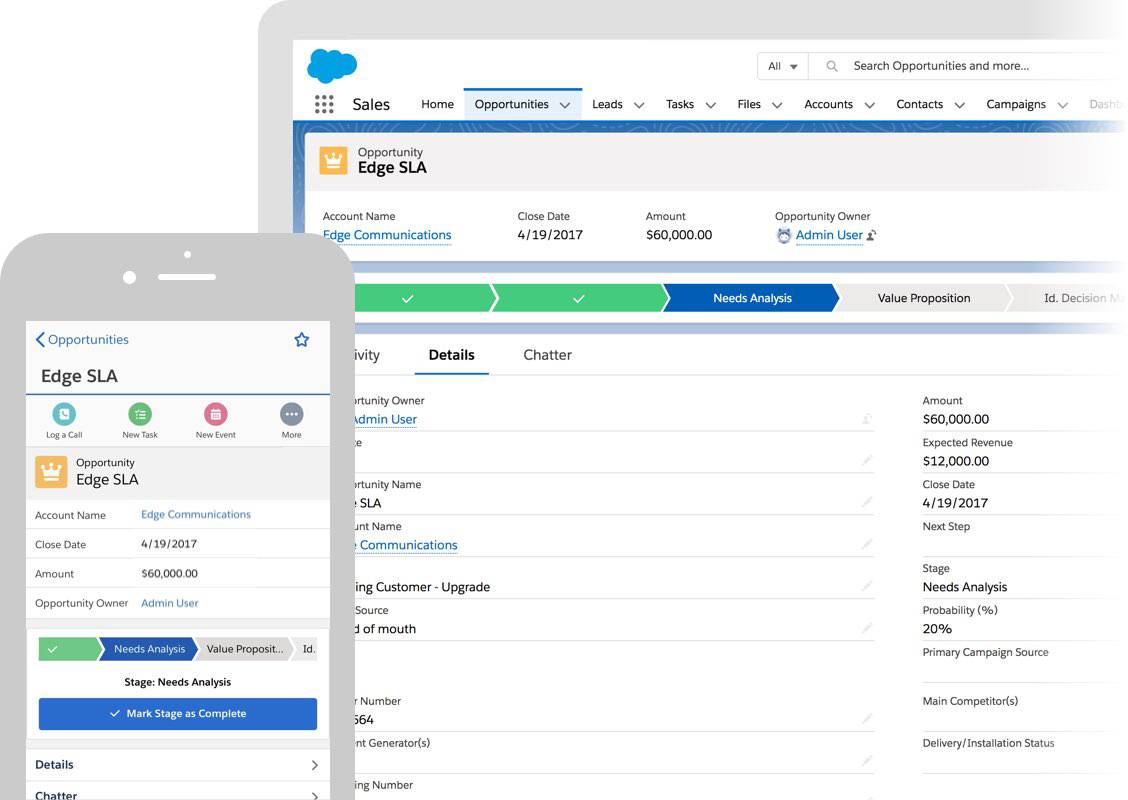
Just like the Home page, you can create a custom record page in different ways: Create it from scratch using a template, clone one of your other custom record pages, or edit an existing page. However, unlike the Home page, custom record pages are not only supported in Lightning Experience on desktop but also in the Salesforce mobile app.
Create a Custom Lightning Record Page
Next, build a custom opportunity record page.
Tweak the standard record page layout just a bit, so you can get a feel for how things go together. After you’re comfortable with that, you can go to town and customize your record pages any way you like. Time to get started.
- From Setup, enter
App Builderin the Quick Find box, then select Lightning App Builder.
- Click New.
- Select Record Page and start stepping through the wizard.
- Label your page
New Opportunity Page, and select Opportunity as the object.
Start typing an object’s name in the Object field to filter the list and find what you’re looking for more quickly.
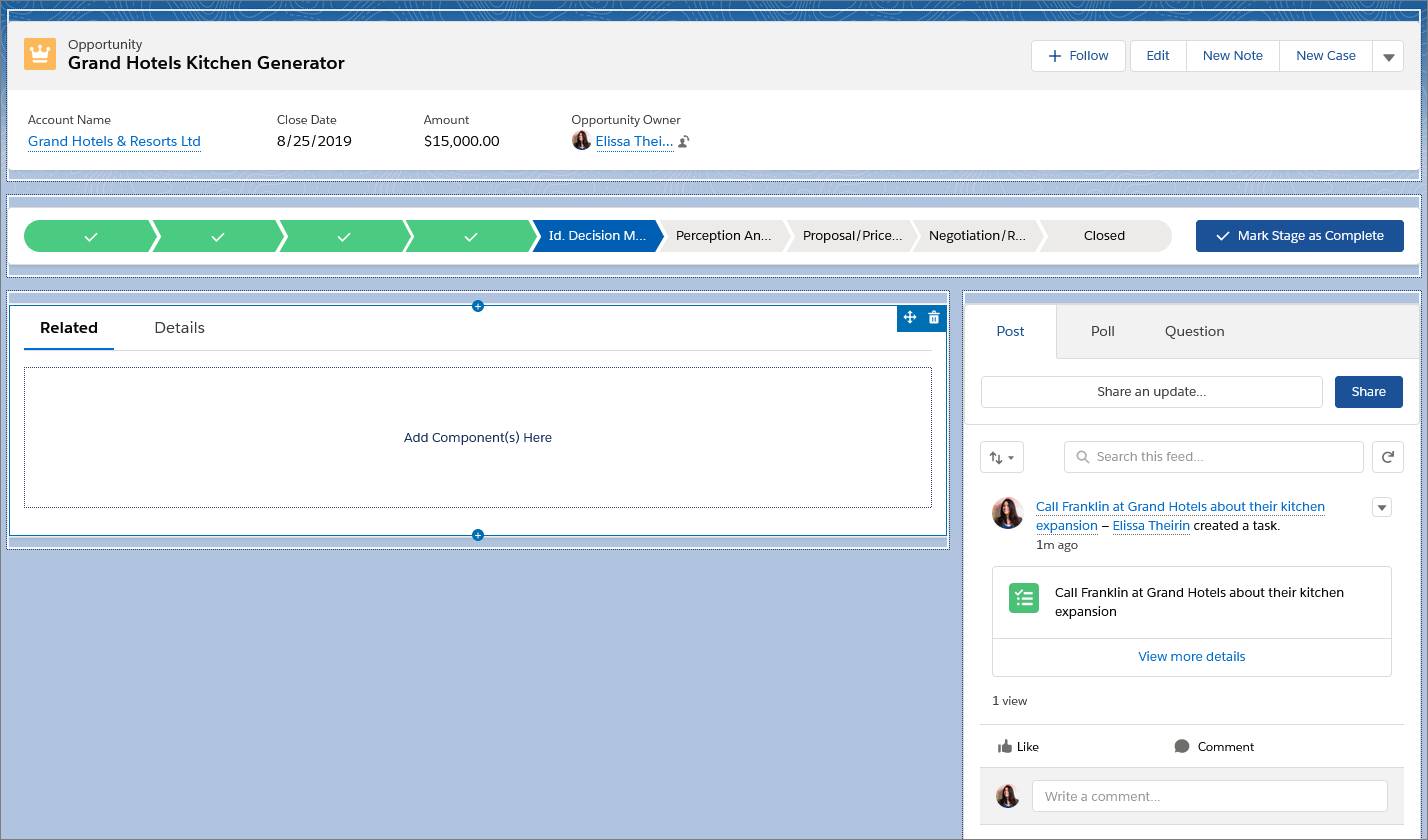
- Choose the Header, Subheader, Right Sidebar template, and click Done.
In the components pane, you see all the standard components available for opportunity record pages and any custom components that you’ve installed in your org.
- From the settings menu
 , select Always show icons.
The icons that appear in the palette show what form factors each component supports. For example, if you add the Chatter Feed component to your page, it displays when you view the page on both a desktop and in the Salesforce mobile app. The same isn't true for Chatter Publisher, which is supported on desktop only. You see this behavior in action when you test your finished page later in this module.
- Drag the Highlights Panel component into the top region of the page. You can click See How It Works in the component properties pane to find out where the highlights panel content comes from.
- Add the Path component to the region under the highlights panel.
- Add a Chatter component to the lower right region.
- Add a Tabs component to the lower left region.

The Tabs component comes with some default tabs already in place. Add more.
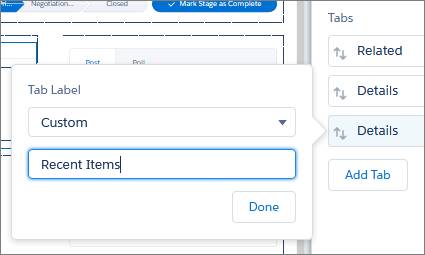
- In the Tabs component details pane, click Add Tab.
By default, another Details tab is added. But because you already have one—change this new one to something else.
- Click the second Details tab.
- From the Tab Label dropdown menu, select Custom, and give the tab a new label:
Recent Items.
You might have to scroll up in the Tab Label list to find Custom at the top.

- Click Done.
- Create an Activity tab.
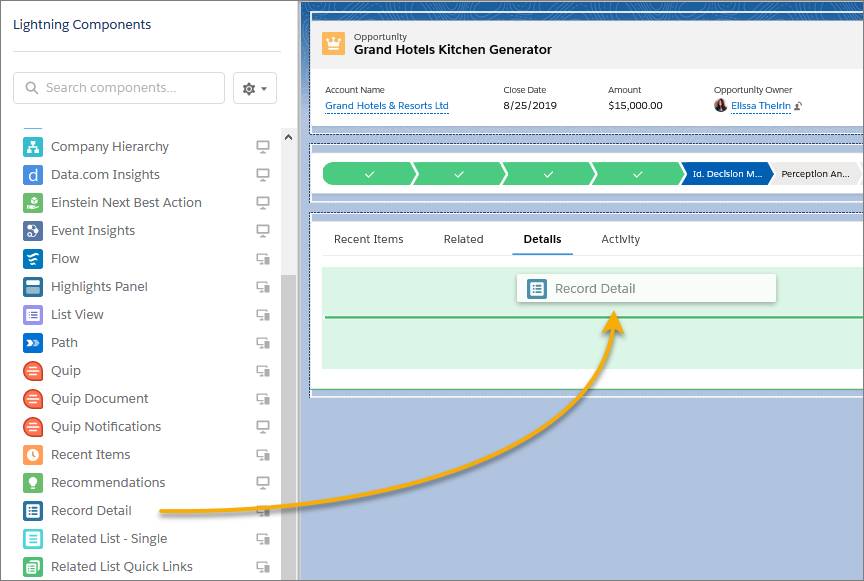
- Select the Details tab on the canvas.
- Drag a Record Detail component right under the Details tab, into the green highlighted area.

- Add a Related Lists component to the Related tab, an Activities component to the Activity tab, and the Recent Items component to the Recent Items tab.
- Select the tabs component on the canvas, and in the properties pane, change the order of the tabs to: Details, Activity, Recent Items, then Related.
You can’t drag the tabs inside the component to move them around. You can only adjust them in the properties pane.
- Click Save, then Activate.
Roll Out Your Custom Record Page to Your Users
It’s time to spread the awesomeness and activate the page.

You have four options for activation.
- Make the page the org default for the object.
- Make the page the default object record page for specific Lightning apps.
- Assign the page to a combination of Lightning apps, record types, and profiles.
- Assign the page to a form factor, such as a desktop or phone.
Note the last bullet in the list. Not only can you create a page that is customized for the needs of your users, but you can go a step further and customize a page based on how your users access it. You can create uniquely customized record pages that only your mobile users see, containing only what they need while on the road or in the field. At the same time, desktop-only record pages can serve the needs of your users while they’re working on their PCs or laptops.
Next assign this page to a specific app, record type, and profile and make sure it’s assigned to both the desktop and phone form factors, so you can view it in both places.
- Click the App, Record Type, and Profile tab.
- Click Assign to Apps, Record Types, and Profiles.
- Step through the assignment wizard and assign the page to the Sales app, the Desktop and phone form factor, the Master record type, and the System Administrator profile.
- Review the page assignments.
The New Page column is populated with the name of the page we’re activating: New Opportunity Page.
- Click Save.
Your customized record page is now live. But before you go check it out, you can make it even better.
Resources
- Salesforce Help: Create and Configure Lightning Experience Record Pages
- Salesforce Help: Add and Customize Tabs on Lightning Pages Using the Lightning App Builder
- Salesforce Help: Activate Lightning Experience Record Pages
- Salesforce Help: Lightning App Builder Considerations
