Work with Leads and Opportunities
Learning Objectives
After completing this unit, you'll be able to:
- Use the Lead Workspace to action your leads and move them toward conversion.
- Use the Opportunity Workspace to do more in context, with less clicks.
- Gain at-a-glance effective sales strategy insights with accounts and contacts.
Gain Sales Management Insights Using Salesforce
Salesforce comes with a set of powerful tools to support your sales management strategy, optimized to help you do more in less time and with fewer clicks.
Need to quickly log a call you made to a prospect? There’s a handy composer for that. Want to gather insight fast before you make a call to a top account? Account insights have you covered. Need an easy way to visualize your deals in flight? Check out dashboards, or spin up a quick chart right from a list view you create.
No matter your need, you’ve got options.
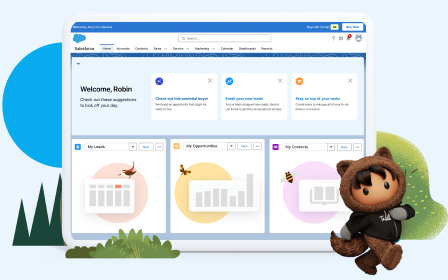
In the previous unit, we helped you get your day started fast with Home. Now we’re ready to work on closing some business. Let’s continue our tour, starting with lead management.
Work Your Leads
As a reminder, leads are your prospects who’ve expressed interest in your product but you haven’t yet qualified to buy. In Salesforce, your goal with leads is to drive conversion, the moment when a prospect becomes qualified to buy. Converting a lead creates a contact, along with an account and opportunity. But first you have to qualify that lead!
The Leads Workspace is a powerful interface that emphasizes the actions you need to take to drive conversion. Front and center is Sales Path, which can be customized for your sales process to include your statuses and contextual guidance at each step. For example, if you’re at the Open – Not Contacted status, you might want guidance on what channels to try to reach your lead, or suggestions for how to leave a great voicemail. If you’re at the Working – Contacted stage, you might find it useful to have a set of qualification questions, sourced by your top sales rep teammates.

There’s also a handy composer for making easy updates, like logging a call, setting up a meeting, or creating a follow-up task.

The collaborate tab allows you to collaborate with colleagues in the context of this particular record. For example, you might know someone who worked with this lead at a previous company. You could mention them in a post and ask if they have any insights and sales strategies to share to help you convert your lead.

If you don’t see all the fields you want to see, click the details tab for a complete view.

In addition to driving action, you can see important details highlighted at the top of the page, an activity timeline with next steps, and a history of actions taken, and X (Twitter) integration to stay on top of the latest social insights. As you remember, we had a lead we were working to convert that had an overdue follow-up task. We can see that task here on the page.

So let’s take care of this and see if we can get this lead converted. After reviewing our
lead in detail, we call our lead and find out that they are in fact qualified to buy. We update our task to complete, and now we’re ready to convert. In the upper right corner of the workspace, we click Convert, and create our account and opportunity.

Once we’re done, we get confirmation. Nice job!

Now we have a contact with an associated account and opportunity, all created automatically as part of the conversion process. You’re probably anxious to go right to the opportunity and start working on it, but let’s check out the contact and account first.
Reference Contacts and Accounts
As a reminder, accounts are companies, entities, or organizations you do business with. And contacts are the people who work for (or are associated with) them. When you’re working with accounts and contacts in Salesforce, we want you to be able to find information fast, so we’ve designed a page with quick reference and at-a-glance insights in mind.
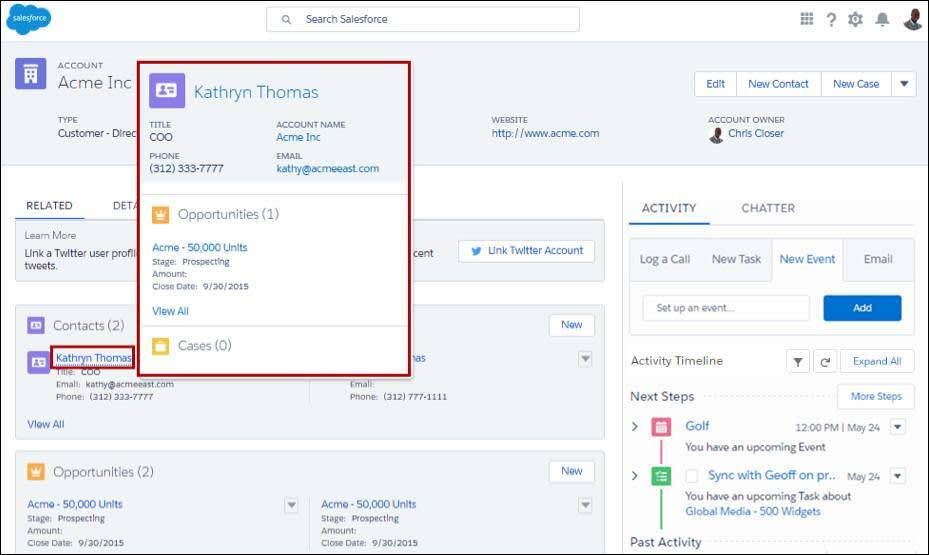
Let’s take a look. Here’s our contact that we just converted from our lead. One of the first things you’ll notice is this page looks different from the lead. The emphasis here is on opportunities, cases, and notes that are related to the contact, and when you link your X (formerly Twitter) account, there’s also social integration. Plus, there’s a composer for making updates, placed on the right side of the page, along with a tab for collaboration.

Like the lead, there is a set of fields highlighted right at the top of the record. One of those is our account that was created at the time we converted our lead. If we hover over it, we can see details at a glance, and drill in with a single click.

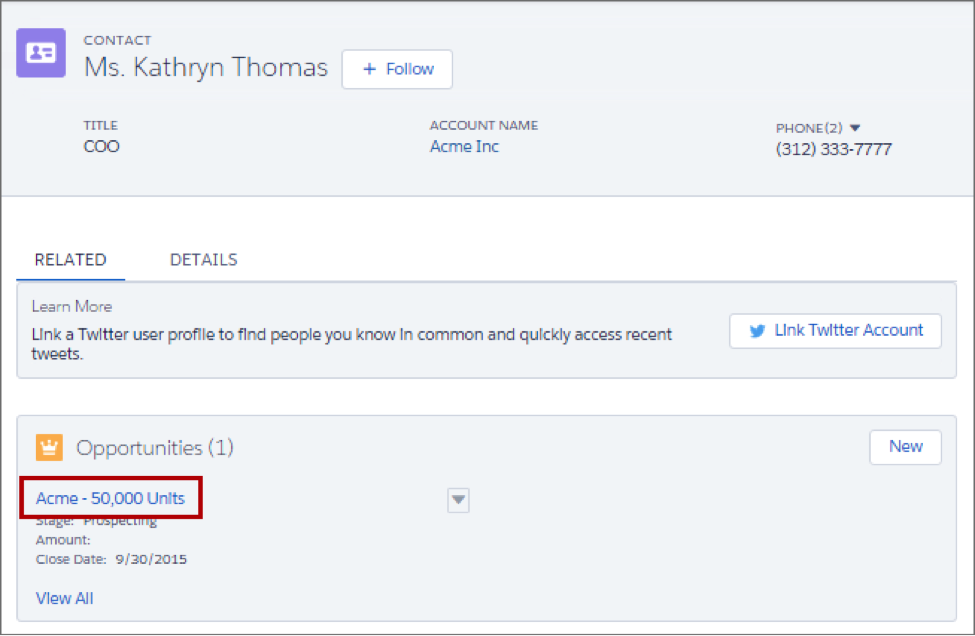
Let’s click through. Now we’re looking at the account. The layout is similar to the contact, except we also see a list of all the contacts associated with this account displayed. There’s the contact we were just viewing, and hovering over the link also allows us to see details at a glance.
Want to go back to the contact? Just click the link and you’re back. You can navigate this way through all pages in Salesforce, by clicking on links for each record. Let’s try it out one more time by clicking on our opportunity, so that we can check out the Opportunity Workspace.
Work Your Opportunities
Welcome! You’ve now arrived at the place you’ll be spending most of your time in Salesforce. This is where the magic happens, where you take your converted leads and close those deals. Let’s do this.
See what’s front and center again? It’s Path, but optimized for your opportunity stages. There are sometimes more stages with opportunities than statuses for leads, so having guidance in context is especially important.

Since we’re talking about coaching in Path, here are some examples helpful for coaching at stages in the sales process.
Stage |
Sample Guidance |
|---|---|
Needs Analysis |
Suggestions for open-ended questions to ask to gather requirements |
Id. Decision Makers |
Guidance on how to find the right contacts at an account |
Proposal/Price Quote |
Get help with overcoming price objections |
Negotiation/Review |
Tips on competitive information |

Like leads, you’ll also find a composer for creating follow-up tasks and setting up meeting invites, plus tabs for collaboration and a detailed view of all fields on the record.

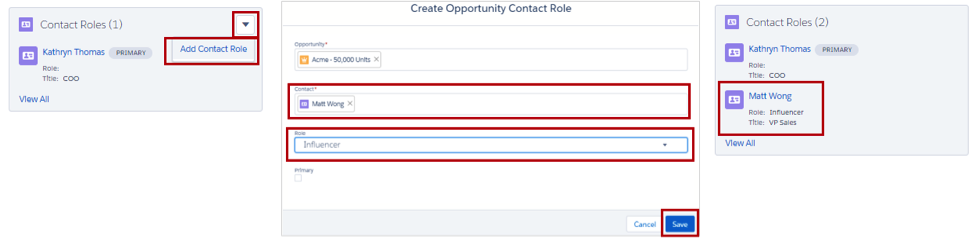
You’ll also find an easy way to add a contact and assign a contact role, all without ever leaving the workspace.
Now that you’re familiar with the layout, let’s get to work. When we were on Home, we saw one of our biggest opportunities didn’t have a follow-up task created. So let’s take care of that right now by adding a task using the composer. Click Home.
And from the Assistant, click the opportunity.

Under Past Activity, we see that our last call to the customer was yesterday, and contracts are in hand.

So let’s make a task to follow up tomorrow, just to see how things are going.

Now we have our task created and we are confident we can close this out tomorrow. But we should take a step back and look at all of our opportunities in the sales pipeline to make sure we haven’t missed anything else. To do this, we’ll visit the opportunity object home page, by clicking on Opportunities.
Then we’ll select a list view, such as My Opportunities, and select the Kanban view.

Now we’re ready to use the Kanban view.
Use the Kanban View
The Kanban view organizes a set of records into columns to track your work at a glance. To update a record’s status, drag it into a different column. You can configure the board by selecting what fields columns and summaries are based on. And, get personalized alerts on key opportunities in flight.
- Visualize your work at each stage or status.
- Move records between columns using drag and drop functionality.
- Configure columns and summary fields on the fly.
- Edit or delete records to keep them up to date.
- Quickly create filters to slice your data how you want.
- For opportunities, get alerts to notify you when action is needed on a key deal.

- The records in the Kanban view are based on the selected list view.
- Easily toggle between the list view grid view and the Kanban view.
- Filter your records to view a particular subset of your records.
- Search for records within the current view.
- Select which record type to view.
- Columns are created based on the grouping field.
- Change how columns are organized and summarized using Kanban settings.
- Quickly move a record to a different column by dragging the card.
- For opportunities, alerts tell how to keep a deal on track, for example, create a task or event.
Opportunity Alerts and the Kanban View
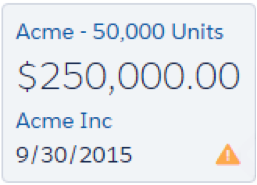
Let’s look at how the Kanban view helps you keep your deals moving forward with opportunity alerts. Alerts are only available for opportunities. Alerts on cards in the opportunity Kanban view draw your attention to deals requiring your attention, like opportunities without an associated activity.
Speaking of which, here’s our opportunity that we just converted, and we’ve got an alert showing because we didn’t yet make an activity!
We can solve that with a few clicks without ever leaving the page, by hovering over the alert and clicking on New Task.
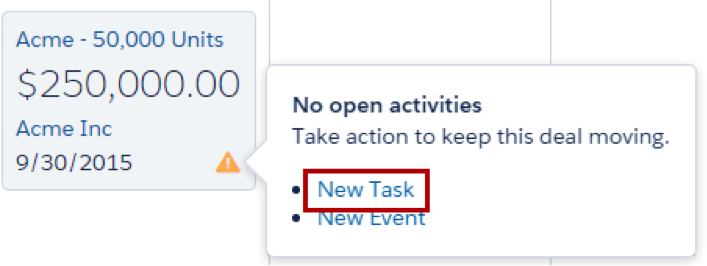
Now we can create a task to set up a lunch meeting.

As you can see, we never had to leave the Kanban board, and once we’re done, the alert disappears!

Now you’ve learned how Salesforce supports your sales strategy and process with powerful tools and features. In the next unit, we’ll finish up our tour by exploring ways beyond the Kanban board to work with your records at the aggregate level.