Create Fields and Connect Them with Advanced Mapping
Understand the Staging Object
In this step, you create a field and use Advanced Mapping to make it available for Gift Entry. But, first, take a moment to review the NPSP Data Import object.
NPSP Data Import records hold information before it is imported to permanent homes in target object records such as contacts, accounts, and opportunities. Your data is safely stored in Salesforce, and your target records are safe from being changed until you’re sure the data is correct.
The NPSP Data Import object is already configured to include most of the common fields on contact, account, opportunity, and other object records.
To make this process work with a new field, though, you need to:
- Create the field on the target object.
- Create the field on the NPSP Data Import staging object.
- Use Advanced Mapping to connect the fields.
In this project, you add a Source Code field to track information about a direct mail piece. You may use source codes on your appeals already.
Create a Field on the Target Object
Start by creating the Source Code field on the Opportunity object where this information will ultimately be stored.
- In Salesforce Setup, click Object Manager.
- Find and select Opportunity. It’s fastest to enter
opportunityin the Quick Find field to filter the list.
- Select Fields & Relationships.
- Click New.
- Select Text as the data type, then click Next.
- Specify these details about the field
- Field Label:
Source Code - Length:
13 - Field Name:
Source_Code(This populates automatically.)
- Click Next.
- Click Next.
- On the Add to page layouts step, deselect all layouts and then select only Donation Layout.
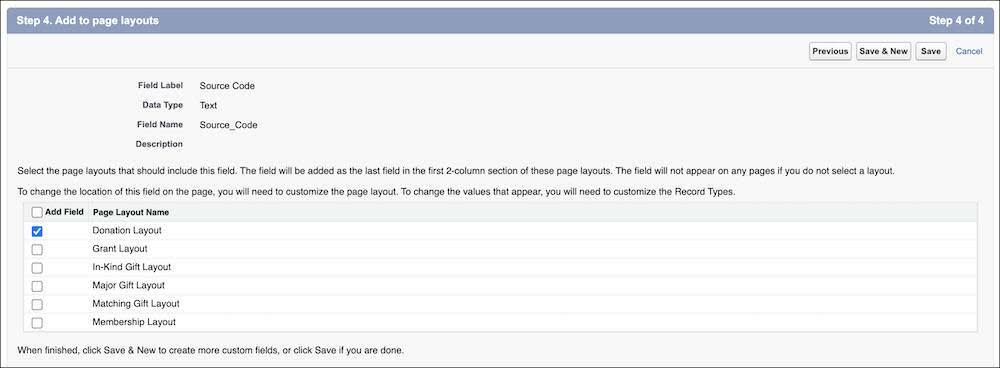
- Save your work.
Create Staging Fields on the NPSP Data Import Object
Now create the companion field on the NPSP Data Import Object. Remember, the data entered in Gift Entry is stored here before it is sent to opportunity records. It must match the target field in field type and length.
- In Setup, click Object Manager.
- Find and select NPSP Data Import. Filter the list using the Quick Find field.

- Select Fields & Relationships.
- Click New.
- Select Text as the data type, then click Next.
- Specify these details about the field
- Field Label:
Opportunity Source Code - Length:
13 - Field Name:
Opportunity_Source_Code(This populates automatically.)
- Click Next.
- Click Next.
- Save your work.
Connect Staging and Target Fields
At this point, your fields exist on your target object (Opportunity) and your staging object (NPSP Data Import). Now you can connect them using Advanced Mapping.
- From the App Launcher (
 ), find and select NPSP Settings.
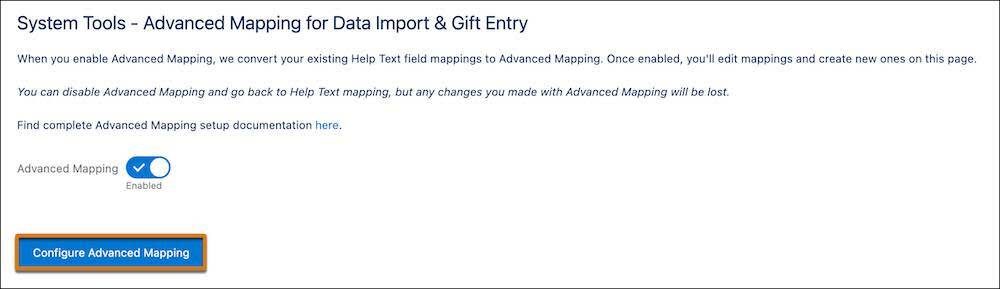
- Select System Tools in the menu, then select Advanced Mapping for Data Import & Gift Entry.
- Click Configure Advanced Mapping. It may take a minute to load.
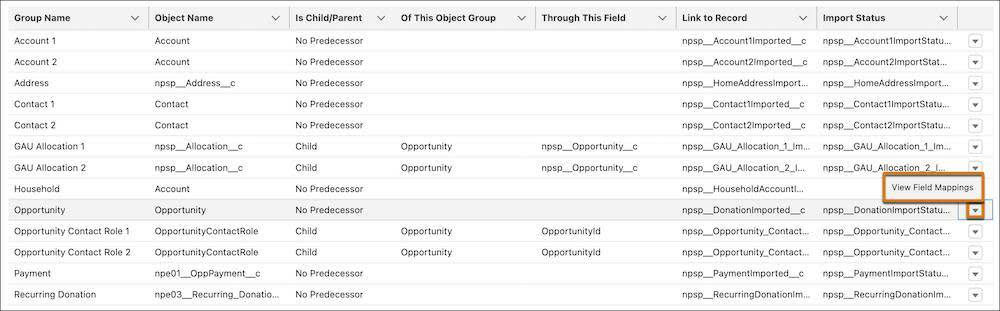
- Click
 in the Opportunity row of the table.
- Select View Field Mappings.
- Click Create New Field Mapping.
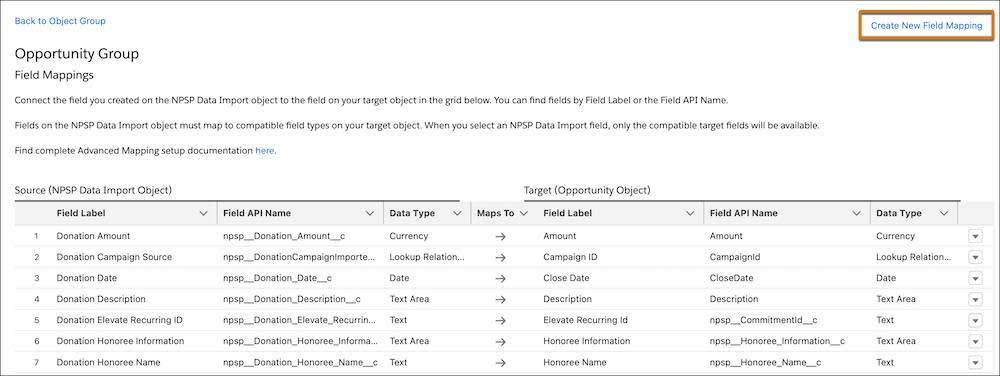
- Select Opportunity Source Code (Opportunity_Source_Code__c) in the Field Label field for the Source (NPSP Data Import Object).
- Select Source Code (Source_Code__c) in the Field Label field for the Target (Opportunity Object).

- Save your work.
When you receive the success message on screen, you know your fields are mapped. Now it’s time to bring these new fields to Gift Entry—but first, click Verify to check your work before you move on.
Resources
- Salesforce Help: Customize Advanced Mapping
- Trailhead: Import Data with Nonprofit Success Pack (NPSP)