Set Up and Connect Postman
Sign Up for Postman and Create a Workspace
Postman has two options for working with its app: desktop and web. You use the web browser app for this project.
-
Sign in to your Postman account or sign up for an account.
- Select the Workspaces menu.
- Select Create Workspace.
- Click Next.
- Name your workspace
SalesforceCollection.
- For Select workspace type, select Internal.
- Click Create.
Fork the Salesforce Collection
- Open the public Salesforce Developers workspace to create a fork of the Salesforce APIs collection.
- In Collections, select Salesforce Platform APIs to expand it.
- Click
 to create a fork of the collection.
- For Fork Label, enter
MySalesforceAPIFork.
- Keep SalesforceCollection as the Workspace.
- Click Fork Collection.
You now have the collection ready in Postman. Let's use the collection to authorize your org and test it.
Verify the clientId Variable
When a collection is forked, Postman may overwrite some variables if they are deemed sensitive. You need to check and verify that the proper clientId variable got forked, and if not, update it in your forked collection.
- In your new Postman collection, click the Variables tab.
- Look at the Value for clientId.
- Verify that the value is set to
3MVG98_Psg5cppyYCmk1gZNC25o00SXpgpodlS29IZ6pXiHkt3xuPa5qIjBTtEgdsiMuIWVN_8F0jnwEtbDh4.
- If not, update it.
Authorize Your Org
You need to authenticate with Salesforce to access the APIs. Authentication grants you an access token that's valid for a certain duration. Repeat this process whenever your access token expires.
- Be sure you're logged in to only one Trailhead Playground in your browser.
- In Postman, under Collections, Salesforce Platform APIs should be selected.
- Be sure No Environment is selected.
- The Authorization tab should be open.
- Auth Type should be OAuth 2.0.
- Click Get New Access Token.
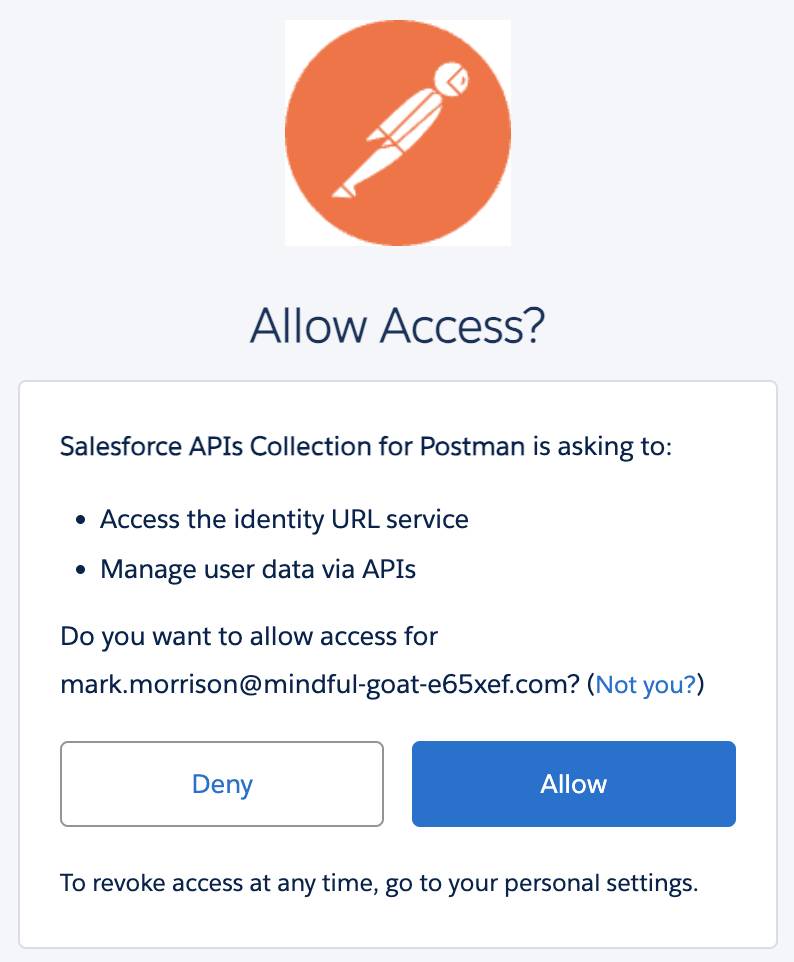
- Click Allow to let the “Salesforce Platform APIs Collection for Postman” access your Trailhead Playground.

- A success message appears briefly, and then you're redirected to the Manage Access Tokens dialog.

- Verify that the instance_url points to your Trailhead Playground.
- Copy the instance_url to use in step 12. Be sure to copy only the URL with no extra characters.
- Click Use Token.
- Open the Variables tab.
- In the _endpoint row, VALUE column, paste the instance_url value that you copied in step 9.
A Quick Connection Test
Let's verify that the connection is working.
- In Collections, select Salesforce Platform APIs to expand it.
- Select REST to expand it.
- Select GET Limits.
Limits opens in the main panel.
- Click Send.

- Verify that the status is 200 OK.
In Settings, you may need to turn Follow Authorization header configuration ON to retain authorization header when a redirect happens to a different hostname.

You've successfully authenticated with Salesforce. Now you can use other requests in the collection.
Post an Account
You just pulled some data from the org. Let's try adding some new data to the org.
- Under REST, select SObject, and then select POST SObject Create.
- Open the Params tab.
- Under Path Variables, in the SOBJECT_API_NAME row, VALUE column, enter
Account.
- Open the Body tab.
- Replace the body text with this code:
{ "Name": "Postman", "BillingState": "CA" } - Click Save.
- Click Send.
Postman returns the id for the new account.

- Verify that the status is 201 Created.
- Open the authorized Playground.
- From the App Launcher (
 ), find and open Accounts.
- Verify that the new account is now there.
Excellent! You've set up Postman to interact with your org. The Salesforce APIs for Postman collection that you loaded will aid you in your quest to discover the Salesforce APIs.
Resources
- GitHub: Salesforce APIs for Postman
- GitHub: Installing with the Postman Web UI
- YouTube: Use the Salesforce APIs Collection with the Postman Web UI | Developer Quick Takes
- Salesforce Help: Which API Do I Use?
- Trailhead: Postman API Client
