Migrate a Workflow Rule
Migrate a Workflow Rule to a Flow
Now that you have the package installed in your Trailhead playground, we can start migrating. We'll tackle a workflow rule first.
- From Setup enter migrate in the Quick Find box, and then select Migrate to Flow.
- If you see a Migrate to Flow with Ease introductory screen, close it to advance to the list of workflow rules and processes.

- Select the Opportunity Won over 5000 workflow rule.
- Click Migrate to Flow.
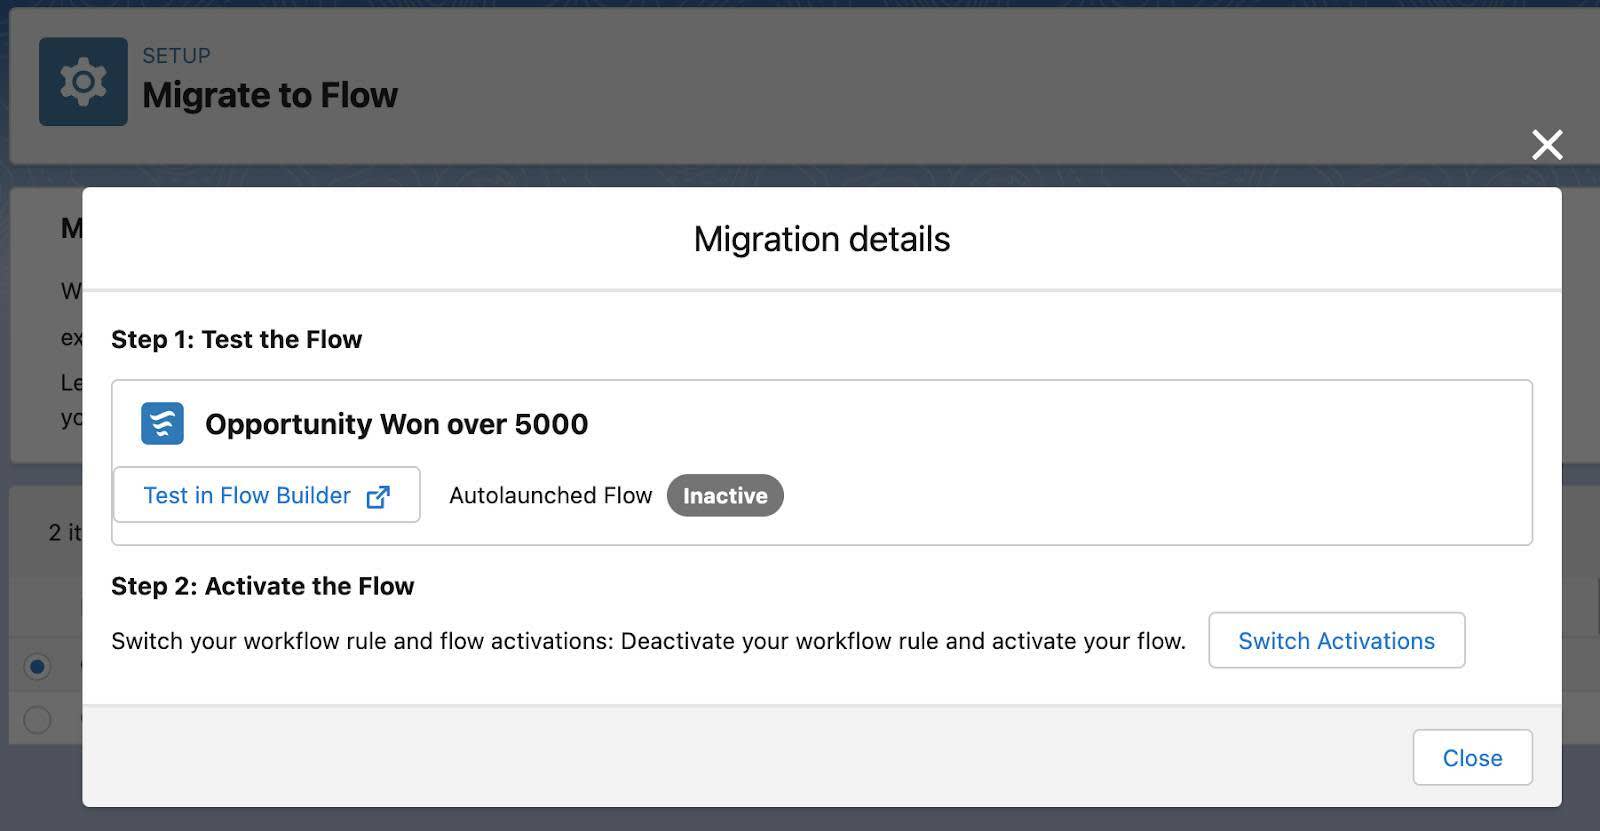
The Migration details window displays the new flow and buttons to Test in Flow Builder and Switch Activations, which deactivates the workflow rule and activates the flow.

- Deactivate the workflow rule and activate the flow by clicking Switch Activations.
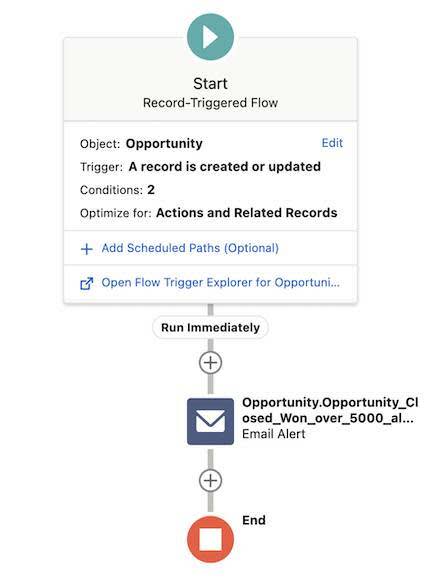
- Click View in Flow Builder. Your new flow opens showing the flow canvas.

Congratulations!! You just migrated a workflow rule to a flow.
Next we migrate a process. On to the next step!