Designate a Partner Account and User
Enable a Partner Account
Ursa Major Solar’s partner site needs partners. Once you designate an account as a partner account, it can be linked to the partner site.
- Click Administration in the upper left corner and click Salesforce Setup from the menu selector.
- Click the App Launcher
 and select Sales.
- Click the Accounts tab.
- Click the down arrow next to Recently Viewed accounts, then select All Accounts from the list view.
- Click sForce.
- Click the down arrow next to the action buttons.

- Select Enable As Partner.
- Click Enable As Partner from the popup.
Create a Partner User
Next, add a new partner user to the newly enabled partner account.
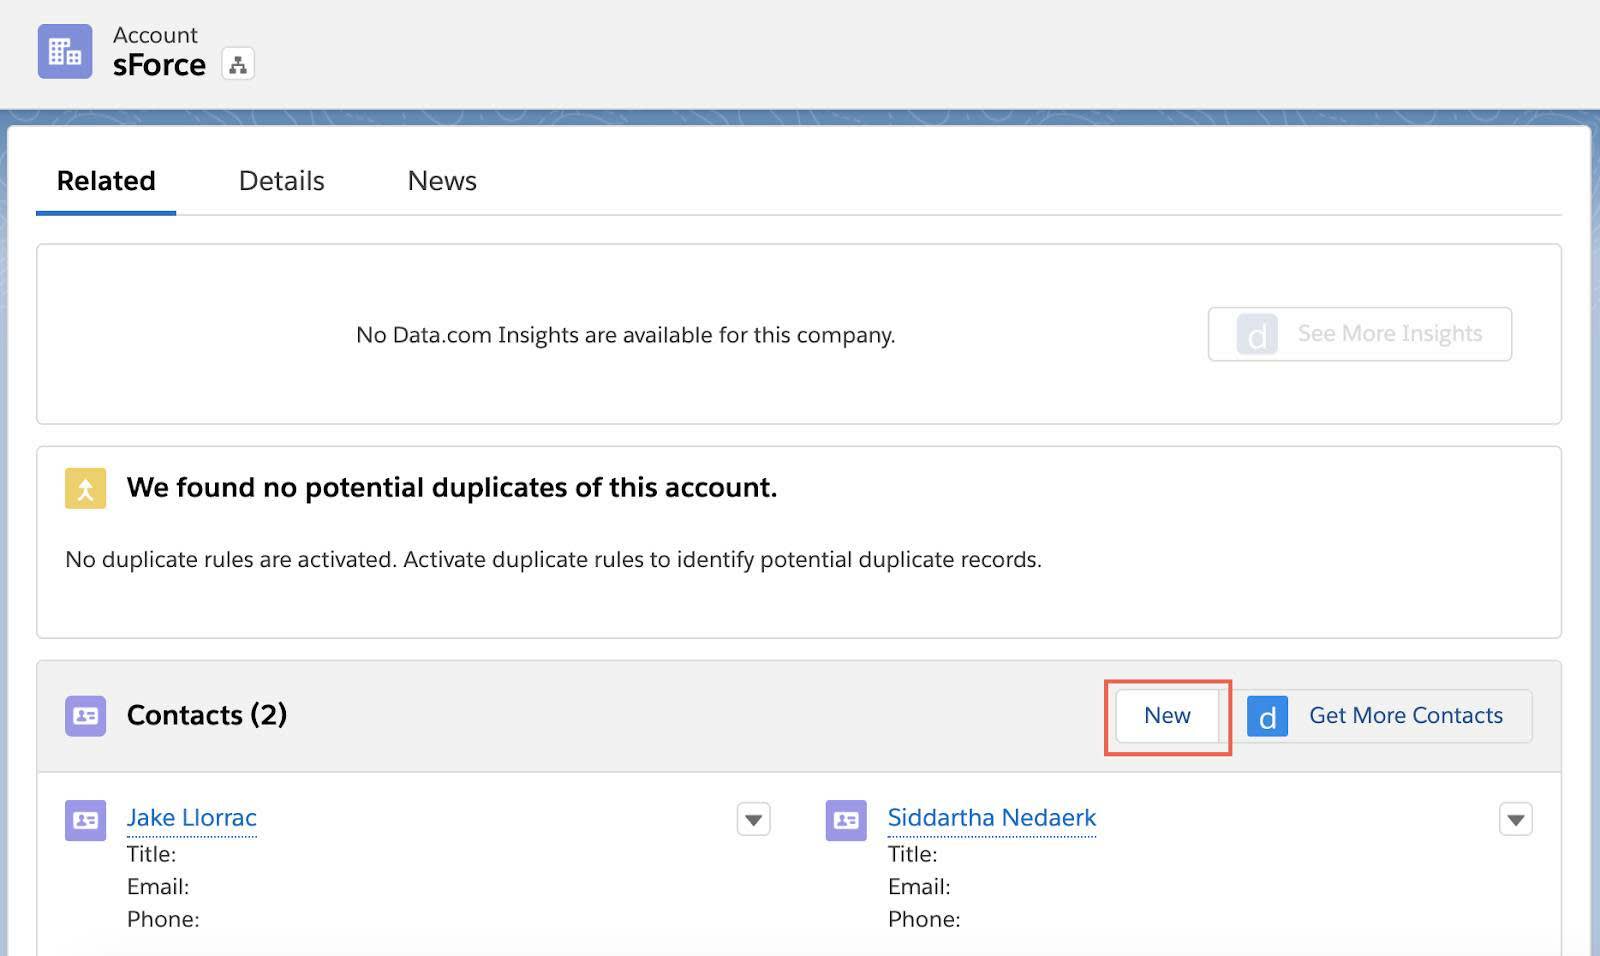
- From the sForce account, click New in the Contacts section.
- Enter the contact name:
- First Name:
Kate - Last Name:
Johnson
- Click Save.
- Click Kate Johnson in the Contacts section of the sForce Account page.
- On Kate Johnson’s contact page, click the down arrow next to the actions buttons.

- Select Enable Partner User.
Note: New User Setup opens.
- From the New User Setup, fill in these details:
Email
(enter your email address)
Username
Delete the auto-populated data. Replace with user's first initial + last name @ your initials + your favorite color + .com
For example: kjohnson@SApurple.com
Note: Each username must be unique within Salesforce. If you receive an error, choose a different color and follow the naming formula.Nickname
Delete the auto-populated data and replace with
kjohn.User License
change to Partner Community
Profile
change to Partner User
- Click Save.
- Click OK from the popup to confirm that the welcome email will be sent to this new user.
Note: The welcome email won’t be sent until you activate the site later in this project.
Assign the User to the Permission Set
The user and the permission set have been created. Time to join the two.
- From Service Setup, enter
Permissionin the Quick Find box and select Permission Sets.
- Click Partner Site Permission Set.
- Click Manage Assignments.
- Click Add Assignments.
- Click the box (add a check) next to Kate Johnson.
- Click Next.
- Ensure No expiration date is selected.
- Click Assign and then Done. Note: The welcome email won’t be sent until you activate the site later in this project.
Much like the early morning sun, this partner site is starting to shine. You just designated a partner account and created a partner user with a partner profile. In the next step, you customize the look and layout of the site.