Create a Travel Approval Lightning App
Learning Objectives
In this project, you’ll:
- Build a Lightning app, add tabs, and customize page layouts.
- Create custom objects and fields for the app.
- Define relationships between objects.
- Import data and test the app.
Introduction
Your organization has decided to implement a custom travel approval app. Up until now, you had a travel approval process in place based on emailing spreadsheets. It had no central repository or enforcement of the process, resulting in the inability to report on travel approval activities across the organization. You need to create an application that meets these requirements:
- Each employee must submit an electronic request in the system for future travel.
- Each request includes a list of estimated expenses for airfare, hotel, rental car, and so on.
- Each request must be approved by the employee’s manager, and all out-of-state travel must be approved by a travel coordinator.
- Managers need reports and dashboards to track key travel request trends and KPIs.
- In addition, employees and managers must be able to access their travel requests, approvals, and dashboards via mobile device.
By the end of the project, you’ll have a working prototype of the new travel approval application. You start by creating a travel approval app that provides a view of your specific travel-related objects, which you create in the next steps. Remember that a Salesforce app is a grouping of tabs that give you access to corresponding object data.
Before You Begin
Download and Expand/Unzip the Workshop Lab Files, which you use later in the project, via this link: https://developer.salesforce.com/files/content/learn/projects/add-reports-and-dashboards-to-a-travel-approval-app/2022-12-22-TravelAppWorkshopFiles.zip. Unzip or expand the files after downloading so you can access the individual files during the project.
Create a New Trailhead Playground
For this project, you need to create a new Trailhead Playground. Scroll to the bottom of this page, click the playground name, then click Create Playground. It typically takes 3–4 minutes to create a new Trailhead Playground.
Note: Yes, we really mean a brand-new Trailhead playground! If you use an existing org or playground, you can run into problems completing the challenges.
Open your new Trailhead Playground by clicking Launch at the bottom of this page. Your playground opens in a new browser tab or window. Keep the playground window open while you do this project. After you complete the project steps in your playground, come back to this window and click Verify step at the bottom of this page.
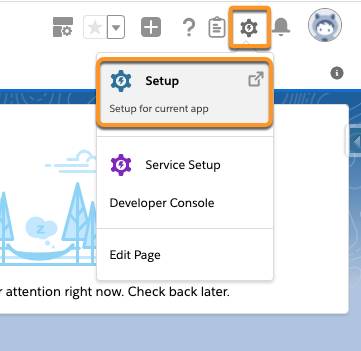
- In your Trailhead Playground, click
 and then select Setup.
- In the Quick Find box, enter
App Managerand select App Manager. - Click New Lightning App.

- In the App Details & Branding window, enter these details.
- For App Name, enter
Travel
App
. - For the Image, click Upload and select travel.png from the files you downloaded above.
- For App Name, enter
- Click Next.
- On the App Options screen, select Standard navigation and click Next.
- On the Utility Items screen, click Next
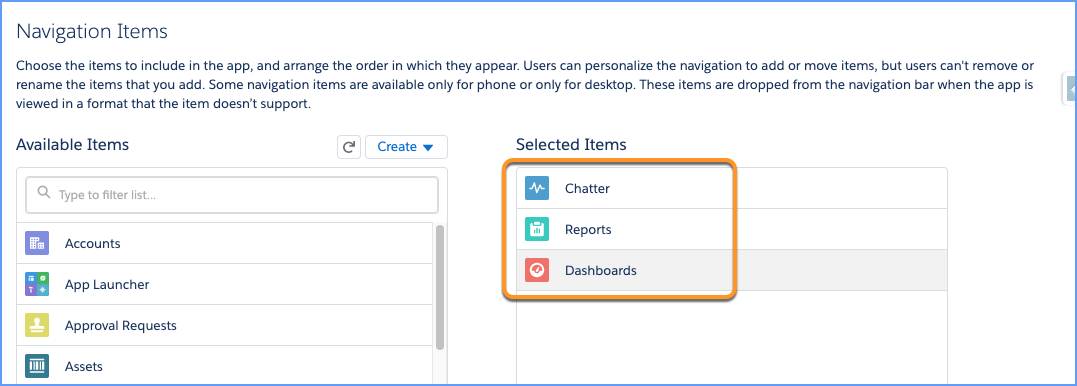
- On the Navigation Items screen, select Chatter, Reports, and Dashboards from the Available Items list, and move them to the Selected Items list using the arrow. Then click Next.

- On the User Profiles screen, select System Administrator and add it to Selected Profiles, then click Save & Finish.
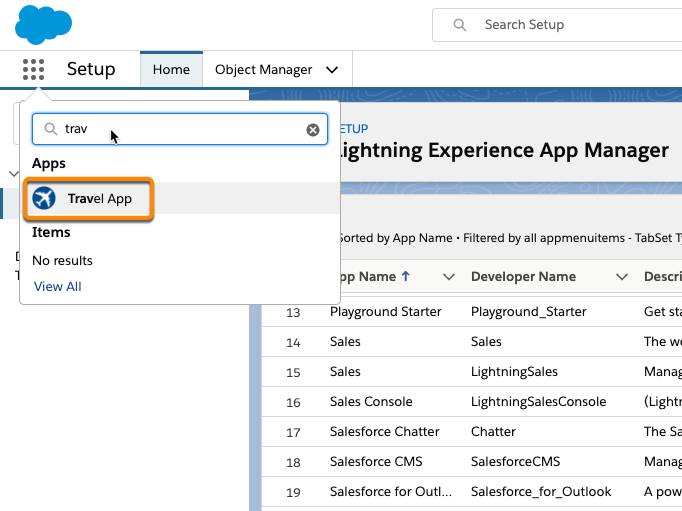
Now navigate to your new Travel App application to see what it looks like so far.
Click  , then search for and select Travel App.

At this point, your window should have three tabs that you defined earlier: Chatter, Reports, and Dashboards.
Now that you’ve created the travel app, and added three tabs to the app, you’re ready to create the data model. In the next steps, you create the Department, Travel Approval, and Expense Items objects.