Add Data for Accounts, Contacts, and Locations
Learning Objectives
After completing this unit, you’ll be able to:
- Explain how Life Sciences Cloud helps sales reps in the MedTech industry.
- Sign up for a Developer Edition org with Life Sciences Cloud.
- Create accounts, contacts, and locations.
Why Life Sciences Cloud?
The role of a sales representative in the MedTech industry has gone through several changes, but the challenges that sales reps face have remained unchanged. Staying competitive, gaining the trust of clients, managing visits to hospitals, and getting through decision makers continue to be tough even today.
That's where Life Sciences Cloud steps in. Life Sciences Cloud helps sales reps keep track of product data, inventory, and inventory availability by location. And sales reps get easy access to this information on any device, at any time.
Leroy John is a sales rep at Vance Laboratories, a MedTech company that sells surgical devices to hospitals and clinics. One of its clients is StayHealthy Hospital. Leroy often visits Leanne Marceline, a doctor at StayHealthy Hospital, to sell pacemakers.
When a surgical device from Vance Laboratories is required for a surgery at the hospital, it’s recorded as a surgical case. As a sales rep, Leroy routinely visits hospitals to manage surgical cases.
Here’s how Leroy handles surgical case visits. He knows that a pacemaker surgery is scheduled to take place at StayHealthy Hospital and that the doctor requires a special dual-chamber pacemaker. Leroy ensures that this surgical device is available. If it’s not, he makes sure that orders have been placed so that the product is available on time.
During a surgical case visit, Leroy helps doctors set up the pacemaker, answers their queries about the device, and supports patient registration. He records the consumption of the device from the inventory (by scanning a barcode), captures a billing authorization electronically as needed, and places an order that will drive billing and invoicing.
Leroy’s key challenges include capturing relevant data and ensuring timely product availability for upcoming visits.
Using Life Sciences Cloud’s Intelligent Sales feature, Leroy can increase his productivity onsite and make sure that each visit is successful. He can record and complete all the tasks that need to be done during a visit, capture relevant information, and manage field inventory.
Soumodip Pal, the admin at Vance Laboratories, must add data about clients, locations, products, and inventory so Leroy can use Life Sciences Cloud. In this module, we find out how Soumodip sets up Life Sciences Cloud and then follow along as Leroy uses Life Sciences Cloud to manage surgical case visits and field inventory.
Sign Up for a Developer Edition Org
To complete this module, you need a special Developer Edition org that contains our sample data. Get the free Developer Edition and connect it to Trailhead now so you can complete the challenges in this module.
Even if you’ve recently signed up for a Developer Edition org, sign up for a new one now. Note that this Developer Edition is designed to work with the challenges in this badge, and may not work for other badges. Always check that you’re using the Trailhead Playground or special Developer Edition org that we recommend.
- Sign up for a free Developer Edition org.
- Fill out the form.
- For Email, enter an active email address.
- For Username, enter a username that looks like an email address and is unique. It doesn’t need to be a valid email account (for example, yourname@hc4evah.com is fine).
- After you fill out the form, click Sign me up. A confirmation message appears.
- When you receive the activation email (this might take a few minutes), open it and click Verify Account.
- Complete your registration by setting your password and challenge question.
Tip: Write down your username, password, and login URL for easy access later.
You are logged into your Developer Edition. Now connect your new Developer Edition org to Trailhead.
- Make sure you’re logged in to your Trailhead account.
- In the Challenge section at the bottom of this page, select Connect Org from the picklist.
- On the Login screen, enter the username and password for the Developer Edition org you just set up.
- On the Allow Access? screen, click Allow.
- On the Want to connect this org for hands-on challenges? screen, click Yes! Save it.
- You’re returned to the challenge page, ready to use your new Developer Edition org to earn this badge. To launch the app, go to the app launcher and select Health Cloud - Intelligent Sales.
Getting Ready
Soumodip gets started with setting up Life Sciences Cloud.
He checks to make sure that entries in objects like Location, Product Item, and Product Fulfillment Location have the right attributes.
Here’s the list of objects he must create records for.
- Account
- Contact
- Location
- Product
- Product Item
- Serialized Product
- Product Fulfillment Location
- Action Plan Template
Create Accounts, Contacts, and Locations
Soumodip creates an account for StayHealthy Hospital, the client hospital that Leroy would be visiting.
- From the App Launcher, go to Accounts and click New.
- Select Business.
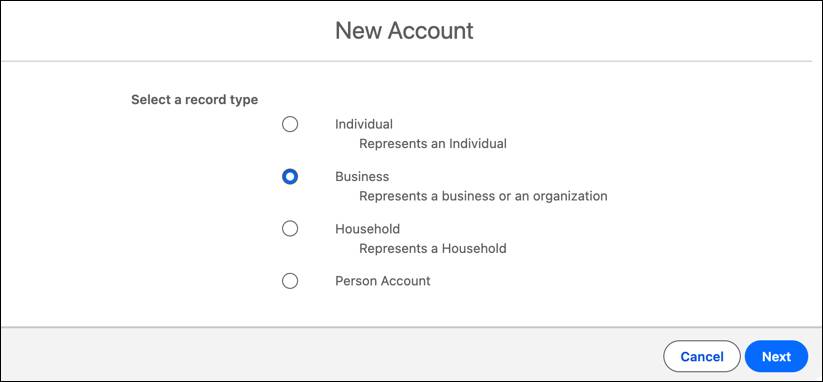
- For Account Name, enter
StayHealthy Hospital.
- Click Save.
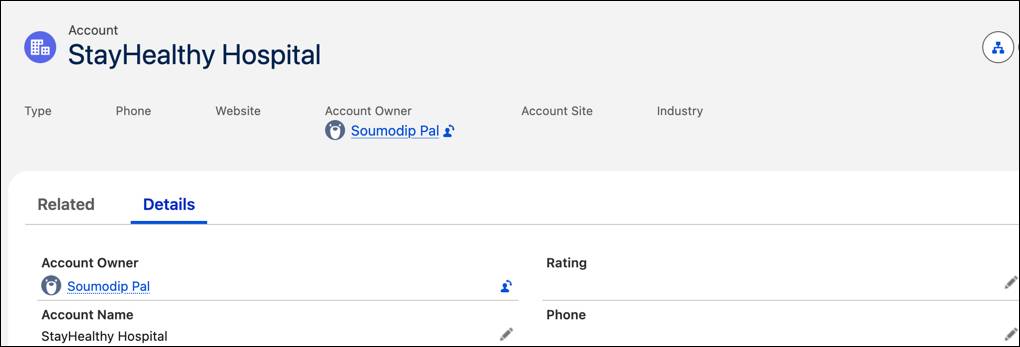
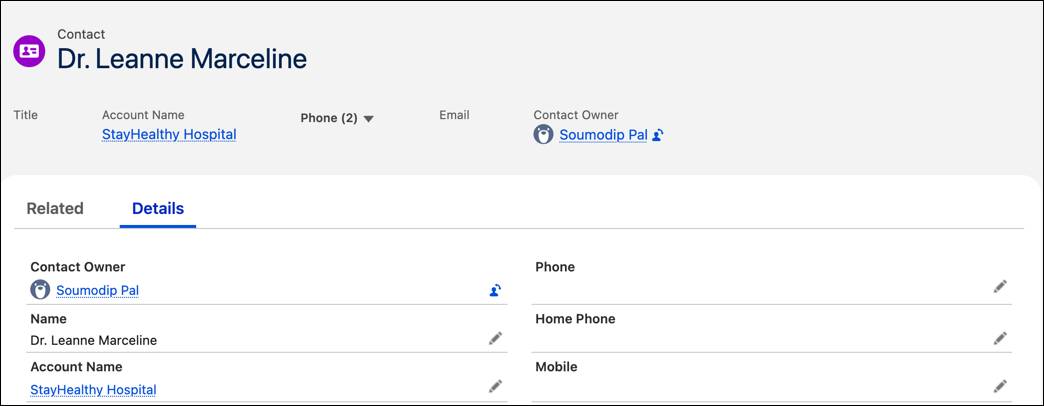
Having created an account for StayHealthy Hospital, Soumodip adds the contact details of the doctor, Leanne Marceline, whom Leroy will be meeting.
- Go to the Related tab of the StayHealthy Hospital account page.
- In the Contacts section, click New.
- Select Business.
- For Salutation, select Dr.
- For First Name, enter
Leanne.
- For Last Name, enter
Marceline.
- Click Save.
Next, Soumodip must add location data for the hospital and inventory. To add location data, he creates two records: inventory location and account location.
The inventory location is the warehouse of Vance Laboratories. The account location is the location of the account that is being serviced by Leroy, StayHealthy Hospital.
Here’s what Soumodip does to add locations.
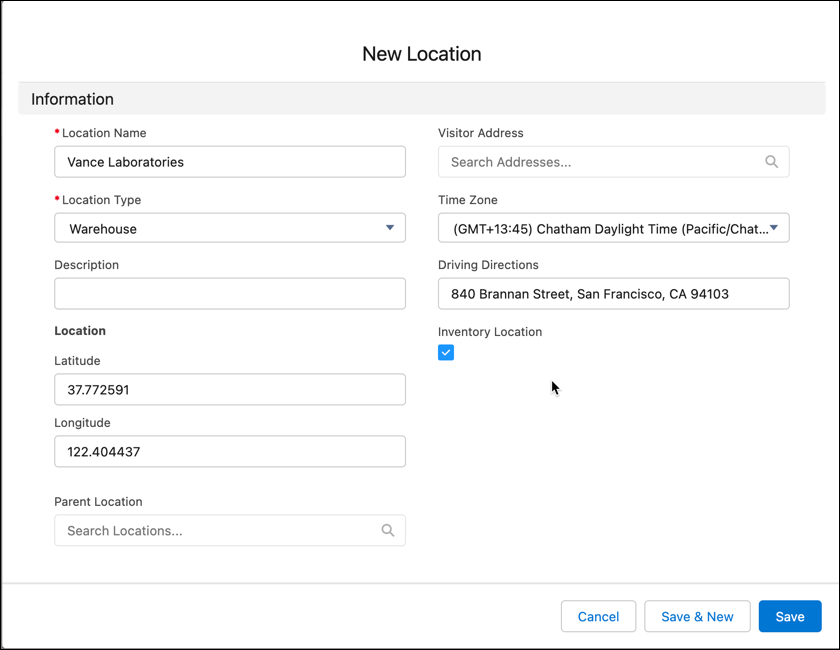
- From the App Launcher, go to Locations and click New.
- For Location Name, enter
Vance Laboratories.
- For Location Type, select Warehouse.
- Select Inventory Location.
- Under Driving Directions, enter
840 Brannan Street, San Francisco, CA 94103.
- Enter
37.772591in the Latitude field.
- Enter
122.404437in the Longitude field.
- For Time Zone, select (GMT+12:45) Chatham Daylight Time (Pacific/Chatham).
- Click Save & New to add an account location.
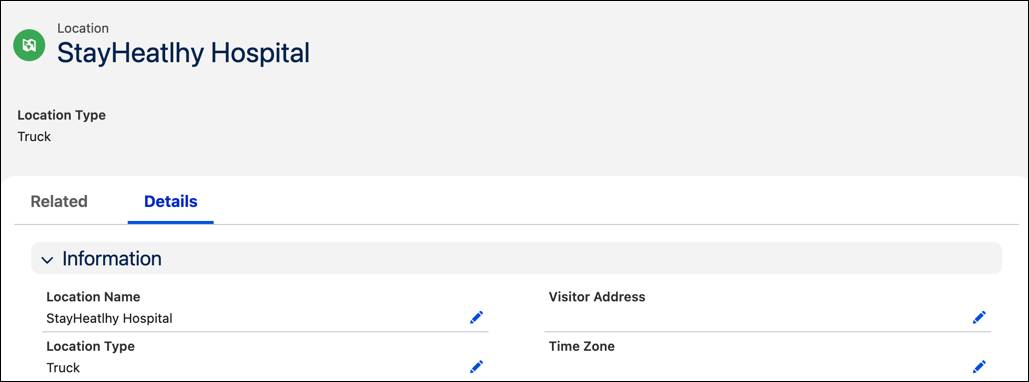
- For Location Name, enter
StayHealthy Hospital.
- For Location Type, select Truck.
- Deselect Inventory Location if it’s selected.
- Click Save.
We’ve set up accounts, contacts, and locations. In the next unit, we’ll set up products and inventories.
Resources
- Salesforce Help: Set Up Your Accounts, Contacts, and Locations
- Trailhead: Life Sciences Cloud for MedTech