Add a Company Logo
What You’ll Do
We outlined the basic structure of the custom theme layout component, huzzah! Now it’s time to make the layout pretty. Let's start at the top of our theme layout component, where we want to place the company logo.
In this step, you’ll:
- Define a tokens bundle to access SLDS tokens and the branding values defined in the Theme panel in Experience Builder.
- Add a CSS resource to your component that uses the brandLogoImage token.
- Upload a logo in the Theme panel.
Define a Tokens Bundle
To enable your Lightning components to access branding tokens, which control things such as the logo and font family, define a tokens bundle in the same namespace.
- In the Developer Console, select File | New | Lightning Tokens.
- Name it defaultTokens and click Submit.
- Add extends="forceCommunity:base" to the code. The complete code looks like this.Code Highlight The tokens bundle extends forceCommunity:base, which gives you access to all the tokens exposed by SLDS and the branding values defined in the Theme panel in Experience Builder.
<aura:tokens extends="forceCommunity:base">
</aura:tokens>
- Save defaultTokens.tokens.
Add a CSS Resource
In Experience Builder, each property in the Theme panel maps to one or more standard design tokens. So by using tokens in the CSS of your component, you make it easy for admins to use the Theme panel to quickly update the component’s appearance.
In this case, we’re interested in the Company Logo property, which maps to the brandLogoImage token.
- In the Developer Console, create a .css resource for condensedThemeLayout.cmp by clicking Style on the right-hand side.
- Replace the contents with this CSS.Code Highlight The code uses the brandLogoImage token (wrapped by a t()) to inject the company logo in the CSS as the background image of the logoContainer.
.THIS .logoContainer {
background-image: t('url(' + brandLogoImage  + ')');
background-position: center;
background-repeat: no-repeat;
background-size: contain;
z-index: 99;
cursor: pointer;
position: relative;
max-width: 100%;
max-height: 52px;
display: block;
outline: 0;
height: 50px;
margin-top: 10px;
}
- Save condensedThemeLayout.css.
- Then, in condensedThemeLayout.cmp, replace <!-- placeholder for logo --> with <div class="logoContainer"></div> in the first slds-col container. Your component now looks like this.
<aura:component implements="forceCommunity:themeLayout"> <aura:attribute name="search" type="Aura.Component[]"/> <aura:attribute name="sidebarFooter" type="Aura.Component[]"/> <div class="slds-grid slds-grid--align-center"> <div class="slds-col"> <div class="slds-grid slds-grid--vertical"> <div class="slds-col"> <div class="logoContainer"></div> </div> <div class="slds-col"> {!v.search} </div> <div class="slds-col"> <!-- placeholder for navigation --> </div> <div class="slds-col"> {!v.sidebarFooter} </div> </div> </div> <div class="slds-col content"> {!v.body} </div> </div> </aura:component> - Save the file.
Upload an Image in the Theme Panel
All that’s left to do to is upload a company logo in Experience Builder.
-
Open the Cloud Kicks logo and save it to your local drive.
- In Experience Builder, open the Theme panel and click Images.
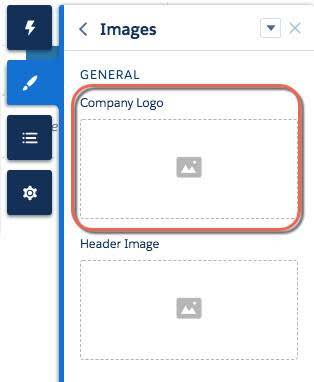
- In the Company Logo area, click the image upload icon.

- Click Upload Image.
- Locate the logo on your local drive, select it, and click Open.
Refresh the page and, presto-chango, your logo instantly appears in the page’s theme layout!