Create a Custom Student ID Field in EDA
Learning Objectives
After completing this module you’ll be able to:
- Explain the benefits of using a Student ID Field in EDA.
- Create a custom field on the Contact object in EDA.

Education Data Architecture (EDA) is a foundational data model. It gives educational institutions of all shapes and sizes access to the core CRM functionality they need to get started quickly, while allowing them to take advantage of the flexibility of the Salesforce platform by making customizations like adding additional fields, objects, and automation. An example of a simple yet powerful EDA customization is the creation of the Student ID Field, which is done through the addition of a custom field.
Create a Custom Field: Student ID Field
The Student ID Field is a custom field you can add to the Contact record page in EDA. Creating a Student ID Field allows you to keep the student ID as the central identification tool across all of your campus systems. This allows you to create data consistency and synchronize with your Student Information System (SIS) and other applications.
Creating a custom Student ID Field is a low-complexity customization, which means it’s not difficult to build. However, using this field in an integration involves some additional complexity that's best handled by an integration specialist.
Follow these steps to create a custom Student ID Field in EDA.
- In EDA, click the Setup gear icon and select Setup. This launches Setup in a new web browser tab.
- In Setup, click the Object Manager tab.
- In the Quick Find box, search for
Contact, then select Contact from the search results list.
- Click Fields & Relationships in the left-hand panel.
- Click New.
- On the New Custom Field record, select Text as your Data Type, and click Next.
- Fill in the custom field details:
|
Field Label
|
Cloudy College Student ID |
|---|---|
|
Length
|
18 (you can choose any number that represents the length of your institution’s ID number.) |
|
Field Name
|
Cloudy_College_Student_ID |
|
Help Text
|
Unique ID number for Cloudy College students |
|
Unique (Do Not allow duplicate values)
|
✔ |
8. Click Next.
9. Click Next again.
10. Click Save.
Next, you’ll update the Cloudy College Student ID field’s security and check to make sure it’s on your page layout.
- Scroll to find and select Cloudy College Student ID from the Fields & Relationships picklist.
- Click Set Field-Level Security.
- At the top of the Read-Only column, tick the checkbox to make this field read-only for all users if you don’t want end-users to change this field.
- In the profiles list in the Read-Only column, de-select only System Administrator, then click Save.
- From the menu on the left, click Page Layouts.
- Select HEDA Contact Layout.
- In the Quick Find box, search for
Cloudy College Student ID, then click on the Cloudy College Student ID field name.
- If the Cloudy College Student ID field is on the page layout, it will momentarily be highlighted in yellow where it appears in Contact Details.
- If the field is not on the page layout, you can drag and drop the Cloudy College Student ID field into the Contact Details section of the page layout.
- Reorder the Cloudy College Student ID field in Contact Details by dragging and dropping it to your preferred location.
- Once you have the Cloudy College Student ID where you want it, click Save.
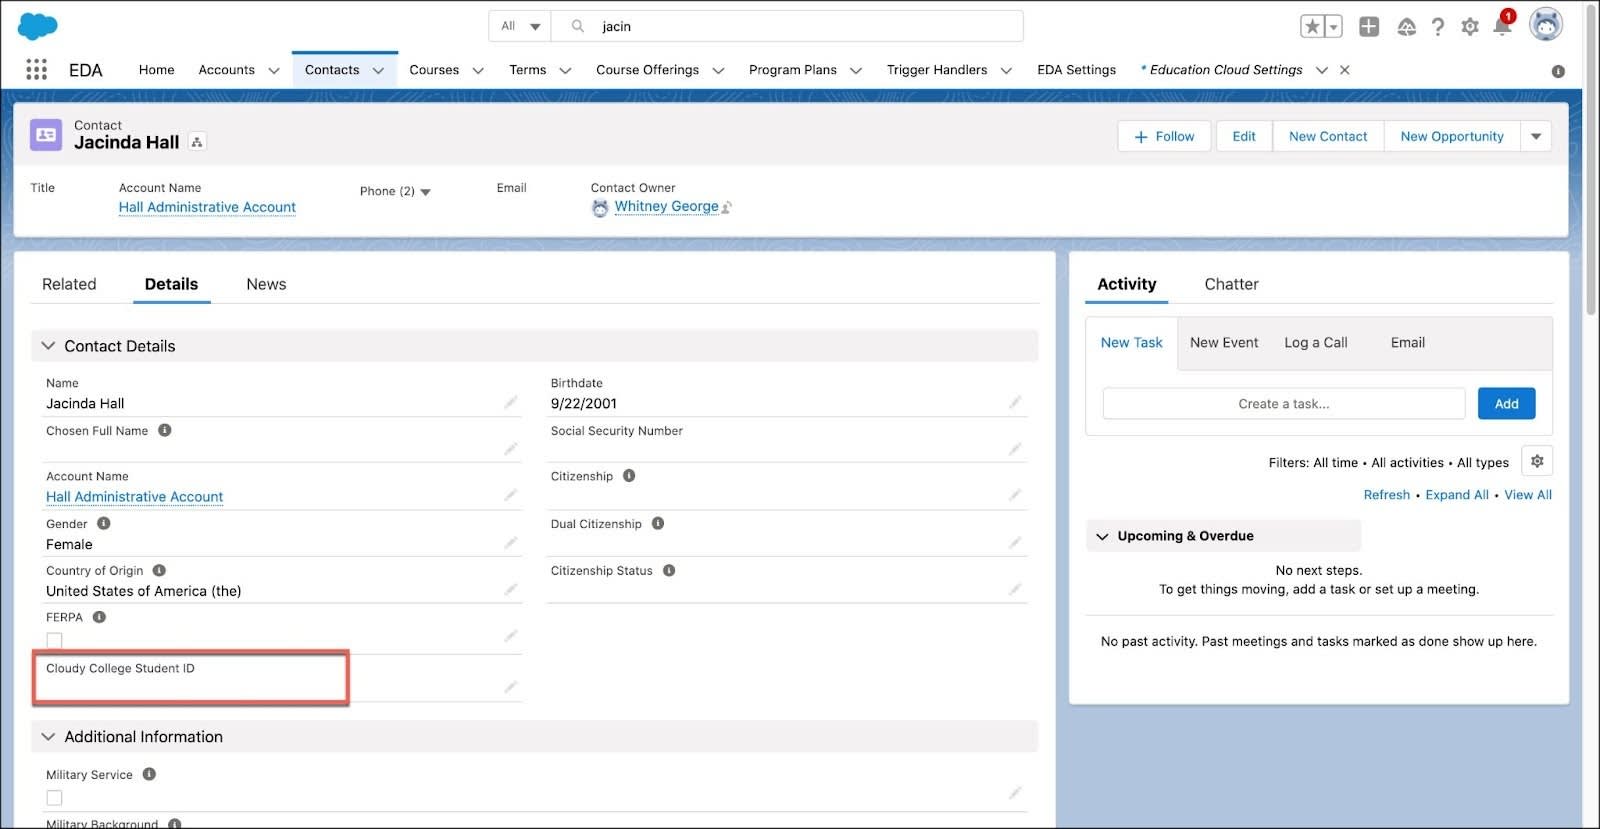
Now that the Student ID Field is on your page layout, you can see your new custom field in the Contact Details on any student’s contact record.
What’s Next?
Since it’s common for multiple students at the same institution to have similar or even the same names, you can update your search layout to search by each student's unique student ID. If you’d like to practice this search layout customization, and get hands-on with the custom Student ID Field steps in this module, head to the Resources section and click the link to the Saleforce.org Hands-On Training website.
Resources
- Article: Differences between the 'External ID' field and the 'Unique ID' field setting
- Trailhead: EDA Configuration and Data Import